Ingredients
Method
Day 1
- Combine the starter, pumpkin puree, milk and sugar in a large bowl. Stir until the starter is fully dissolved.
- Fold the all-purpose flour and salt into the pumpkin mixture. Stir until a shaggy dough forms.
- Knead the butter into the dough 1 tablespoon at a time, wait until the dough absorbs the butter before adding more. The dough will gradually feel less oily as you massage the butter into the dough.
- Cover the bowl with plastic wrap and let the dough rest for 1 hour.
- Knead the dough until it looks smooth, about 5 to 10 minutes. The dough should feel stretchy and look smooth. Gather the dough into a tight ball and place it in a clean, lightly-oiled bowl. Cover the bowl with plastic wrap and let the dough rise in a warm place.
- Let the dough rise until it has doubled in volume and feels bubbly. This can take about 4 to 6 hours, but it's extremely important that you allow your dough to rise or your rolls will turn out tough.
- Deflate the dough and place it in the refrigerator to proof overnight. (see note)
Day 2
- Mix all of the ingredients for the filling together in a small bowl. Set aside.
- Turn the dough out on a lightly floured work surface. Using a rolling pin, flatten the dough out into a large rectangle, about 10-by-18 inch rectangle.
- Spread an even layer of softened butter on the dough. Sprinkle the sugar and spice mixture over the dough.
- Working with the longer side, roll the dough into a tight cylinder.
- Cut the dough into 12 portions, each portion should be about 1 ½ inch.
- Arrange the dough on a parchment-lined baking pan. Cover the pan with plastic wrap and let the dough rise in a warm place.
- Your dough should look puffy, well-risen and the rolls should touch and fill the pan, about 2 to 4 hours depending on the temperature of your dough and the conditions in your kitchen.
- Preheat your oven to 375 F. Bake the rolls for 30 to 40 minutes or until they are golden brown and the center of the rolls registers at 190 F when probed with an instant-read thermometer.
- While the rolls are baking, mix all of the ingredients together for the icing in a small bowl.
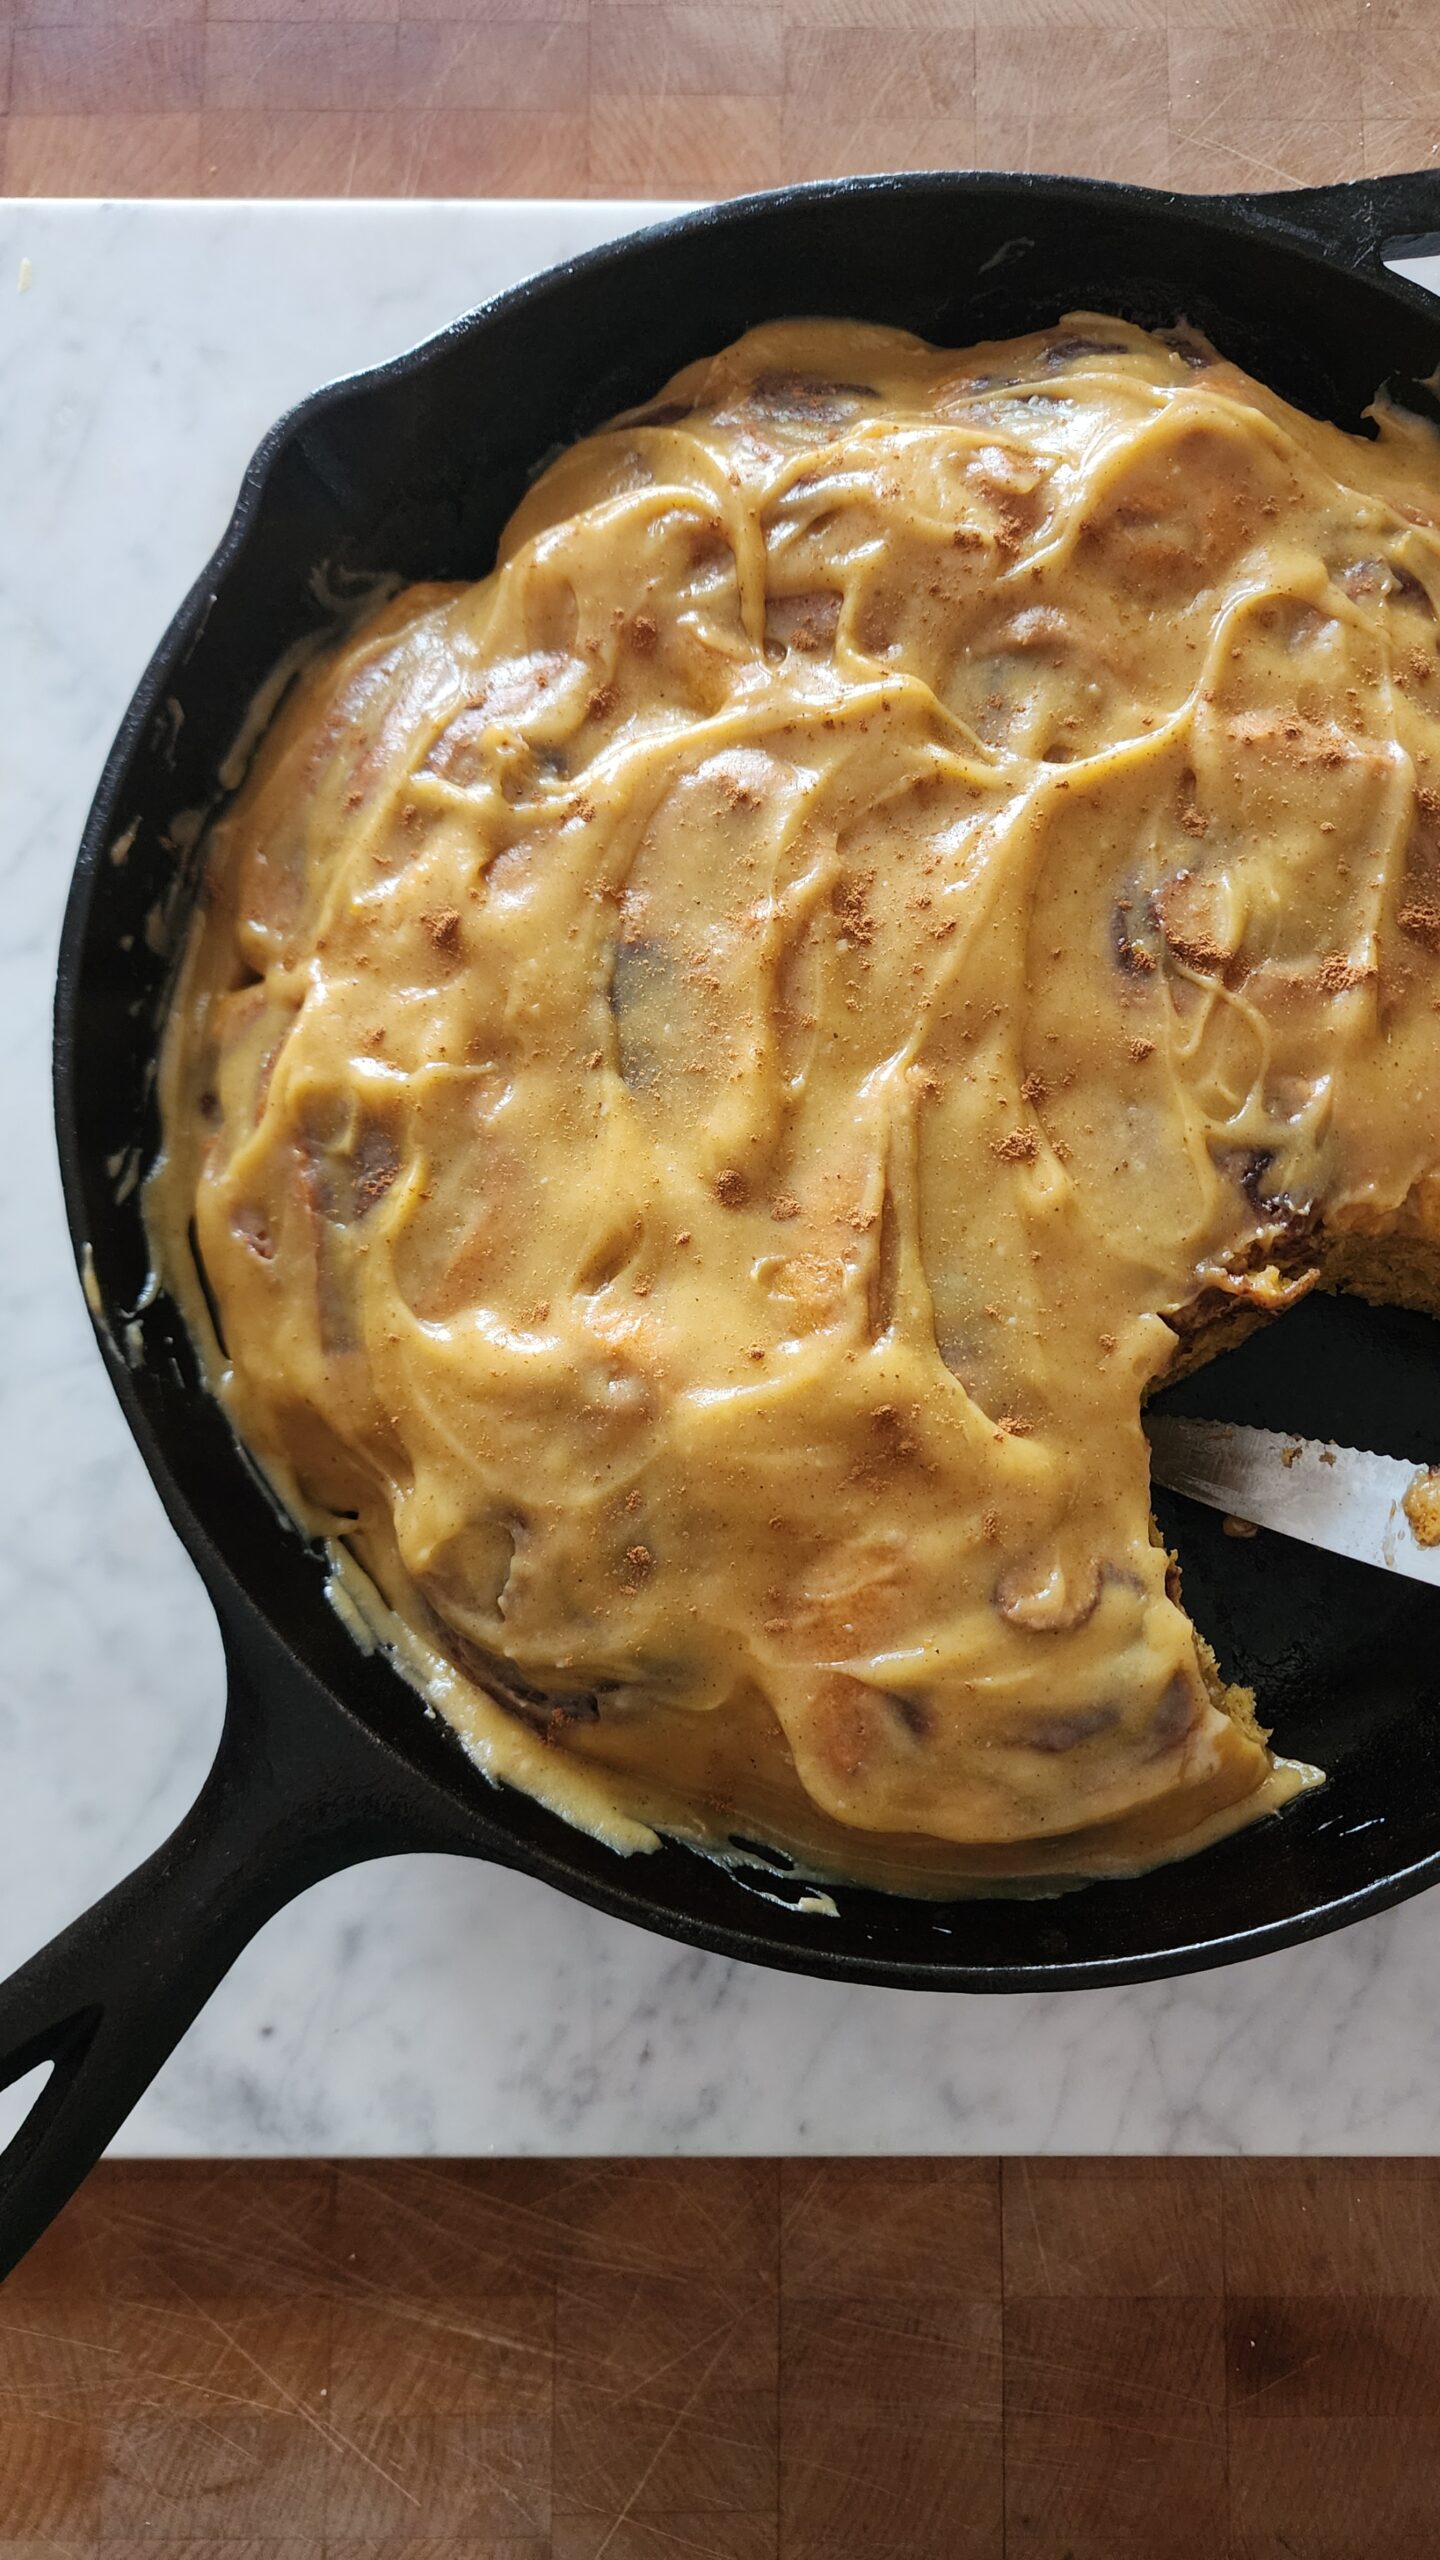
- Once the rolls are done baking, allow to cool for a few minutes then apply the icing using a rubber spatula. Serve immediately.
Notes
TIPS:
I tested and measured these recipes in grams for the most reliable results, so if you don’t already have one, a little kitchen scale is a tool well worth having.
And remember—every oven has its own personality. Mine tends to bake a bit on the cooler side, so you may need to tweak things if yours runs hotter. If you notice your bake browning too quickly, just lower the temperature a touch and keep a close eye until it’s done to your liking.
MORE NOTES:
If you’d like to bake the rolls the same day, just skip the cold proof and go straight to shaping once bulk fermentation is done.
For cutting the dough, dental floss is your best friend—just slide it underneath, cross the ends over the top, and pull to get a clean cut.
Since these rolls are topped with cream cheese glaze, they’ll keep best in the fridge in an airtight container.
