Made From Scratch Sourdough Bread
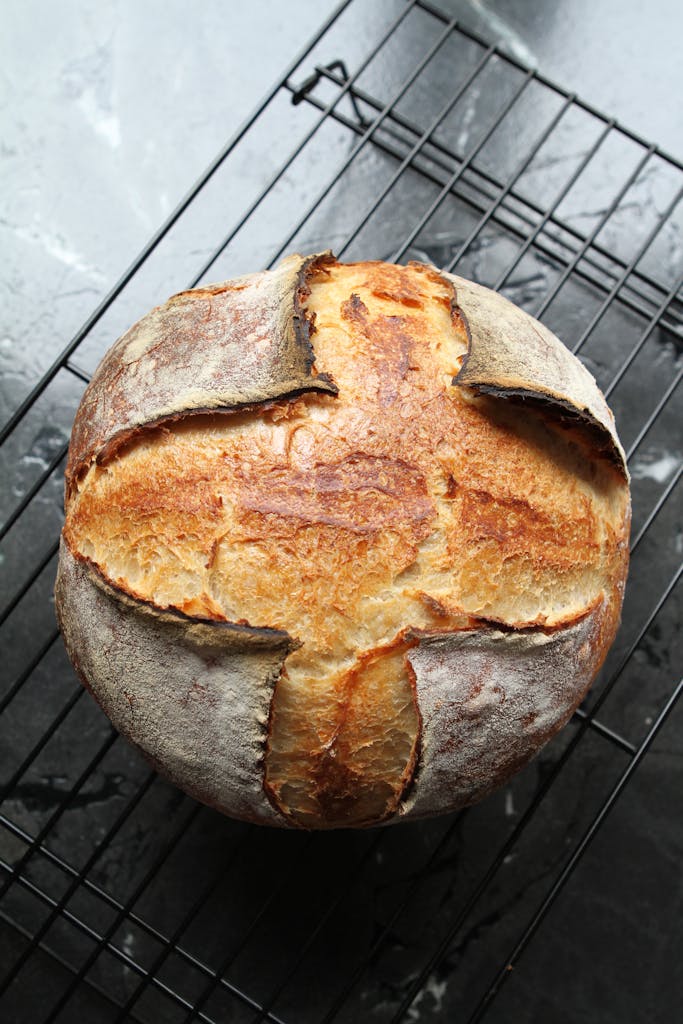
This made from scratch sourdough bread is easy to make, great for beginners, and can be prepped one day and then baked the next. I have searched and experimented with several recipes over the years and this one is by far the BEST sourdough bread I have ever made. I hope you will like it too! The outside is perfectly crusty and the inside is soft and delicious! This made from scratch sourdough bread is perfect for sandwiches, served alongside soups, or even for your morning toast with fresh apple butter!
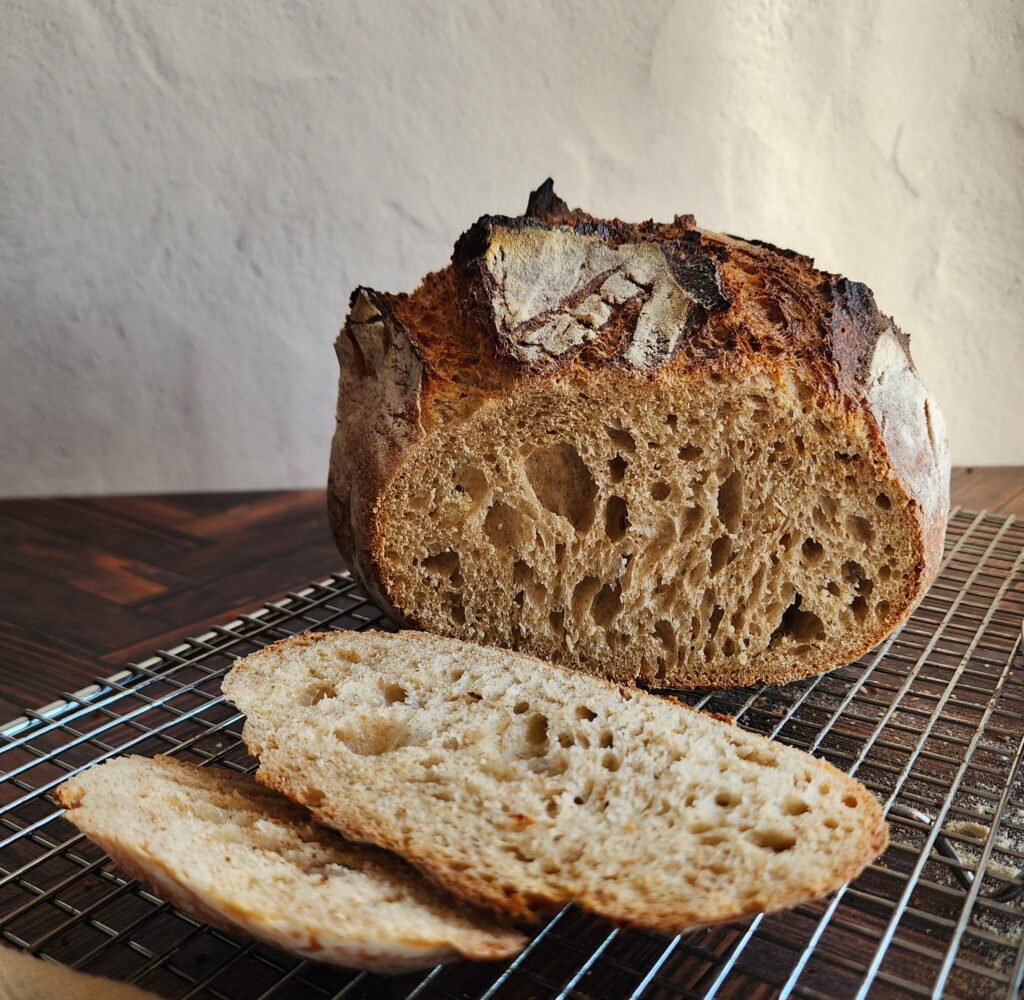
What is so special about sourdough bread?
Sourdough is different from other types of bread due to the fact that is naturally leavened-meaning you do not need to use commercial yeast. Through the fermentation process, natural yeast is formed which helps the bread rise naturally. It is made from flour, water, wild yeast and good bacteria. Sourdough is famous for its natural tangy taste, chewy texture, and crackly crust.
Is sourdough healthy?
YES!! Sourdough is one of the healthiest breads you can eat! The dough is fermented for an extended period of time. In turn, naturally occurring acids in sourdough bread break down gluten, making it easier for the body to digest. This fermentation process also helps the body to better absorb important nutrients such as calcium, sodium, magnesium, iron, and zinc. It also is lower on the glycemic index, meaning it does not cause spikes in blood sugar like more traditional breads. It can help keep you fuller longer and is great for your gut health.
How do I get a sourdough starter?
Getting a sourdough starter is easy! Many bakers sell their starters. King Arthur Flour has one that you can order online and have shipped to you. You can also make one yourself! My starter was made from scratch in my own kitchen back in 2022! Soon I will create a blog post on specifically how to make your own sourdough starter from scratch, but until then you can learn more about that here.
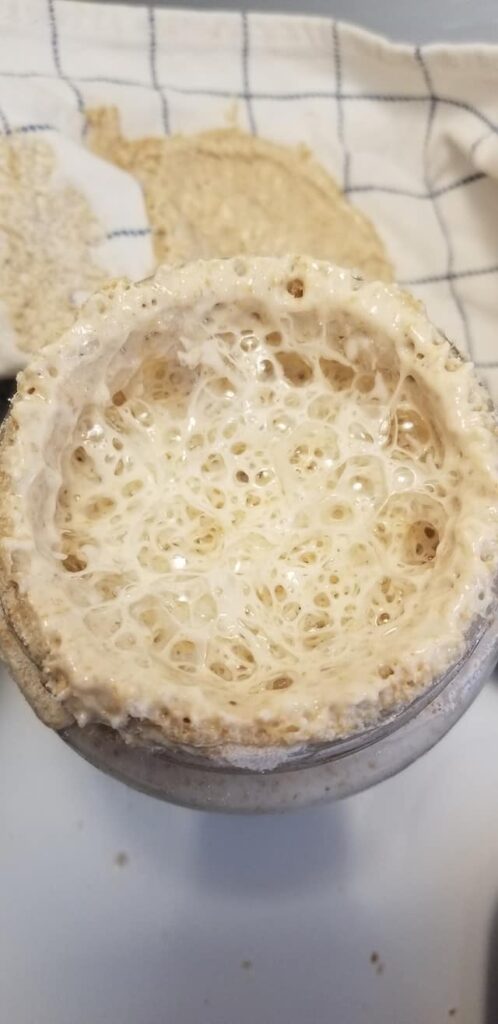
How To Make Sourdough From Scratch
Mix
First, mix your flours and your water together until just combined. The dough will be a bit shaggy and that is okay. Let sit for 30 minutes so the water can be fully absorbed by the flour. This process is called autolyse.
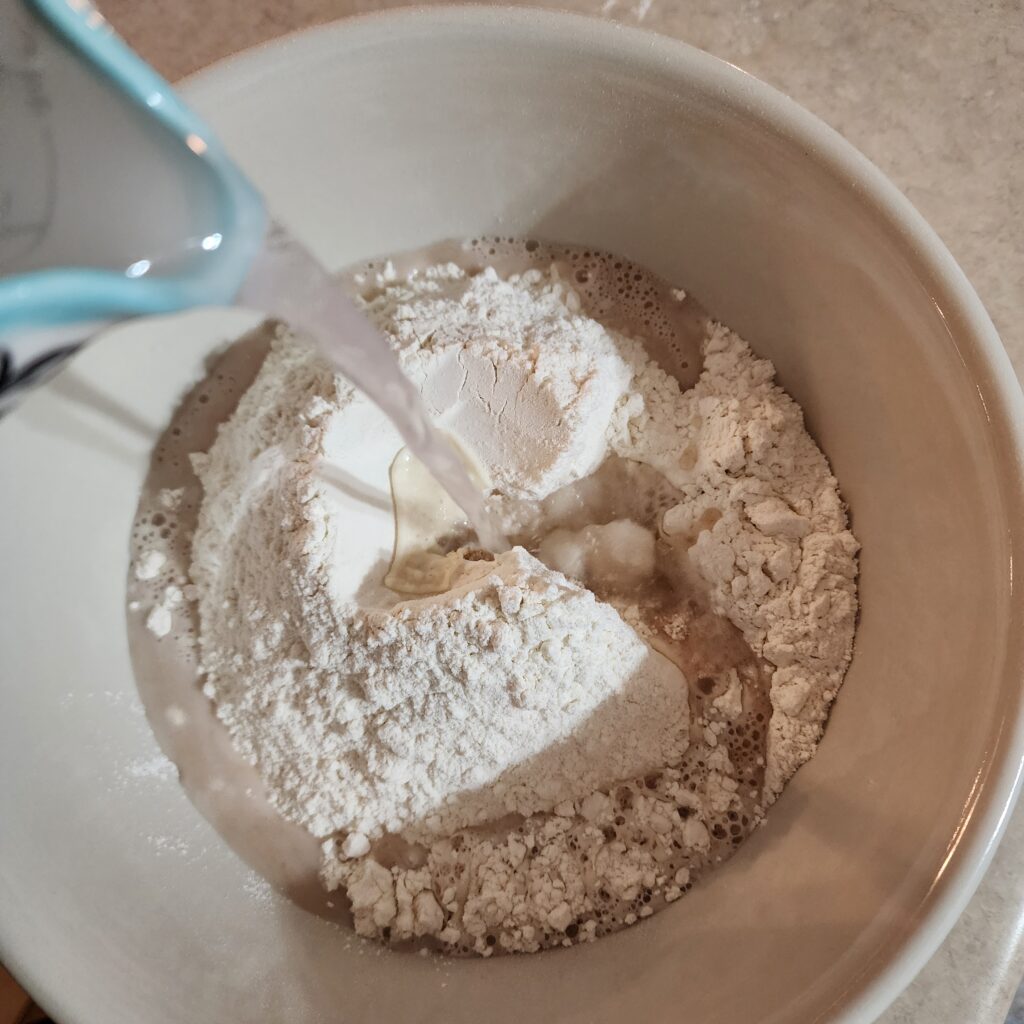
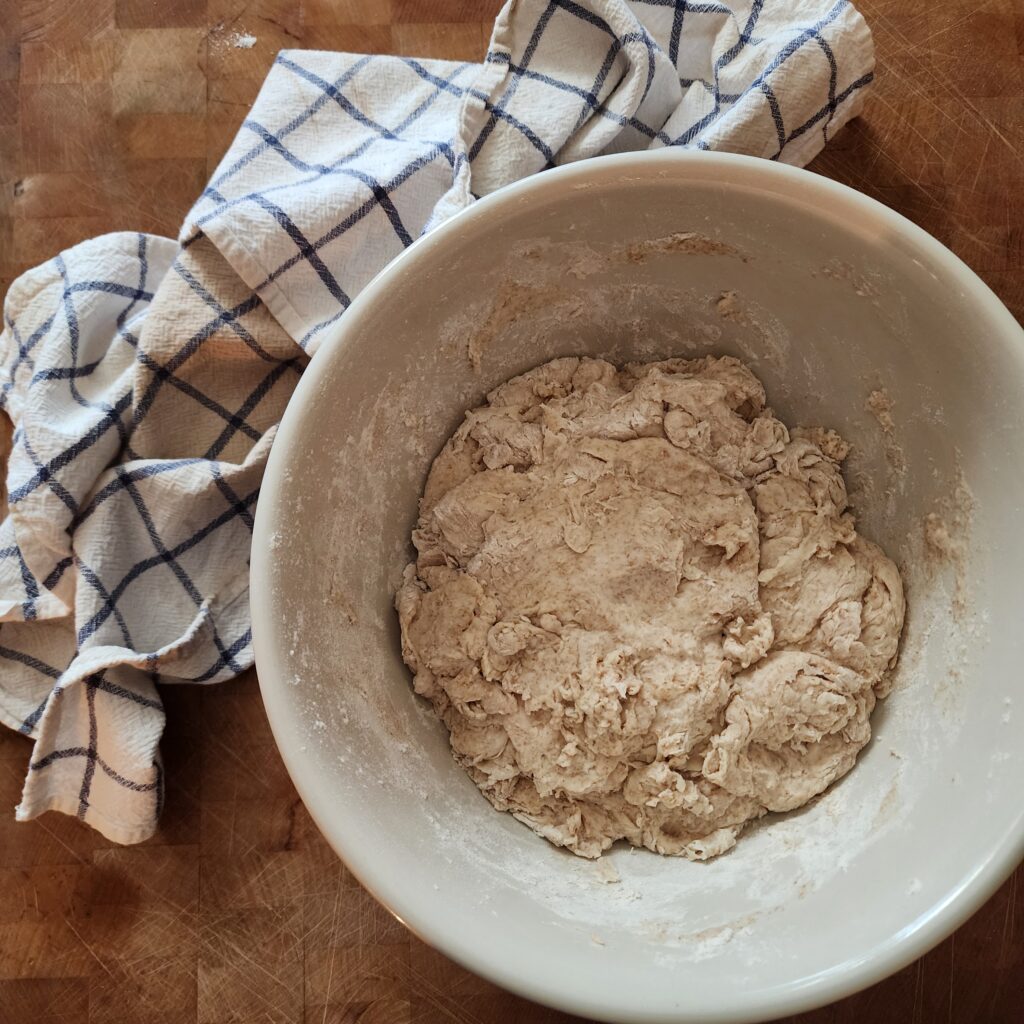
Next, add in your fed sourdough starter and dimple into the dough with your fingers. Sprinkle salt on top the mix in with your hands for 5 minutes until a dough is formed.
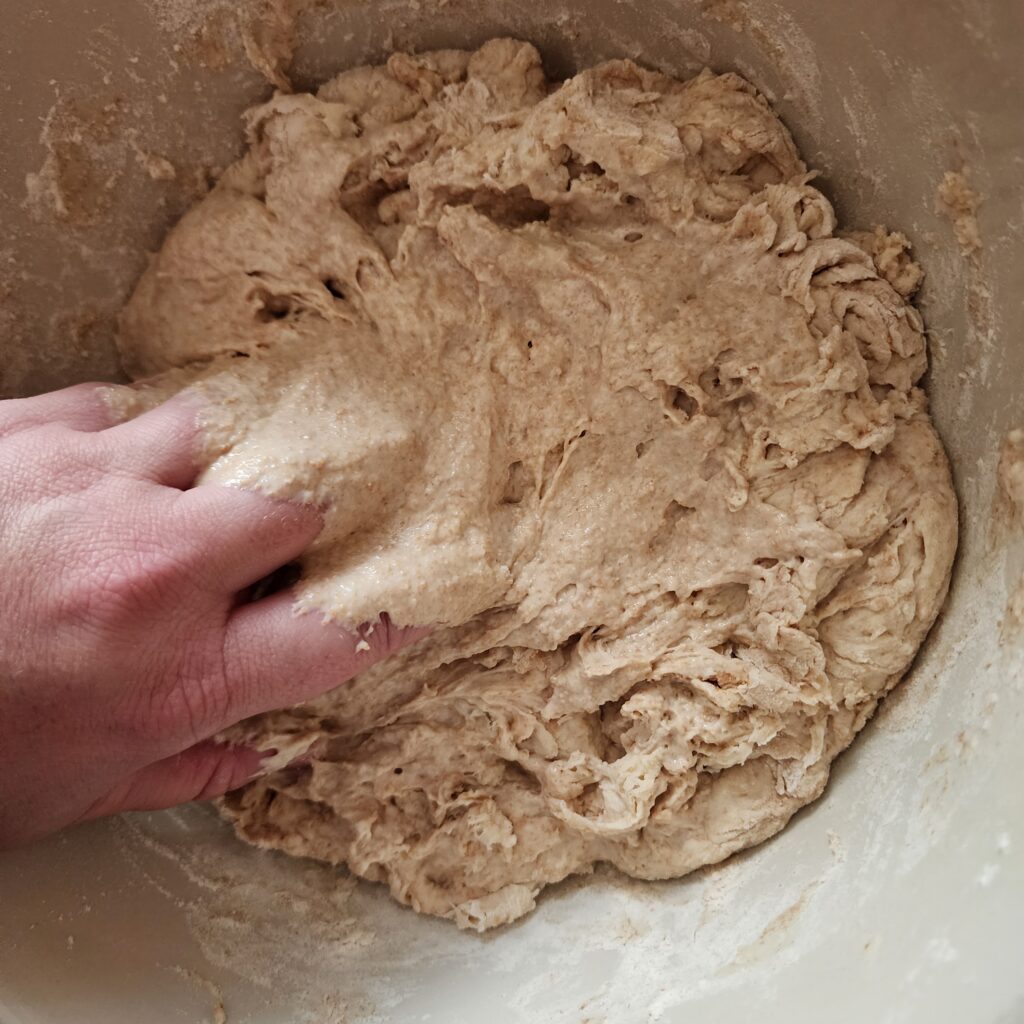
Cover with plastic wrap or a damp towel and let the dough rest for 30 minutes.
Stretch and Fold
Now it is time to do a technique called “Stretch And Fold.” Because we are not kneading this dough, we use the stretch and fold method to help build the gluten. Gluten is very important in breads because it helps to get a better rise, hold its shape, give it its light and fluffy texture and chewiness that makes bread delicious! As you can imagine, taking photos by yourself doing a stretch and fold is nearly impossible so to properly show you how to stretch and fold, I came across this straight-to-the-point video that I found to be very helpful.
You will be doing 3 sets of stretch and folds with 15 minute intervals in between and then 3 sets with 30 minutes in between.
Bulk Ferment
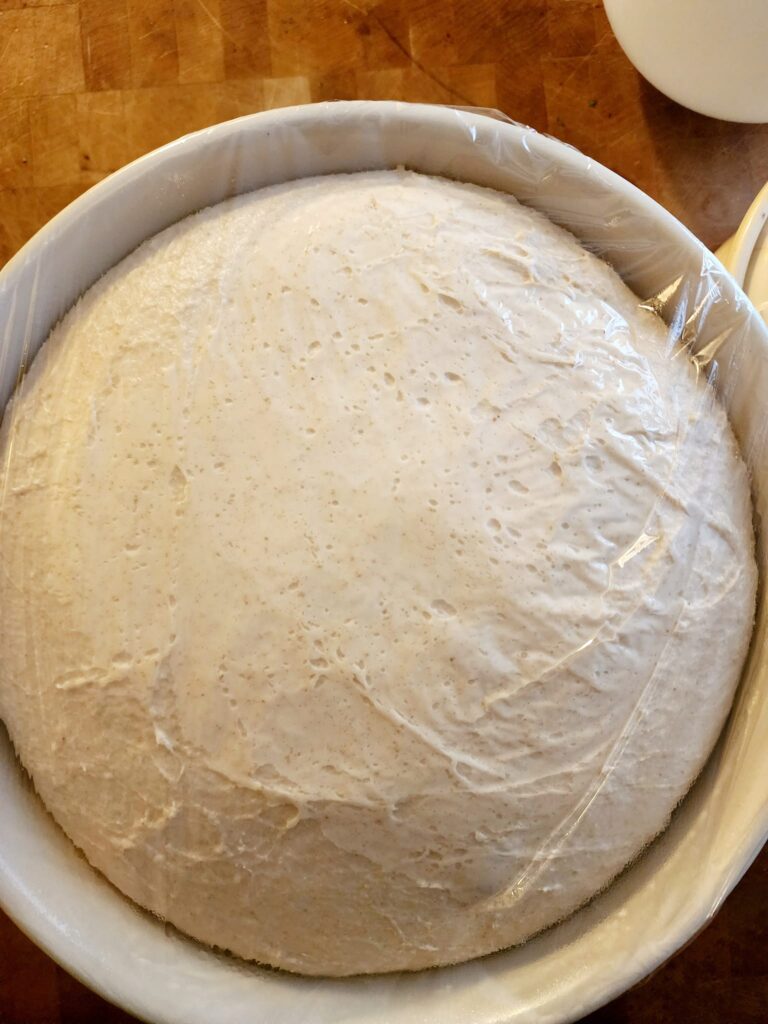
Once your stretch and folds are complete, cover your dough with a damp tea towel or plastic wrap and allow to bulk ferment on your counter until doubled in size. My home tends to be cooler so I put my bowl next to my oven and it tends to stay warmer as I am often making other things while processing my sourdough.
Split and Shape
After your dough has doubled in size (usually at least 5 hours or so depending on the temperature of your home) gently remove the dough from the bowl onto a lightly floured surface and gently split in half using a dough scraper. Be careful not to pop those beautiful bubbles!
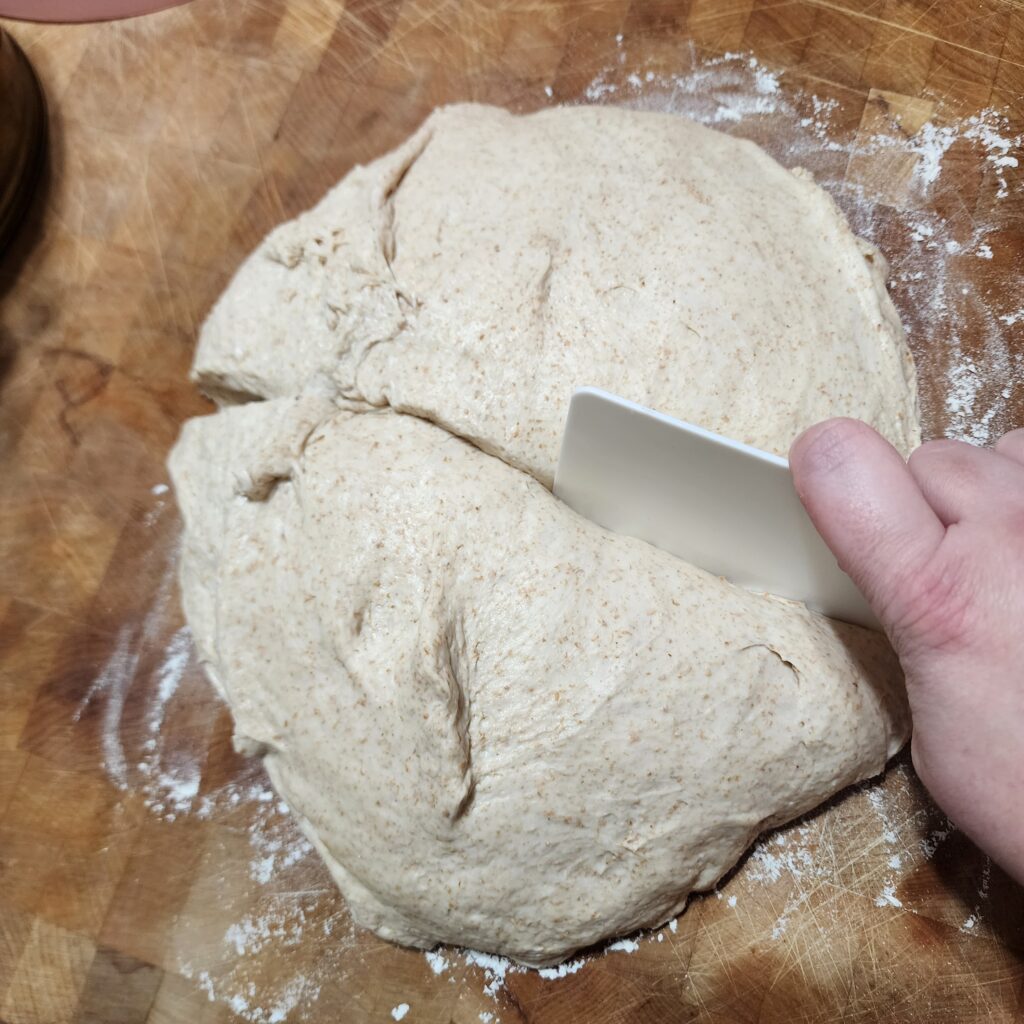
Next, take each half and shape the dough by gently spinning it towards you. This will help create the classic “boule” shape.
Set out 15-20 minutes uncovered. This allows the surface to develop a skin, so that it doesn’t stick to the tea towel during the overnight rise.
Turn over and shape. I do this by folding the two sides over to meet in the middle, and then the other two sides. Do this with both pieces as this recipe for Made From Scratch Sourdough Bread yields 2 loaves.
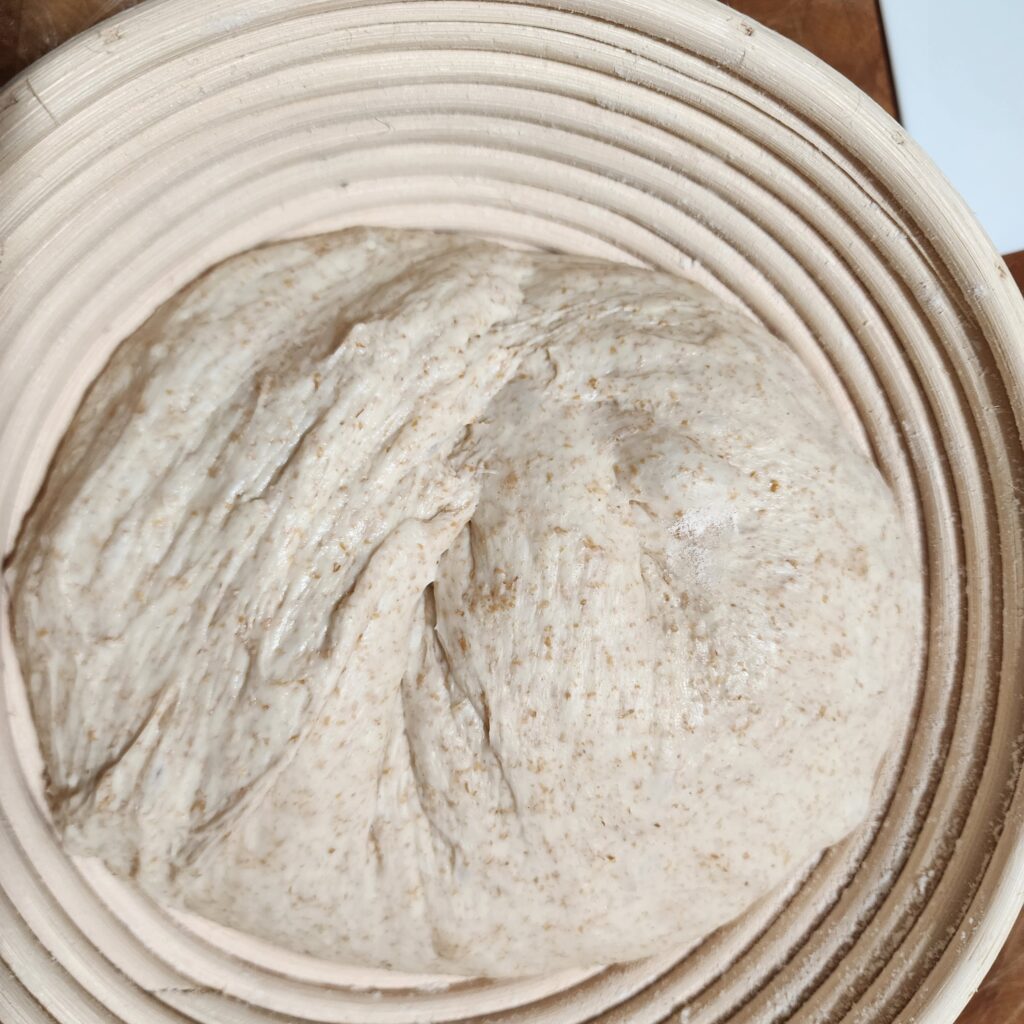
Lightly flour a 9″ round banneton (if you do not have a banneton, you can also use a large bowl and line with a lightly floured tea towel) and place in dough with the seam side facing upwards.
Cold Retard
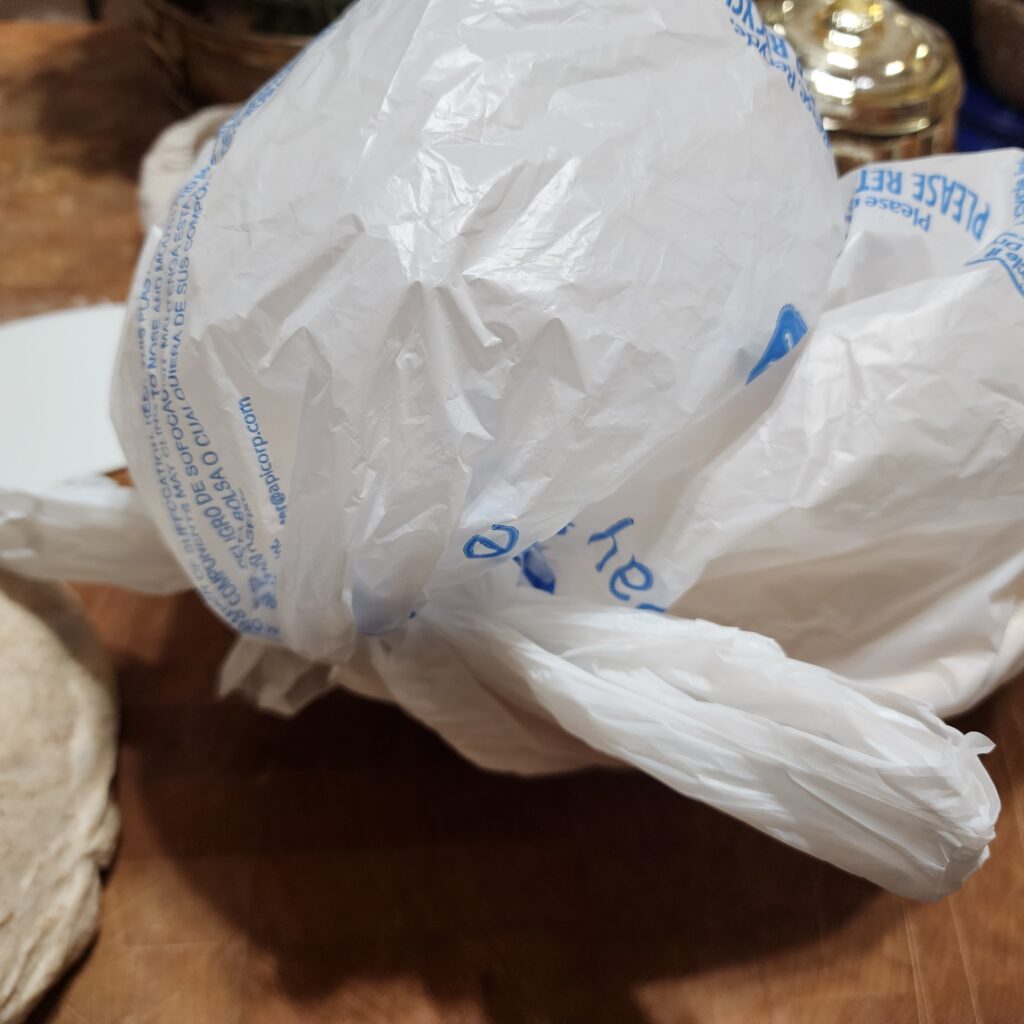
Place in a plastic bag (I use grocery store bags…you have to love recycling!) and place in the refrigerator to cold proof 12-18 hours. You may choose to leave in even longer for more nutritional benefits.
Bake
The next day, preheat your oven to 500 degrees and heat a cast iron Dutch oven in the oven for one hour. Make sure to keep your dough in the the fridge until right when you are about ready to bake. Keeping it cold will make scoring easier.
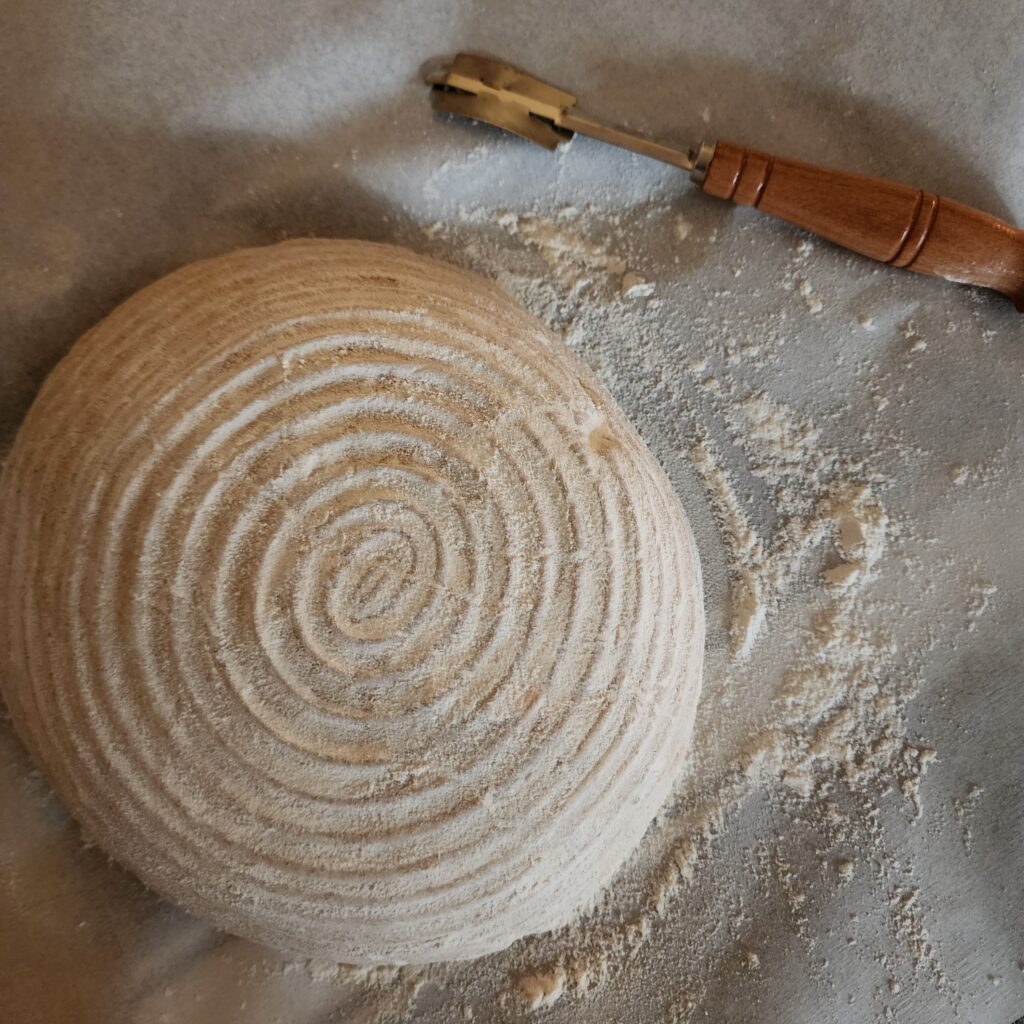
Take one of your loaves out and place on lightly floured parchment paper. You will want to make sure your parchment paper can handle 500 degrees as some do not and will burn in the oven.
Lightly flour the surface of the dough and using a bread lame, gently create your scoring design. Not feeling artistic? A couple of slashes on top will do just fine. This allows for the bread to spring up without busting open.
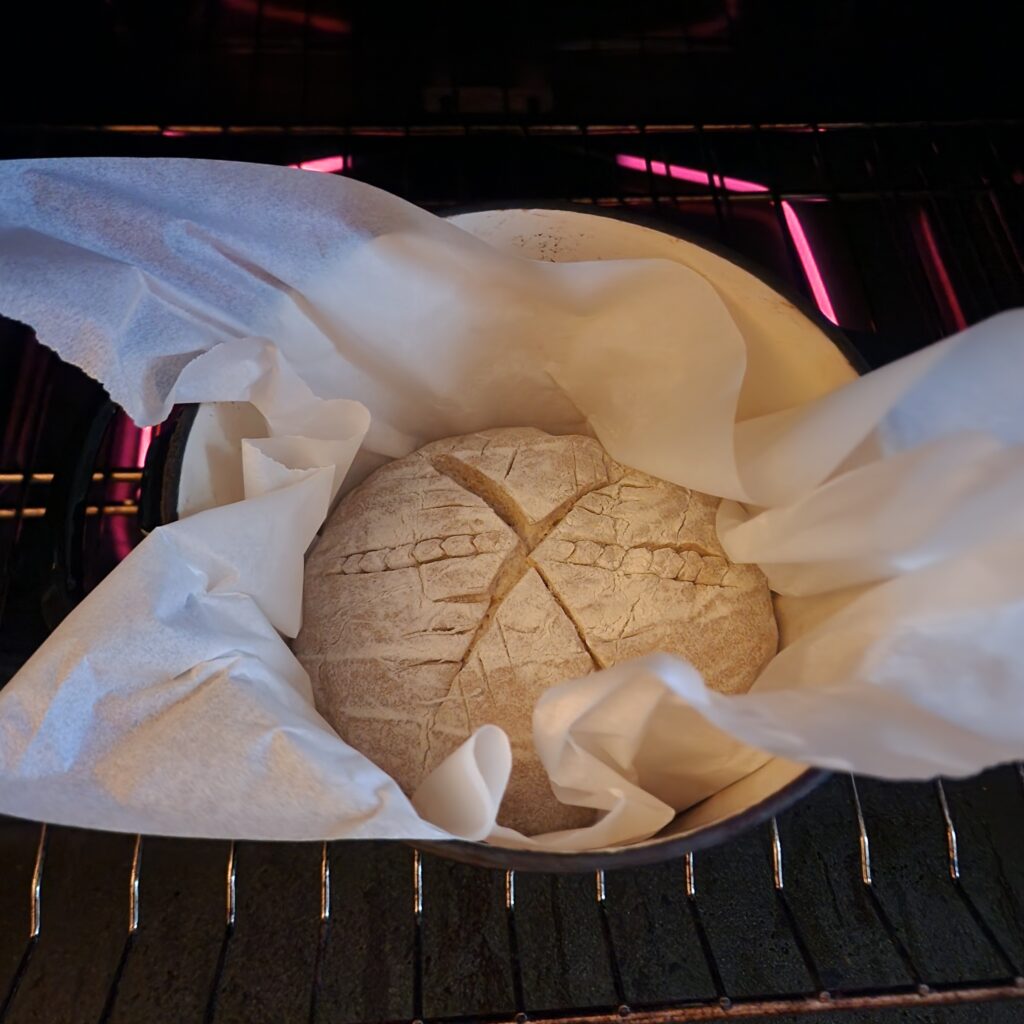
Next, GENTLY place dough with parchment paper inside of the Dutch oven and place the lid on top. Bake covered for 20 minutes. Then, lower the temperature to 475 degrees and continue to bake with the lid off for 25 minutes.
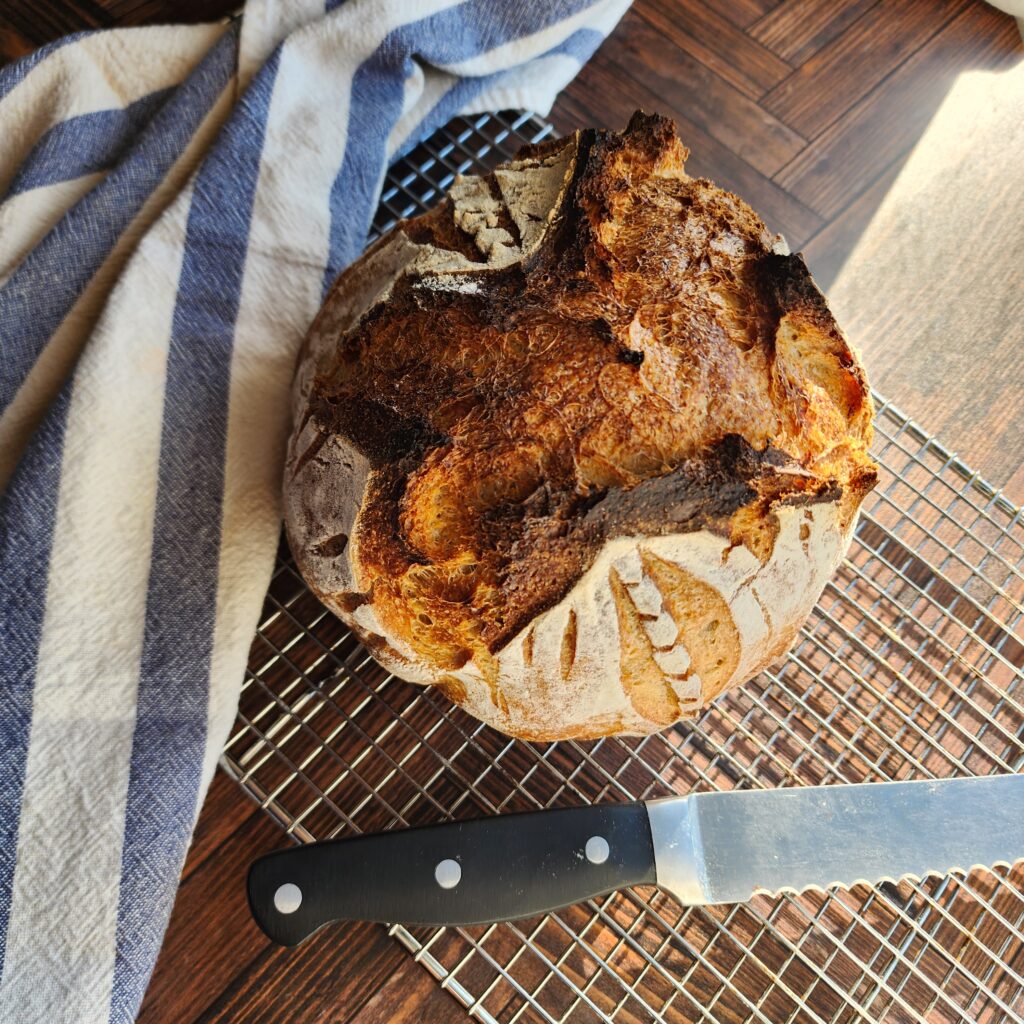
Repeat the processes with the second loaf. Allow loaves to fully cool before slicing. This is very important as the dough continues to cook while sitting.
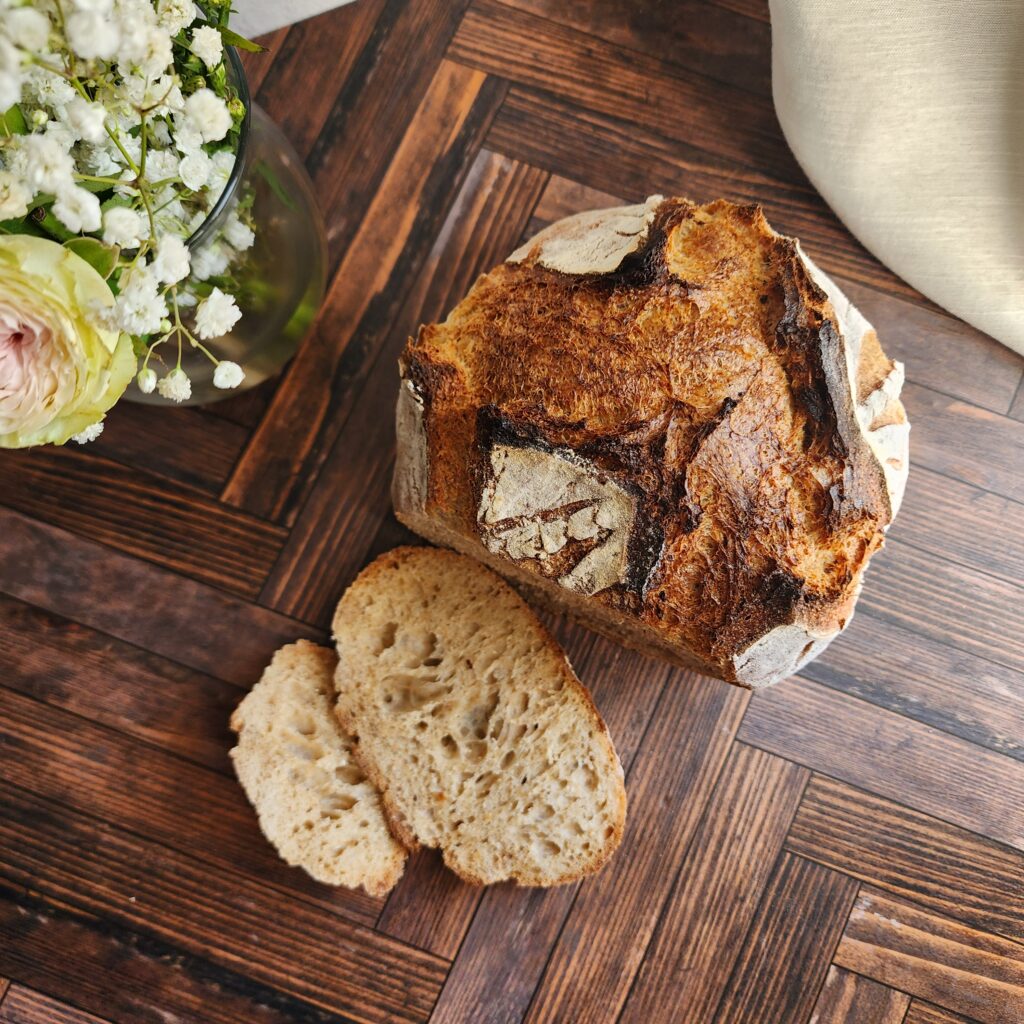
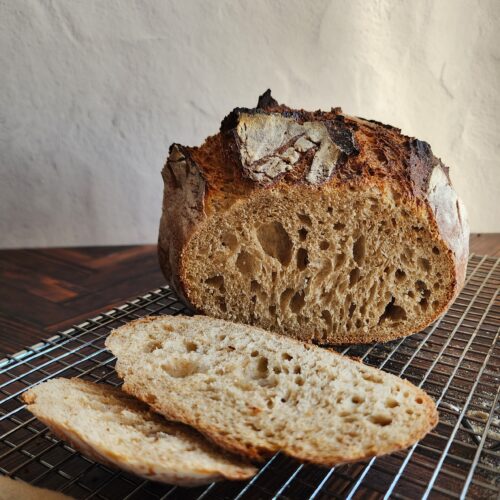
Enjoy your new beautiful creation! Pair it with soups, delicious hot press sandwiches, or even by itself!
How to Store Made From Scratch Sourdough Bread
You may place in a plastic bread bag and leave on the counter. Putting loaves in the fridge can cause them to dry out prematurely. Sourdough doesn’t typically mold like traditional breads but it will dry out and get stale. I like to use the old bread for stuffing, homemade croutons, or grind it up and use it for breadcrumbs on top of cheesy casseroles! I like to freeze my second loaf until we are ready for it (which is usually pretty quickly!) Then just allow to fully thaw before using or you can even place it back in the oven for a few minutes to reheat then serve.
Made From Scratch Sourdough Bread
Ingredients
- 500 G All Purpose Flour- unbleached
- 200 G Whole Wheat Flour
- 250 G Bread Flour
- 200 G Sourdough Starter- Active and Bubbly
- 650 G Water
- 20 G Salt
Instructions
- Feed the starter 4-12 hours before starter to ensure it is active and bubbly.
- In a large bowl, add flours and water. Mix until just combined. Dough will be shaggy. Let rest for 30 minutes to allow the water to hydrate the flour.
- Add starter to the dough and dimple in with your fingers. Pour salt on top.
- Work the dough in your hands for 5 minutes to ensure the ingredients are well incorporated. Cover with plastic wrap or a damp towel and let rest for 30 minutes.
- Begin stretch and folds. The first 3 perform every 15 minutes. Then, the last 3 perform every 30 minutes.
- Cover with plastic wrap or wet towel. Bulk ferment on the counter until doubled.
- Gently split the dough down the middle using a dough scraper.
- Shape each loaf and let sit for 15 minutes.
- Do a final shaping and place seam side facing up into a lightly floored banneton or towel lined bowl.
- Place in grocery bag, tie, and put in fridge to cold ferment for 12-15 hours.
- The next day, preheat a cast iron Dutch oven in the oven at 500 degrees for 1 hour.
- Right before baking, remove loaf from fridge and turn onto a lightly floured parchment paper. Score and place inside the Dutch oven. Bake at 500 degrees for 20 minutes with the lid on.
- Remove lid and lower oven temperature to 475 degrees. Bake uncovered for 25 minutes.
- Transfer bread to a cooling rack. Once cooled, slice and enjoy!

