Easy Sourdough Discard Tortilla Recipe
This easy sourdough discard tortilla recipe will take your family taco night to the next level. Once you make these, you will never go back to the store bought version. Homemade sourdough tortillas are soft, chewy, and full of flavor!
Sourdough is a big hit in our household, and I am always looking for new creative ways to use my starter. Some of our favorites include Sourdough Discard Sandwich Bread, From Scratch Sourdough Bread, and the amazingly delicious Sourdough Cinnamon Rolls. Give them a try and let me know what you think!
Another thing that we love in our house is tacos. We eat something taco related weekly! Taco dishes are always reliable, quick to make, and satisfy our spicy cravings. If you have not yet, try my From Scratch Taco Seasoning or my Taco Stuffed Peppers to give your family a Taco Tuesday they are sure to love!
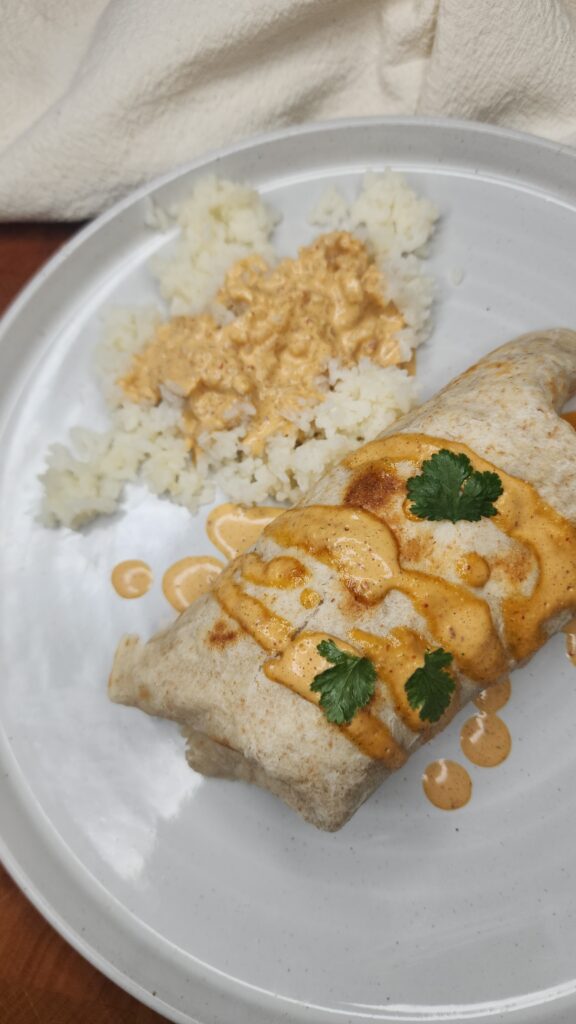
This easy sourdough discard tortilla recipe combines our love for sourdough AND tacos. I mean what could be better? These tortillas are soft and buttery and can be made in less than an hour. Enjoy them with tacos, breakfast tacos, fajitas, sandwich wraps, and more.
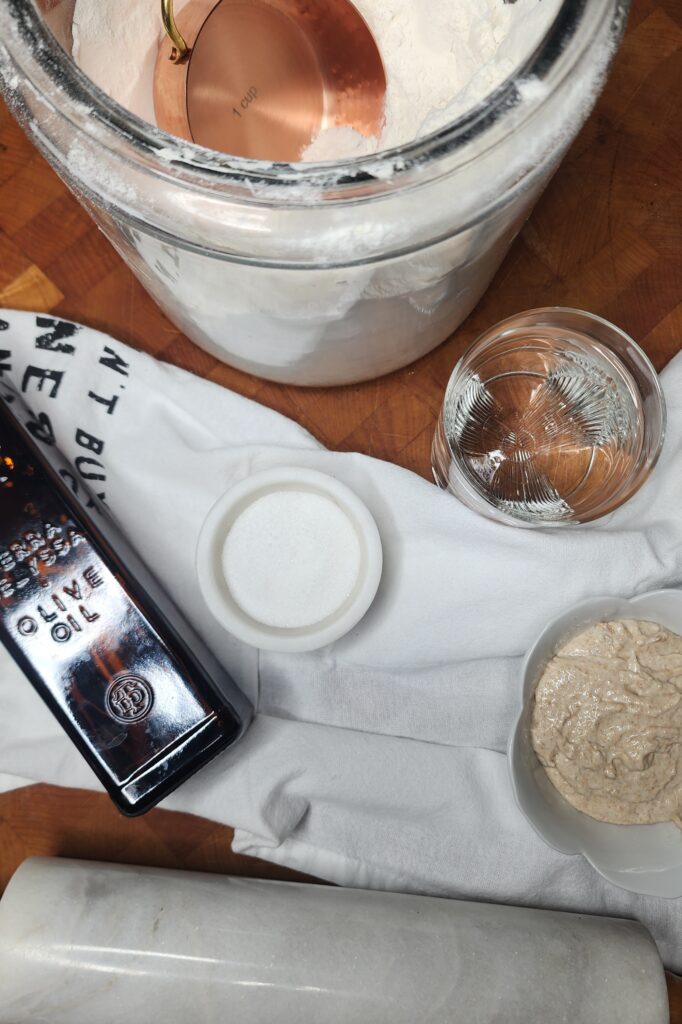
Made with Simple Ingredients
Have you ever looked on the back of a package of store bought tortillas? If you look, many contain a load of ingredients that are chemically based such as parabens (to prevent mold growth), bleaching agents such as acetone peroxide and benzoyl peroxide, which are used to bleach flour, and other dangerous additives. This recipe is made of simple and easy to pronounce ingredients. All you need is sourdough starter, olive oil, water, flour, and salt. It is that simple! The flavor is more robust and it’s a food you can feel good about feeding to your family.
Why Choose Sourdough?
With tons of recipes out there, why choose sourdough you ask?
Sourdough is a healthy superfood for your gut health. It is rich in vitamins such as vitamin B, iron, calcium and more!
Sourdough also contains peptides that may help lower the risk of certain cancers and chronic diseases. This amazing fermented dough also contains prebiotics and fiber, which help feed healthy gut bacteria. Your gut is the center of your immune system and overall wellbeing. If it gets off balanced, it can cause a wide variety of health issues.
Did you know that sourdough is also easier to digest because it contains less gluten and FODMAP carbohydrates? It is generally more well tolerated than other types of breads. Sourdough has a lower glycemic index than white bread, so it doesn’t raise blood sugar levels as quickly. This makes it a better choice for diabetics or for people with insulin resistance. The bread’s fermentation process also creates probiotics, or healthy bacteria, that can aid in digestion.
If all of this is not enough to convince you, let the delectable taste seal the deal. You will experience a noticeable difference in the taste of these easy sourdough discard tortillas compared to the storebought options. They taste….well….REAL!
How to Make This Easy Sourdough Discard Tortilla Recipe
Now that we have covered the basics on why this recipe is a great idea, let’s get started on creating the best tortillas of your life!
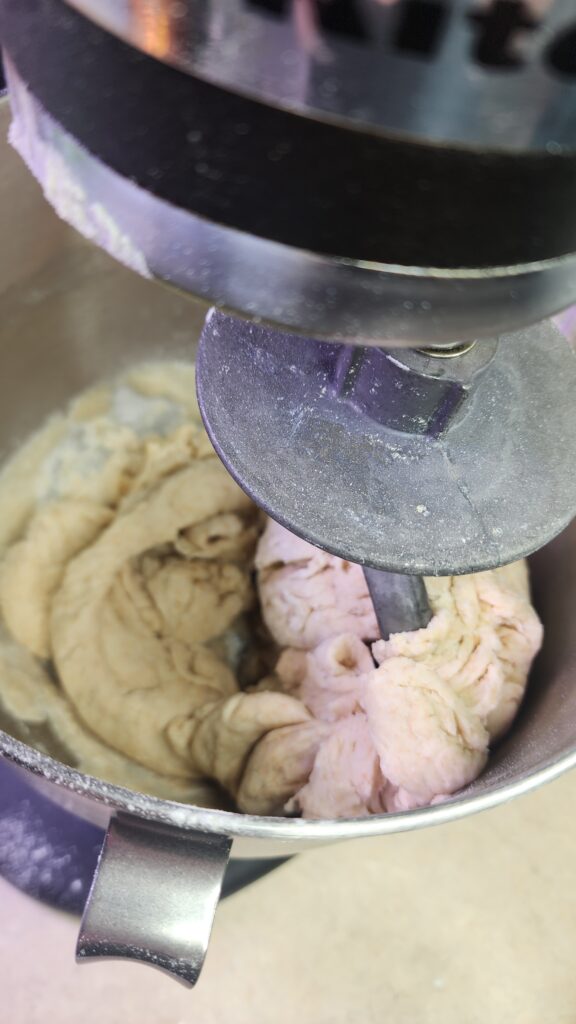
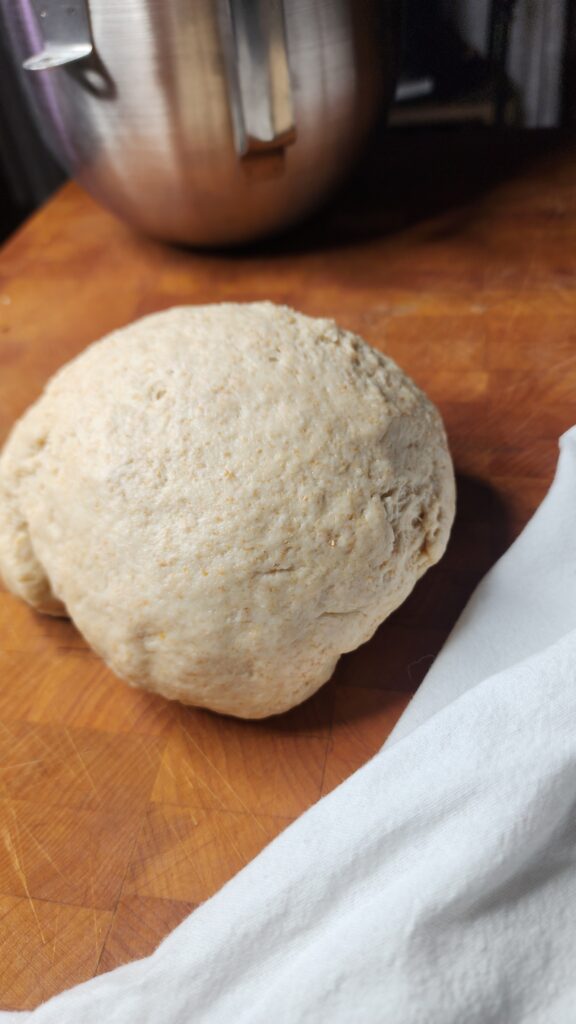
Combine Ingredients in A Mixing Bowl
First, combine sourdough discard, olive oil, and water in a mixing bowl. I used my Kitchen Aid mixer but it is not required. Add flour and salt then combine well until a dough forms.
Stretch and Fold Then Let Rest
Perform one set of stretch and folds by grabbing your dough and gently pulling one side of the dough up and over, folding the dough back onto itself. Repeat this process by rotating the bowl and pulling from each side to complete a full set of four stretch and folds. Allow to rest for 30 minutes.
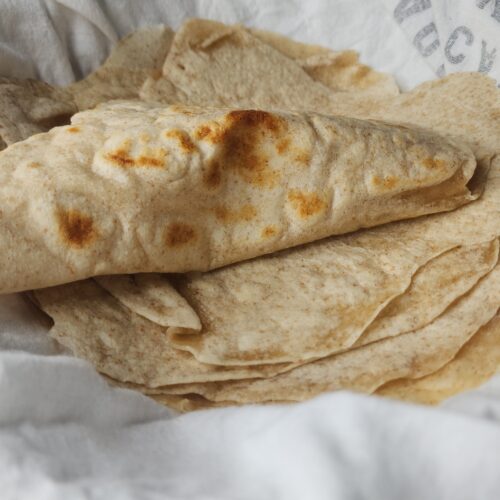
Form The Tortillas
Form 16 evenly sized pieces of dough. I cut my dough ball in quarters, then cut the quarter pieces into quarters. Roll each one out into a round tortilla shape, as thin as you can without tearing the dough. Mine are not always perfectly round but they are still amazingly delicious! If I really took my time I am sure they would be more even but they always turn out great so I don’t worry about it too much. I roll mine out onto a lightly floured silicone mat so that there is no risk of them sticking to the counter.
If you want to make smaller batches, you can always half this recipe. These store really well however like to make them more in bulk and reheat later.

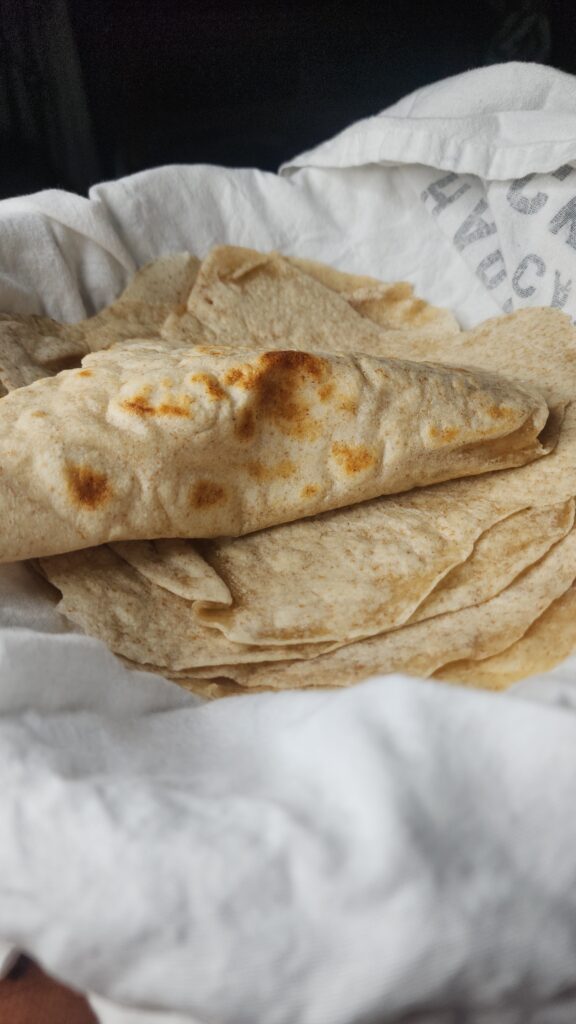
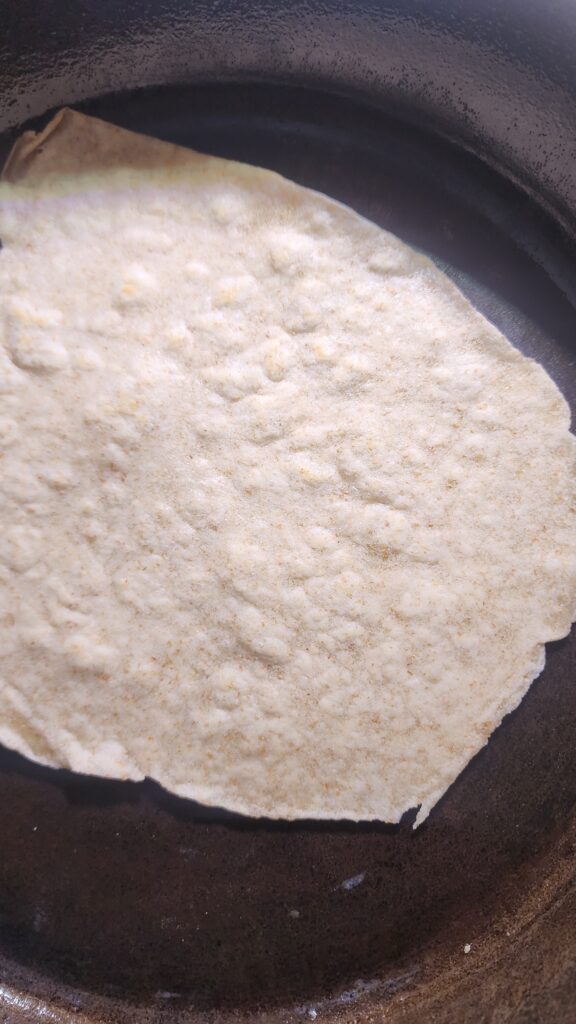
Cook the Tortillas
Cook in a cast iron skillet over medium/low heat for about 3 to 4 minutes on each side. If you don’t have a cast iron skillet, any other skillet will work. You’ll know when they are ready to flip when you see bubbles forming on the top. Be careful to not overcook them or turn the heat up too high, or they will burn and not be soft. Slow and steady is the secret to getting the perfect tortillas!
Use immediately or store in the fridge or freezer for later! They keep in the fridge for about a week and in the freezer for up to 6 months. When you are ready to reheat them, let them thaw and heat in a cast iron skillet for about a minute on each side. You can also wrap in a damp towel and place them in the microwave for about 20-30 seconds or until warmed.
Enjoy!
Tips For Success When Making This Sourdough Tortilla Recipe
- Make sure to oil and preheat your cast iron skillet before placing in your tortillas.
- You will want to roll out your dough until it’s very thin, almost to where you can see through it but not so thin that it falls apart.
- If you want even greater sourdough nutritional benefits, after making the dough, place in the fridge and let it ferment for two days before using.
- Roll out dough on a lightly floured silicone mat to ensure the dough does not stick to your surface.
Easy Sourdough Discard Tortilla Recipe
Equipment
- 1 Cast Iron Skillet or other Stovetop Pan
- 1 Spatula
- 1 Stand Mixer Or can be hand mixed
Ingredients
- 1 cup Sourdough Discard (unfed starter)
- 1/2 cup Olive Oil
- 2/3 cup Water (warm but not too hot)
- 3 1/3 cup All Purpose Flour (Unbleached)
- 1 tsp Sea Salt
Instructions
- First, combine sourdough discard, olive oil, and water in a mixing bowl. I used my Kitchen Aid mixer but it is not required. Add flour and salt then combine well until a dough forms.
- Perform one set of stretch and folds by grabbing your dough and gently pulling one side of the dough up and over, folding the dough back onto itself. Repeat this process by rotating the bowl and pulling from each side to complete a full set of four stretch and folds. Allow to rest for 30 minutes.
- Form 16 evenly sized pieces of dough. I cut my dough ball in quarters, then cut the quarter pieces into quarters. Roll each one out into a round tortilla shape, as thin as you can without tearing the dough. You can roll them out onto a lightly floured silicone mat so that there is no risk of them sticking to the counter.
- Cook in a cast iron skillet over medium/low heat for about 3 to 4 minutes on each side. If you don't have a cast iron skillet, any other skillet will work. You'll know when they are ready to flip when you see bubbles forming on the top. Be careful to not overcook them or turn the heat up too high, or they will burn and not be soft.
- Use immediately or store in the fridge or freezer for later! They keep in the fridge for about a week and in the freezer for up to 6 months. When you are ready to reheat them, let them thaw and heat in a cast iron skillet for about a minute on each side. You can also wrap in a damp towel and place them in the microwave for about 20-30 seconds or until warmed.