Spring Composting 101: Easy Tips for Your Garden

Spring is my favorite time on the homestead. The days are longer, the air smells fresh, and it is the perfect time to start composting. Over the years, we have added everything from garden debris and chicken coop cleanout scraps to veggie peels, leaves, eggshells, and even coffee grounds. The chickens loved it. They would happily dig around, flipping the pile for us, which made the whole process feel like a little collaboration.
There is something incredibly satisfying about taking scraps that would normally go in the trash and turning them into something useful and green for the garden. It is a small but tangible way to live more sustainably, and it is one of the joys of homestead life that never gets old.
Starting a compost pile may seem intimidating at first, but it is easier than you think! In this guide, I will share everything you need to know: what you can and cannot compost, tips and tricks for fast decomposition, when to compost, FAQs, and even a simple way to build a compost bin using T-posts and hardware cloth. Whether you are a beginner or just looking for fresh spring inspiration, this post will help you turn your kitchen scraps into garden gold.

*This post may contain affiliate links, which means I may earn a small commission if you choose to make a purchase through them, at no extra cost to you. I only share products and resources that I personally use, love, or truly believe will serve you well in your home and garden. Thank you for supporting my blog and this little homestead dream.
Why Composting Matters
Composting is more than just a way to get rid of kitchen scraps. It is a sustainable practice that benefits your garden, your homestead, and the environment.
Compost enriches the soil with essential nutrients, improves soil structure, and helps retain moisture. Using compost can reduce the need for chemical fertilizers and supports a healthy, thriving garden ecosystem. By composting, you also keep organic waste out of landfills, which reduces methane emissions and is better for the planet.
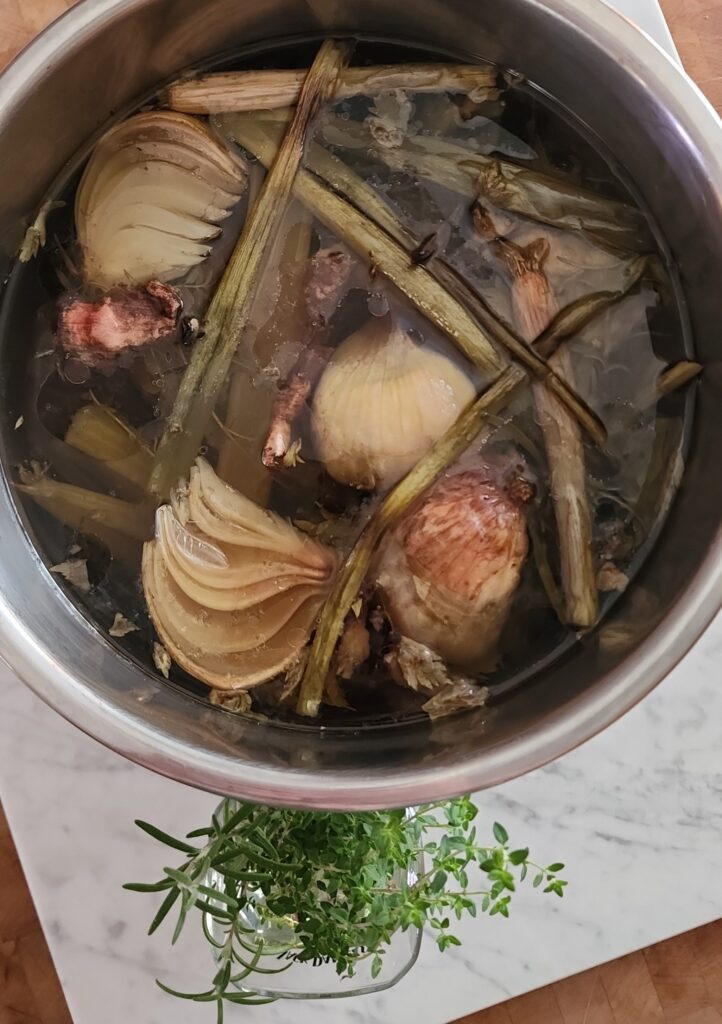
For us, composting is a daily practice that connects our kitchen and garden. Coffee grounds from homemade cold brew, veggie scraps from dinner, leaves from the yard, and even old eggshells all become part of a living, breathing system that nurtures new growth. It is a small but powerful way to live intentionally and sustainably.
What You Can and Cannot Compost
Knowing what goes into your compost pile is essential for success.
Compostable Foods and Materials
- Fruit scraps: apple cores, banana peels, citrus (in moderation)
- Vegetable scraps: peels, ends, wilted vegetables
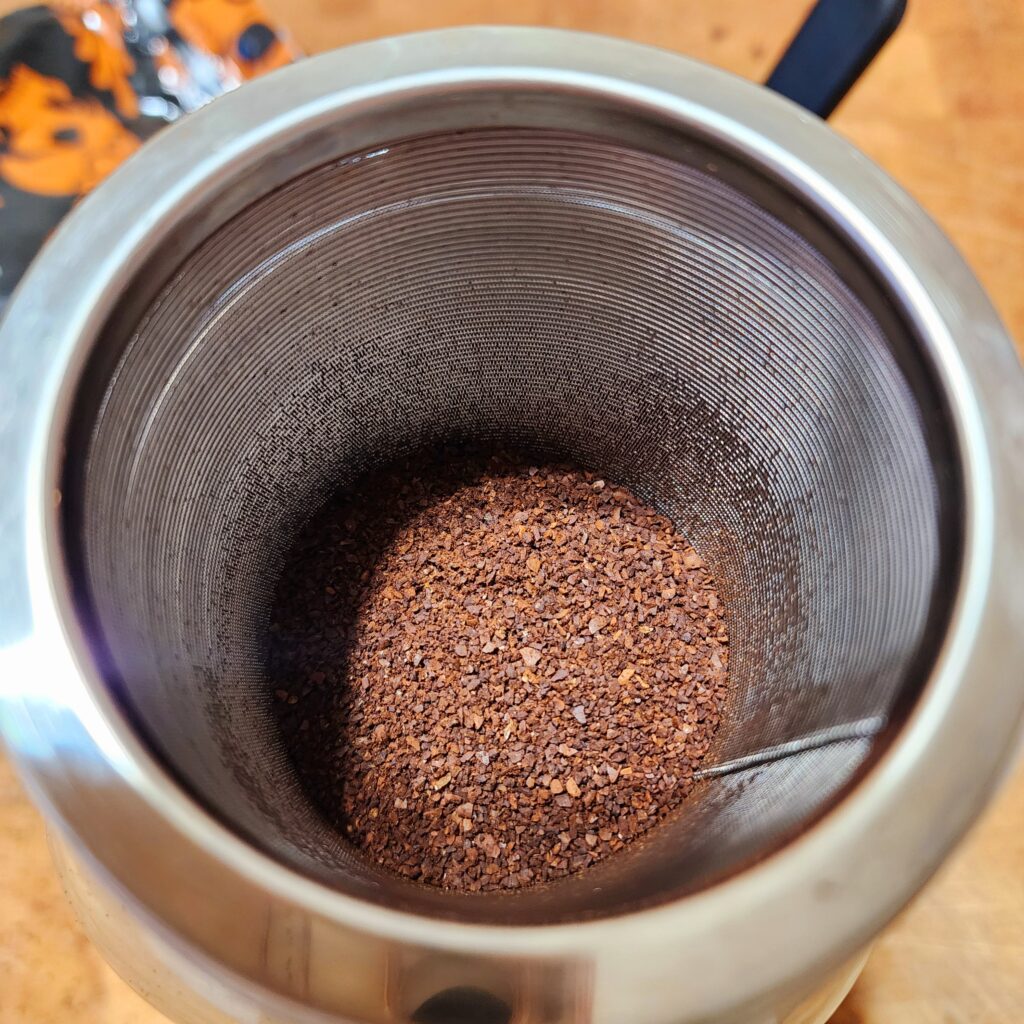
- Coffee grounds and used coffee filters
- Tea bags without synthetic materials
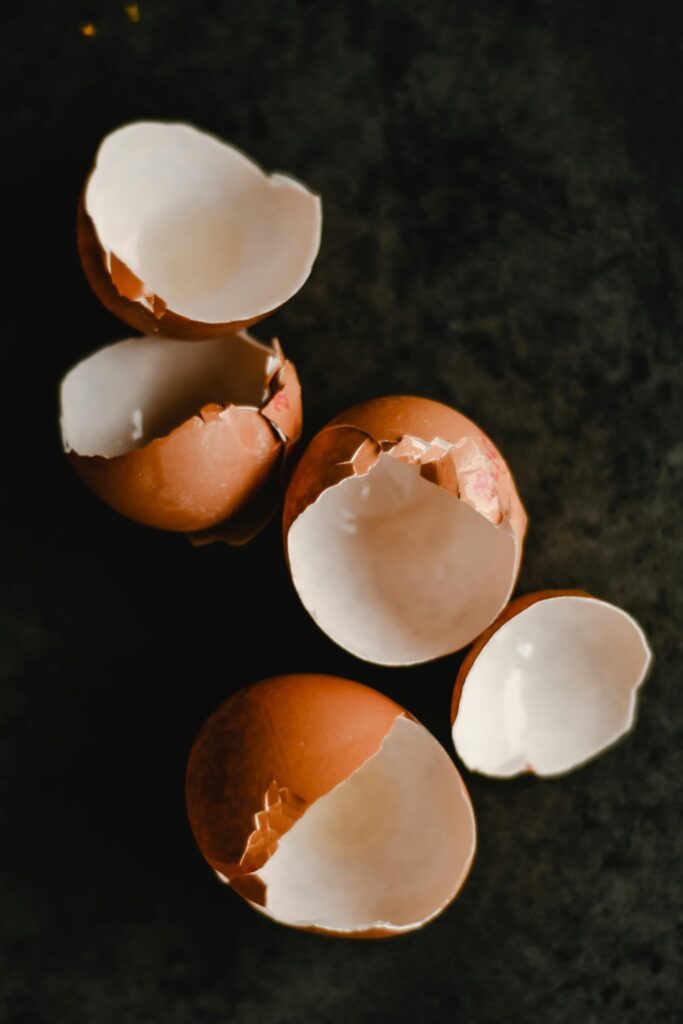
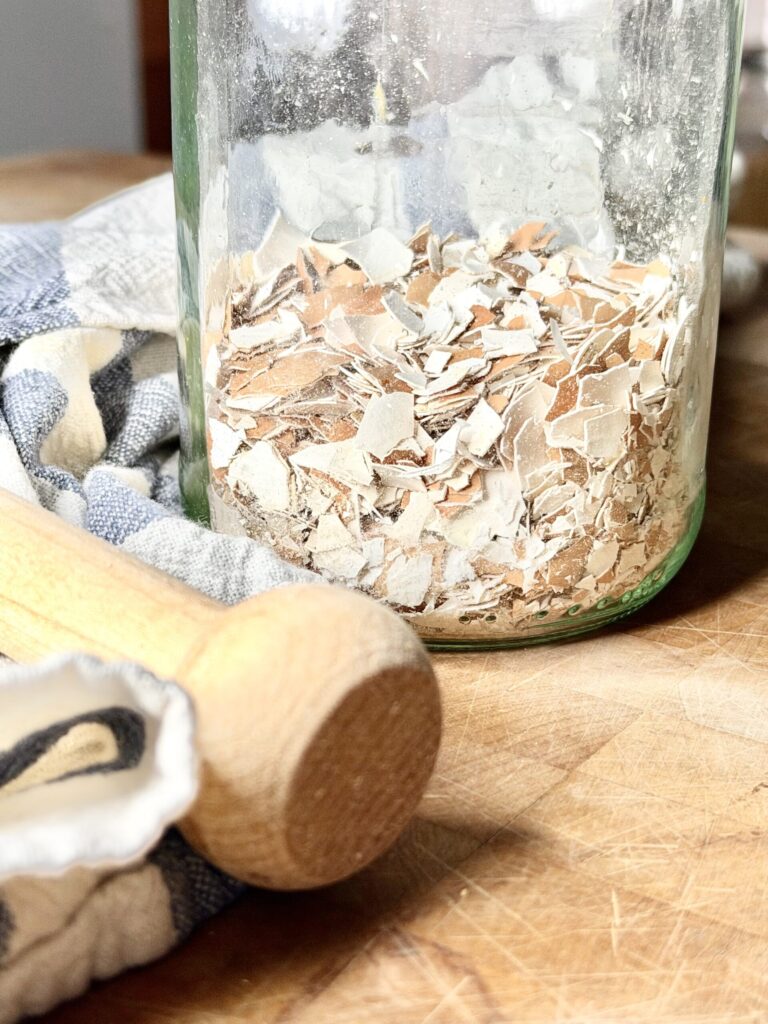
- Eggshells
- Grass clippings
- Leaves and yard trimmings
- Shredded paper or cardboard
Non-Compostable Materials
- Meat, bones, fish (can attract pests)
- Dairy products: milk, cheese, butter
- Oils or greasy foods
- Pet waste (cats or dogs)
- Diseased or moldy plants
- Synthetic materials like plastics
Always avoid items that will attract pests or introduce disease to your garden soil.

Tips and Tricks for Successful Composting
- Balance greens and browns: Combine nitrogen-rich materials like veggie scraps and coffee grounds with carbon-rich materials like leaves and shredded cardboard.
- Chop or shred larger scraps: This speeds up decomposition.
- Keep the pile moist but not soggy: A damp sponge consistency works best.
- Aerate regularly: Turn the pile with a pitchfork or shovel to add oxygen and speed up breakdown.
- Add microbes: Sprinkle in garden soil or finished compost to jumpstart decomposition.
- Use coffee grounds wisely: They are a nitrogen booster that help your compost stay balanced.
- Layer wisely: Alternate wet and dry materials to prevent odor and encourage healthy breakdown.
Whether you are a new composter or seasoned gardener that would like a little reminder, I made something helpful for you. It’s a simple printable Composting Do’s and Don’ts Cheat Sheet that covers what to compost, what not to compost, how to balance green and brown materials, and how to avoid those common beginner mistakes that can make a pile smelly or slow to break down. I like having a quick reference nearby during spring garden prep, so you can print it out and keep it in your garden shed, on the fridge, or tucked into your homestead binder. You can grab your free copy in my resource library below and keep it handy all season long. 🌿

When to Compost
Composting is seasonal but can happen year-round:
- Spring: Knowing when to compost and how to plan throughout the year can help you get the most out of your pile. Spring is the perfect time to start fresh. Gather kitchen scraps, garden debris, leaves, and coffee grounds to kickstart your compost. The soil will benefit greatly from this nutrient-rich material just in time for planting season.
- Summer: During summer, your compost will break down faster thanks to warm weather. Keep turning the pile regularly and continue adding green materials like vegetable scraps, fruit peels, and grass clippings, along with brown materials like shredded leaves or cardboard. Maintaining a balance between greens and browns ensures a healthy compost pile that produces rich, fertile soil for your garden.
- Fall: Fall is ideal for your last compost additions before winter. Collect fallen leaves, leftover garden plants, and other organic debris to add to the pile. This layer will help insulate your compost and provide a head start for spring decomposition. Cover the pile if you expect heavy rain or frost.
- Winter: Winter slows down decomposition, but your compost will continue breaking down gradually. You can continue adding kitchen scraps if the pile is accessible, and insulating with straw or extra leaves will keep microbial activity going. Even in cold months, your compost is building nutrients that will be ready for your garden come spring.
Spring is the perfect time to start a fresh pile and get your garden ready for the growing season.

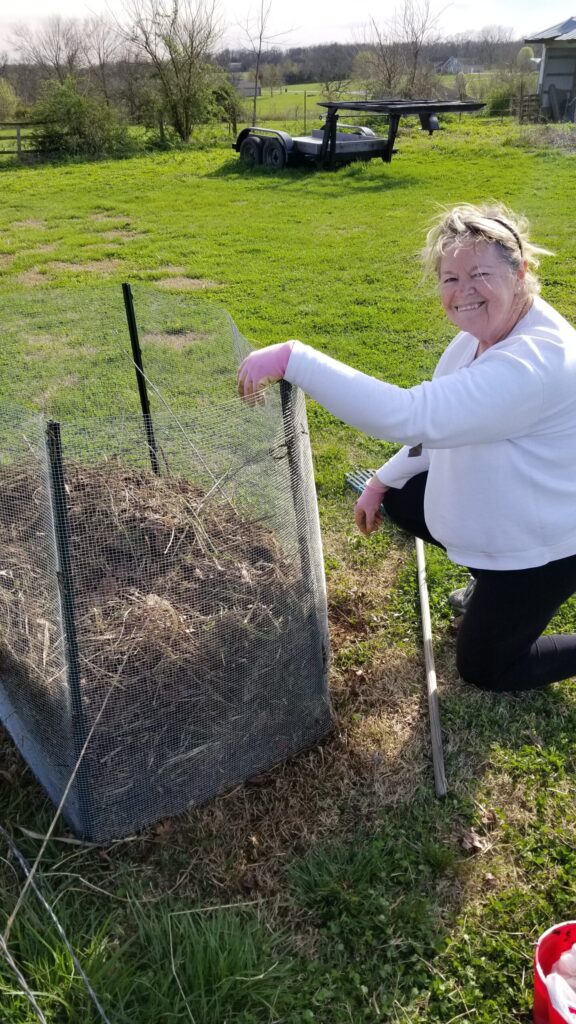
How to Build a Simple Compost Pile with T-Posts and Hardware Cloth
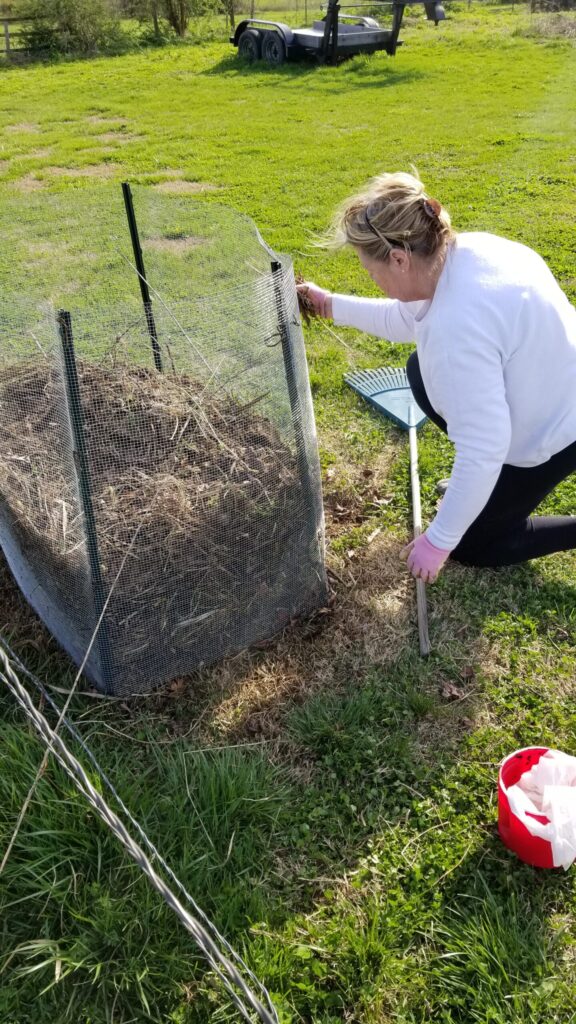
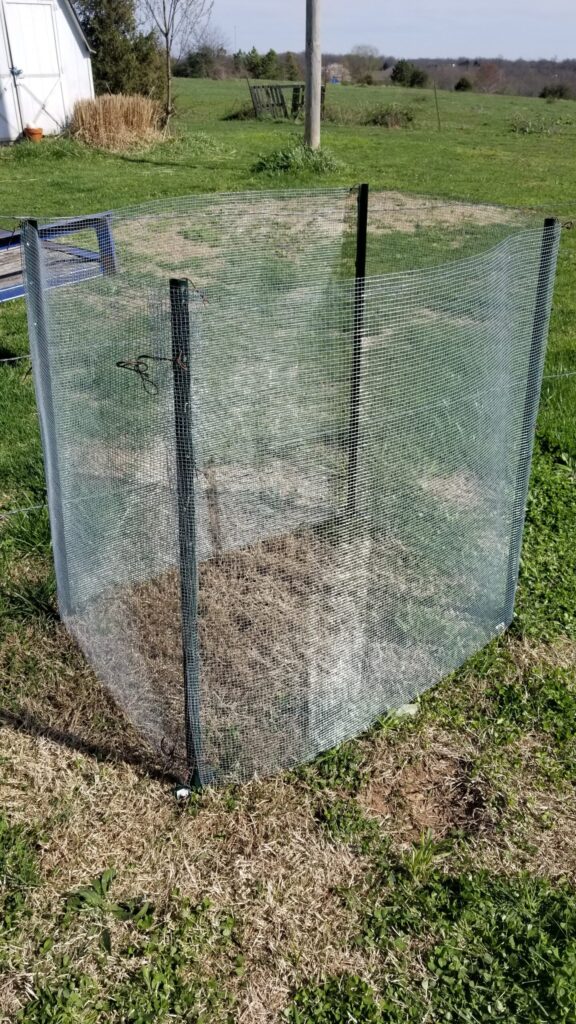
One of the easiest ways to start composting at home is by building a simple compost bin using T-posts and hardware cloth. This method is affordable, effective, and perfect for homesteads of any size. It keeps your compost contained, allows for proper aeration, and is easy to maintain.
Materials You Will Need
- Four or more T-posts
- Hardware cloth or welded wire fencing
- Zip ties, wire, or clips to attach the hardware cloth
- Shovel or pitchfork
- Optional: tarp for covering the pile in heavy rain
Step-by-Step Instructions
- Choose a Location: Pick a flat area in your yard that has good drainage and partial sunlight. Avoid low spots that collect water or areas that are constantly shaded.
- Set Up the T-Posts: Place T-posts in a square or rectangular layout to form the corners of your bin. The posts should be tall enough to hold the hardware cloth and allow your compost pile to grow to at least three feet high.
- Attach the Hardware Cloth: Wrap the hardware cloth around the T-posts and secure it with zip ties, wire, or clips. The wire keeps the pile contained while allowing airflow, which is essential for healthy decomposition.
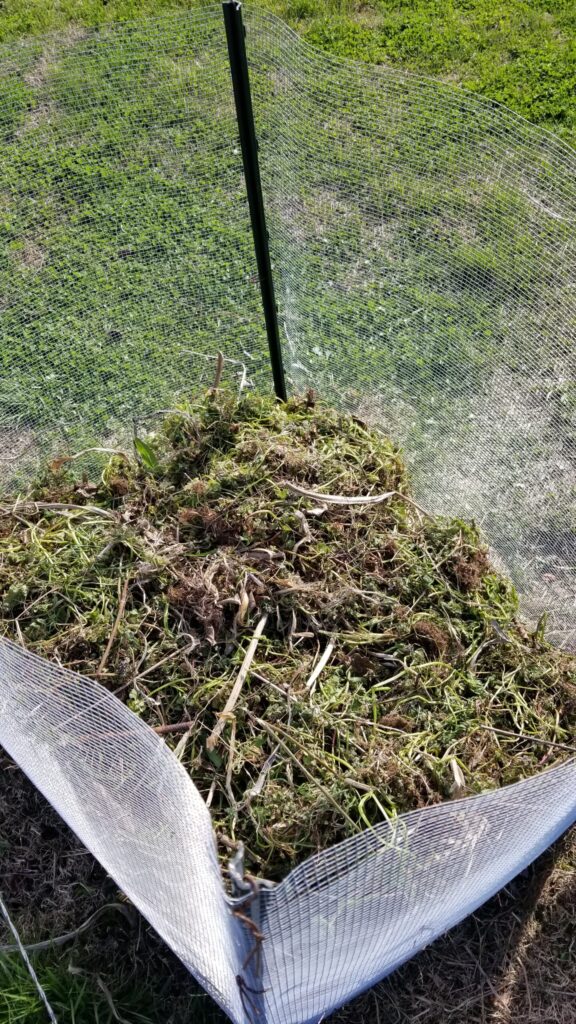
- Add a Base Layer: Start with coarse materials like small branches, straw, or dry leaves. This layer helps with drainage and prevents the pile from becoming compacted.
- Layer Your Compost: Alternate green materials like kitchen scraps, coffee grounds, and grass clippings with brown materials like leaves, shredded cardboard, and paper. Layering helps maintain the proper balance of nitrogen and carbon.
- Maintain Your Pile: Turn the compost regularly with a pitchfork or shovel to introduce oxygen. Keep the pile moist, like a damp sponge. If it dries out, sprinkle water. If it gets too wet, add more brown materials.
- Optional Covering: In rainy areas, use a tarp to prevent excess water from soaking the pile. During winter, a cover or additional leaves can insulate the compost and keep microbial activity going.
Tips and Variations
- For small yards, you can make a single-bin system with just four posts.
- For larger homesteads, consider a multi-bin system to rotate compost piles and have finished compost ready when needed.
- Personal tip: I have used this setup for years, and it works beautifully. The chickens love it, too. They dig through the pile, helping to naturally aerate it while adding some of their own nutrients.
Building your own compost bin is a practical, cost-effective way to support a thriving garden. With this simple DIY design, you can start composting at home and enjoy the satisfaction of turning kitchen scraps and yard debris into nutrient-rich soil.

Affiliate Picks for Your DIY Compost Bin
If you are ready to start your own compost pile at home, here are some of the tools and supplies I personally use. These make the process simple, practical, and long-lasting. I’ve included options you can order online, so you don’t have to hunt around.
T-Posts
These are the backbone of my DIY compost bin. They are sturdy, easy to drive into the ground, and hold the hardware cloth securely. I like to use posts that are at least four feet tall so the pile has plenty of room to grow. These are the one’s I recommend

Hardware Cloth / Wire Fencing
A strong wire mesh keeps your compost contained while letting air flow. I prefer 1/2 inch hardware cloth because it is small enough to keep out pests but open enough to allow oxygen to help the compost break down. Shop hardware cloth here.

Zip Ties or Wire Clips
These are essential for fastening the hardware cloth to your T-posts. I keep a bundle on hand because they are useful for all sorts of homestead projects. Grab a pack here.
Shovel or Pitchfork
Turning your compost regularly speeds up decomposition and keeps the pile healthy. A sturdy shovel or pitchfork is a must-have. This one has a great handle
Optional Tarp or Compost Cover
Protect your pile from heavy rain or snow with a simple tarp. This is especially helpful in the spring when you are building a new compost bin. Find tarps that work well for compost here.
Bonus Tip
If you have chickens, they will love helping you aerate the compost pile. You don’t need a fancy turning tool when you have little helpers scratching and digging for you.
Everything You Need to Know About Spring Composting
Q: Can I compost coffee grounds?
A: Yes! Coffee grounds are rich in nitrogen, which helps balance your compost pile. They break down quickly and add nutrients that are great for vegetables, flowers, and herbs. You can also toss in the used coffee filters if they are unbleached, as they are compostable too. Coffee grounds from homemade cold brew are perfect for this, making it a sustainable way to reuse kitchen scraps.
Q: Can I compost citrus peels?
A: Yes, citrus peels are compostable, but use them in moderation. Large amounts of citrus can slow down decomposition because they are acidic. Mixing peels with other green and brown materials, like leaves or vegetable scraps, will help them break down faster..
Q: Can I compost meat or dairy?
A: Avoid adding these to your home compost pile. Meat, fish, cheese, and greasy foods can attract pests and create unpleasant odors. Stick to vegetable scraps, fruit peels, coffee grounds, eggshells, and yard debris for a healthy compost system.
Q: How long does it take for compost to be ready?
A: Depending on pile size, materials, and aeration, compost can be ready in 3–6 months.
Q: Can I compost in a small space or apartment?
A: Yes. Consider a worm bin, Bokashi system, or a small outdoor bin for balcony or patio use.
Q: What can I do if my pile smells bad?
A: A smelly compost pile usually means it is too wet or has too many greens. Add more browns like shredded leaves, cardboard, or paper, and turn the pile to increase aeration. Proper balance of greens and browns keeps your compost healthy and odor-free.
Q: Can composting help my garden?
A: Absolutely. Compost enriches soil with nutrients, improves structure, retains moisture, and supports microbial life. Plants grown with compost are healthier, produce more, and are more resistant to pests. Regularly adding compost to your garden is one of the best things you can do for spring planting.
Q: Can I compost weeds?
A: Yes, but be careful. Small, non-seeding weeds are fine. Avoid weeds with mature seeds or invasive roots, as they could survive and spread in your garden. A good rule of thumb is to compost weeds before they go to seed.
Q: How do I know when my compost is ready?
A: Finished compost is dark, crumbly, and smells earthy. The materials you added should no longer be recognizable. Depending on pile size, materials, and how often you turn it, compost can be ready in three to six months.
Q: Can I compost in winter?
A: Yes, though decomposition will slow down in cold weather. Your pile may appear dormant, but microbial activity continues, especially in the center. To keep winter composting going, insulate the pile with leaves or straw and keep adding kitchen scraps as they are available.
Conclusion
Composting is a simple, rewarding way to reduce waste, enrich your soil, and live more sustainably. Spring is the perfect time to start or refresh your compost pile. Whether you use kitchen scraps, garden debris, eggshells, or coffee grounds, every bit of organic material adds value to your soil.
Start small if you need to. Build a simple bin with T-posts and hardware cloth, layer your greens and browns, and watch as your scraps transform into nutrient-rich compost. Your garden, and the planet, will thank you.
Wishing you a fruitful Springtime, friend!
XO, Bri
More Beginner Gardening Tips for a Thriving Spring Garden
If you’re learning how to compost for beginners, chances are you’re also planning your spring garden and wanting to grow healthy vegetables naturally. These simple, practical gardening posts will help you build healthy soil, start seeds with confidence, and create a low maintenance garden that actually works for real life.


Simple Homesteading and From Scratch Living Ideas
Composting is really just one small piece of simple living. If you love the idea of reducing waste, cooking from scratch, and creating a cozy, intentional home, these posts will walk you through practical ways to live more sustainably without making it complicated.

Let’s Stay Connected!
If you’d like to follow along with our slow renovation, seasonal garden rhythms, and everyday from scratch moments, I’d love to connect with you on social media too! I share more behind the scenes of our Main Street home renovation project, simple homesteading progress, and cozy daily life over there, and it’s such a sweet way to stay in touch in between blog posts.


