Slow Cooker Apple Cider from Fresh Apples

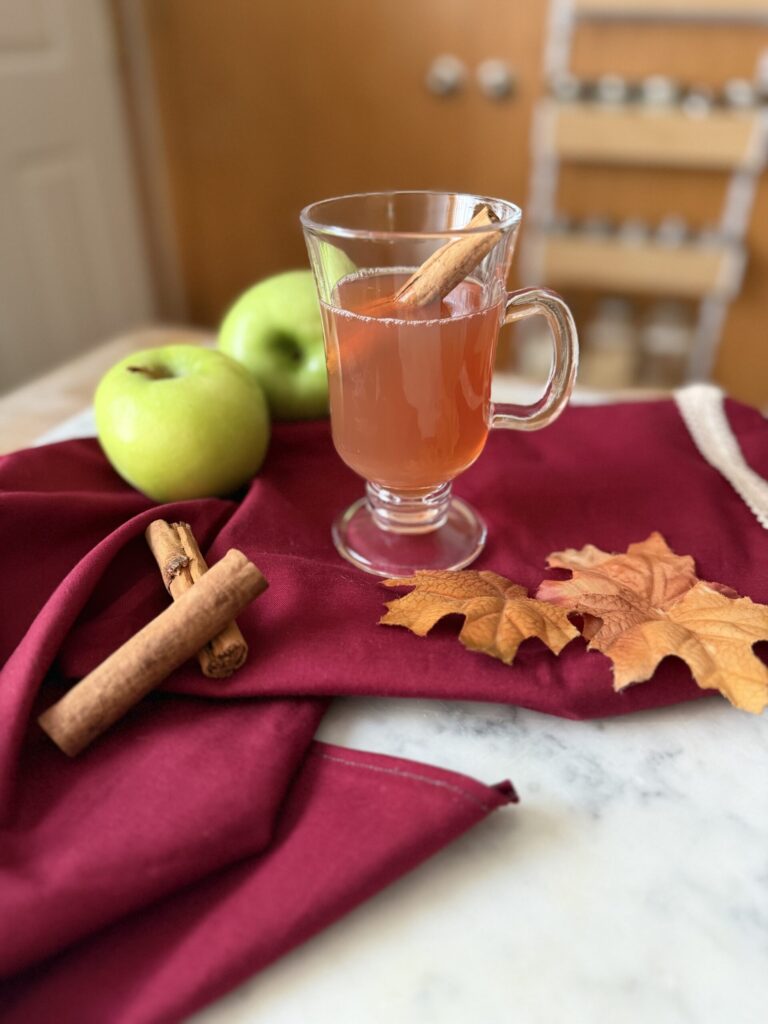
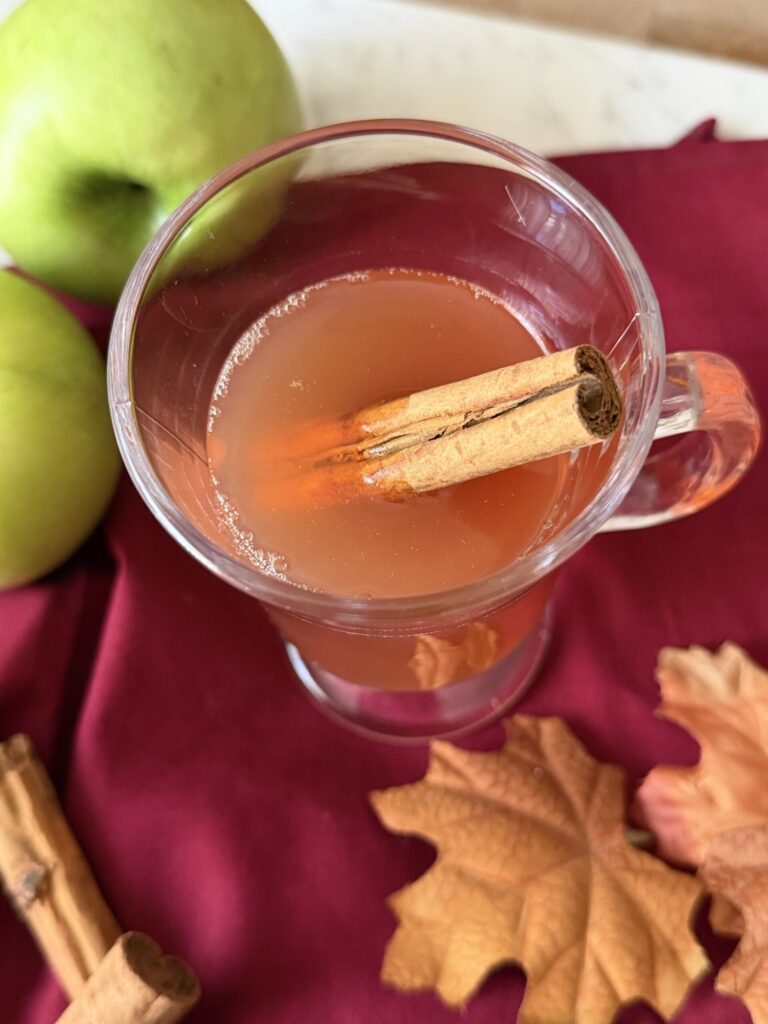
I don’t know about you, but I think there is something really cozy about a pot of homemade apple cider slowly cooking throughout a crisp fall day. Made with fresh apples, orange, cinnamon, and cloves, this slow cooker apple cider is a cozy way to welcome autumn into your home.
Reader Summary
- Made from scratch with whole fresh apples, so you don’t need store-bought apple juice or cider.
- A combination of Honeycrisp and Granny Smith apples gives the cider a balance of sweetness and tartness.
- Fresh orange, cinnamon sticks, and ground cloves add classic fall flavor.
- The Instant Pot Slow Cook setting makes it easy to let the cider develop throughout the day.
- Adjust the sugar and spices to suit your taste, then serve warm on a chilly autumn evening.
If you are looking for more cozy beverages this Fall, you would love my Pumpkin Sauce recipe or my Pumpkin Cold Foam to add to your favorite chai latte or cold brew coffee! Or if you want something to snack on, try a warm slice of rustic sourdough bread with some cinnamon sugar compound butter or creamy apple butter!
Why You’ll Love This Recipe
It’s made with real apples. This recipe starts with whole fresh apples rather than store-bought juice, giving you a lovely way to use seasonal fruit.
Your home smells wonderful while it cooks. Apples, cinnamon, and cloves slowly warming throughout the day make the kitchen feel especially cozy in autumn.
You can customize the flavor. Choose sweeter or tarter apples, adjust the spices, and add more sugar to make the cider exactly how you like it.
It’s a simple fall tradition. Once the fruit is prepared and the ingredients are in the pot, you can let the cider cook while you enjoy the rest of your day.
Ingredients for Homemade Apple Cider
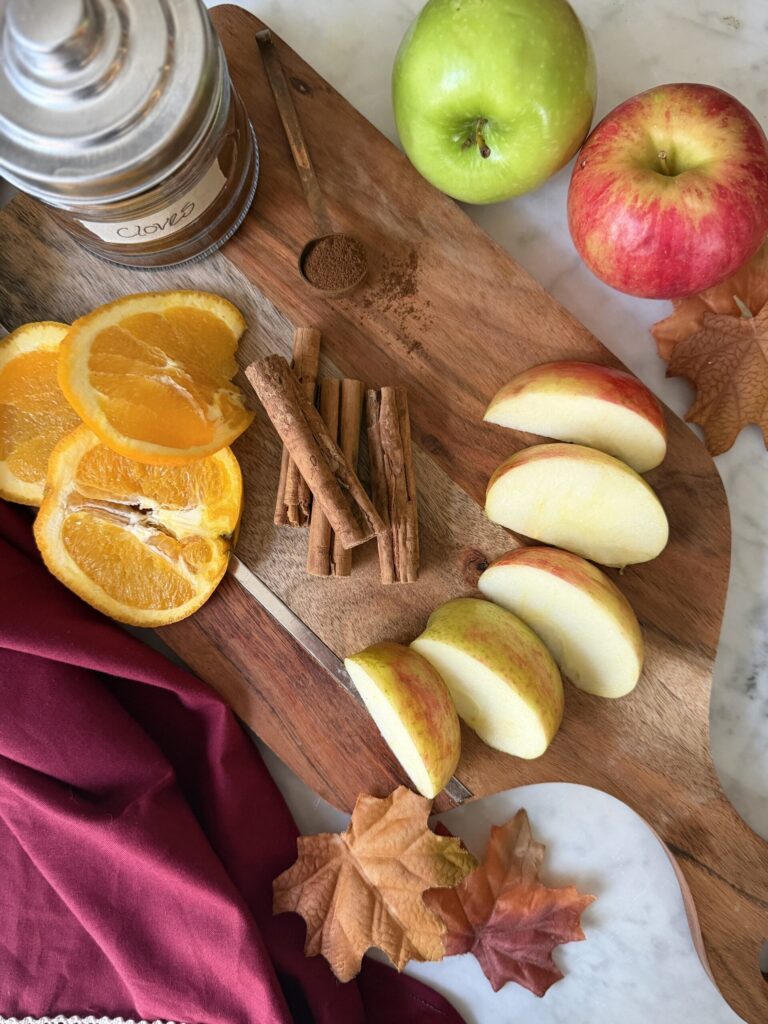
You only need a handful of simple ingredients to make this homemade apple cider. Most of the flavor comes from the fresh fruit and warm spices.
Fresh Apples
You’ll need 10 apples for this recipe. I used a mixture of Honeycrisp and Granny Smith apples, with five of each in my first batch.
Honeycrisp apples bring natural sweetness, while Granny Smith apples contribute a pleasantly tart flavor. For a sweeter, less tangy cider, I would try using seven Honeycrisp apples and three Granny Smith apples next time.
You can also experiment with other sweet apple varieties, such as Fuji or Gala.
Fresh Orange
One fresh orange adds a bright citrus note that complements the apples and cinnamon. Wash it well and peel it before adding it to the pot.
The white pith can become bitter during a long cooking time, so you can remove as much as possible or add the orange later in the cooking process if you’re sensitive to bitter flavors.
Ceylon Cinnamon Sticks
Four Ceylon cinnamon sticks infuse the cider with a warm, aromatic flavor. I like using cinnamon sticks because they’re easy to remove when it’s time to strain the cider.
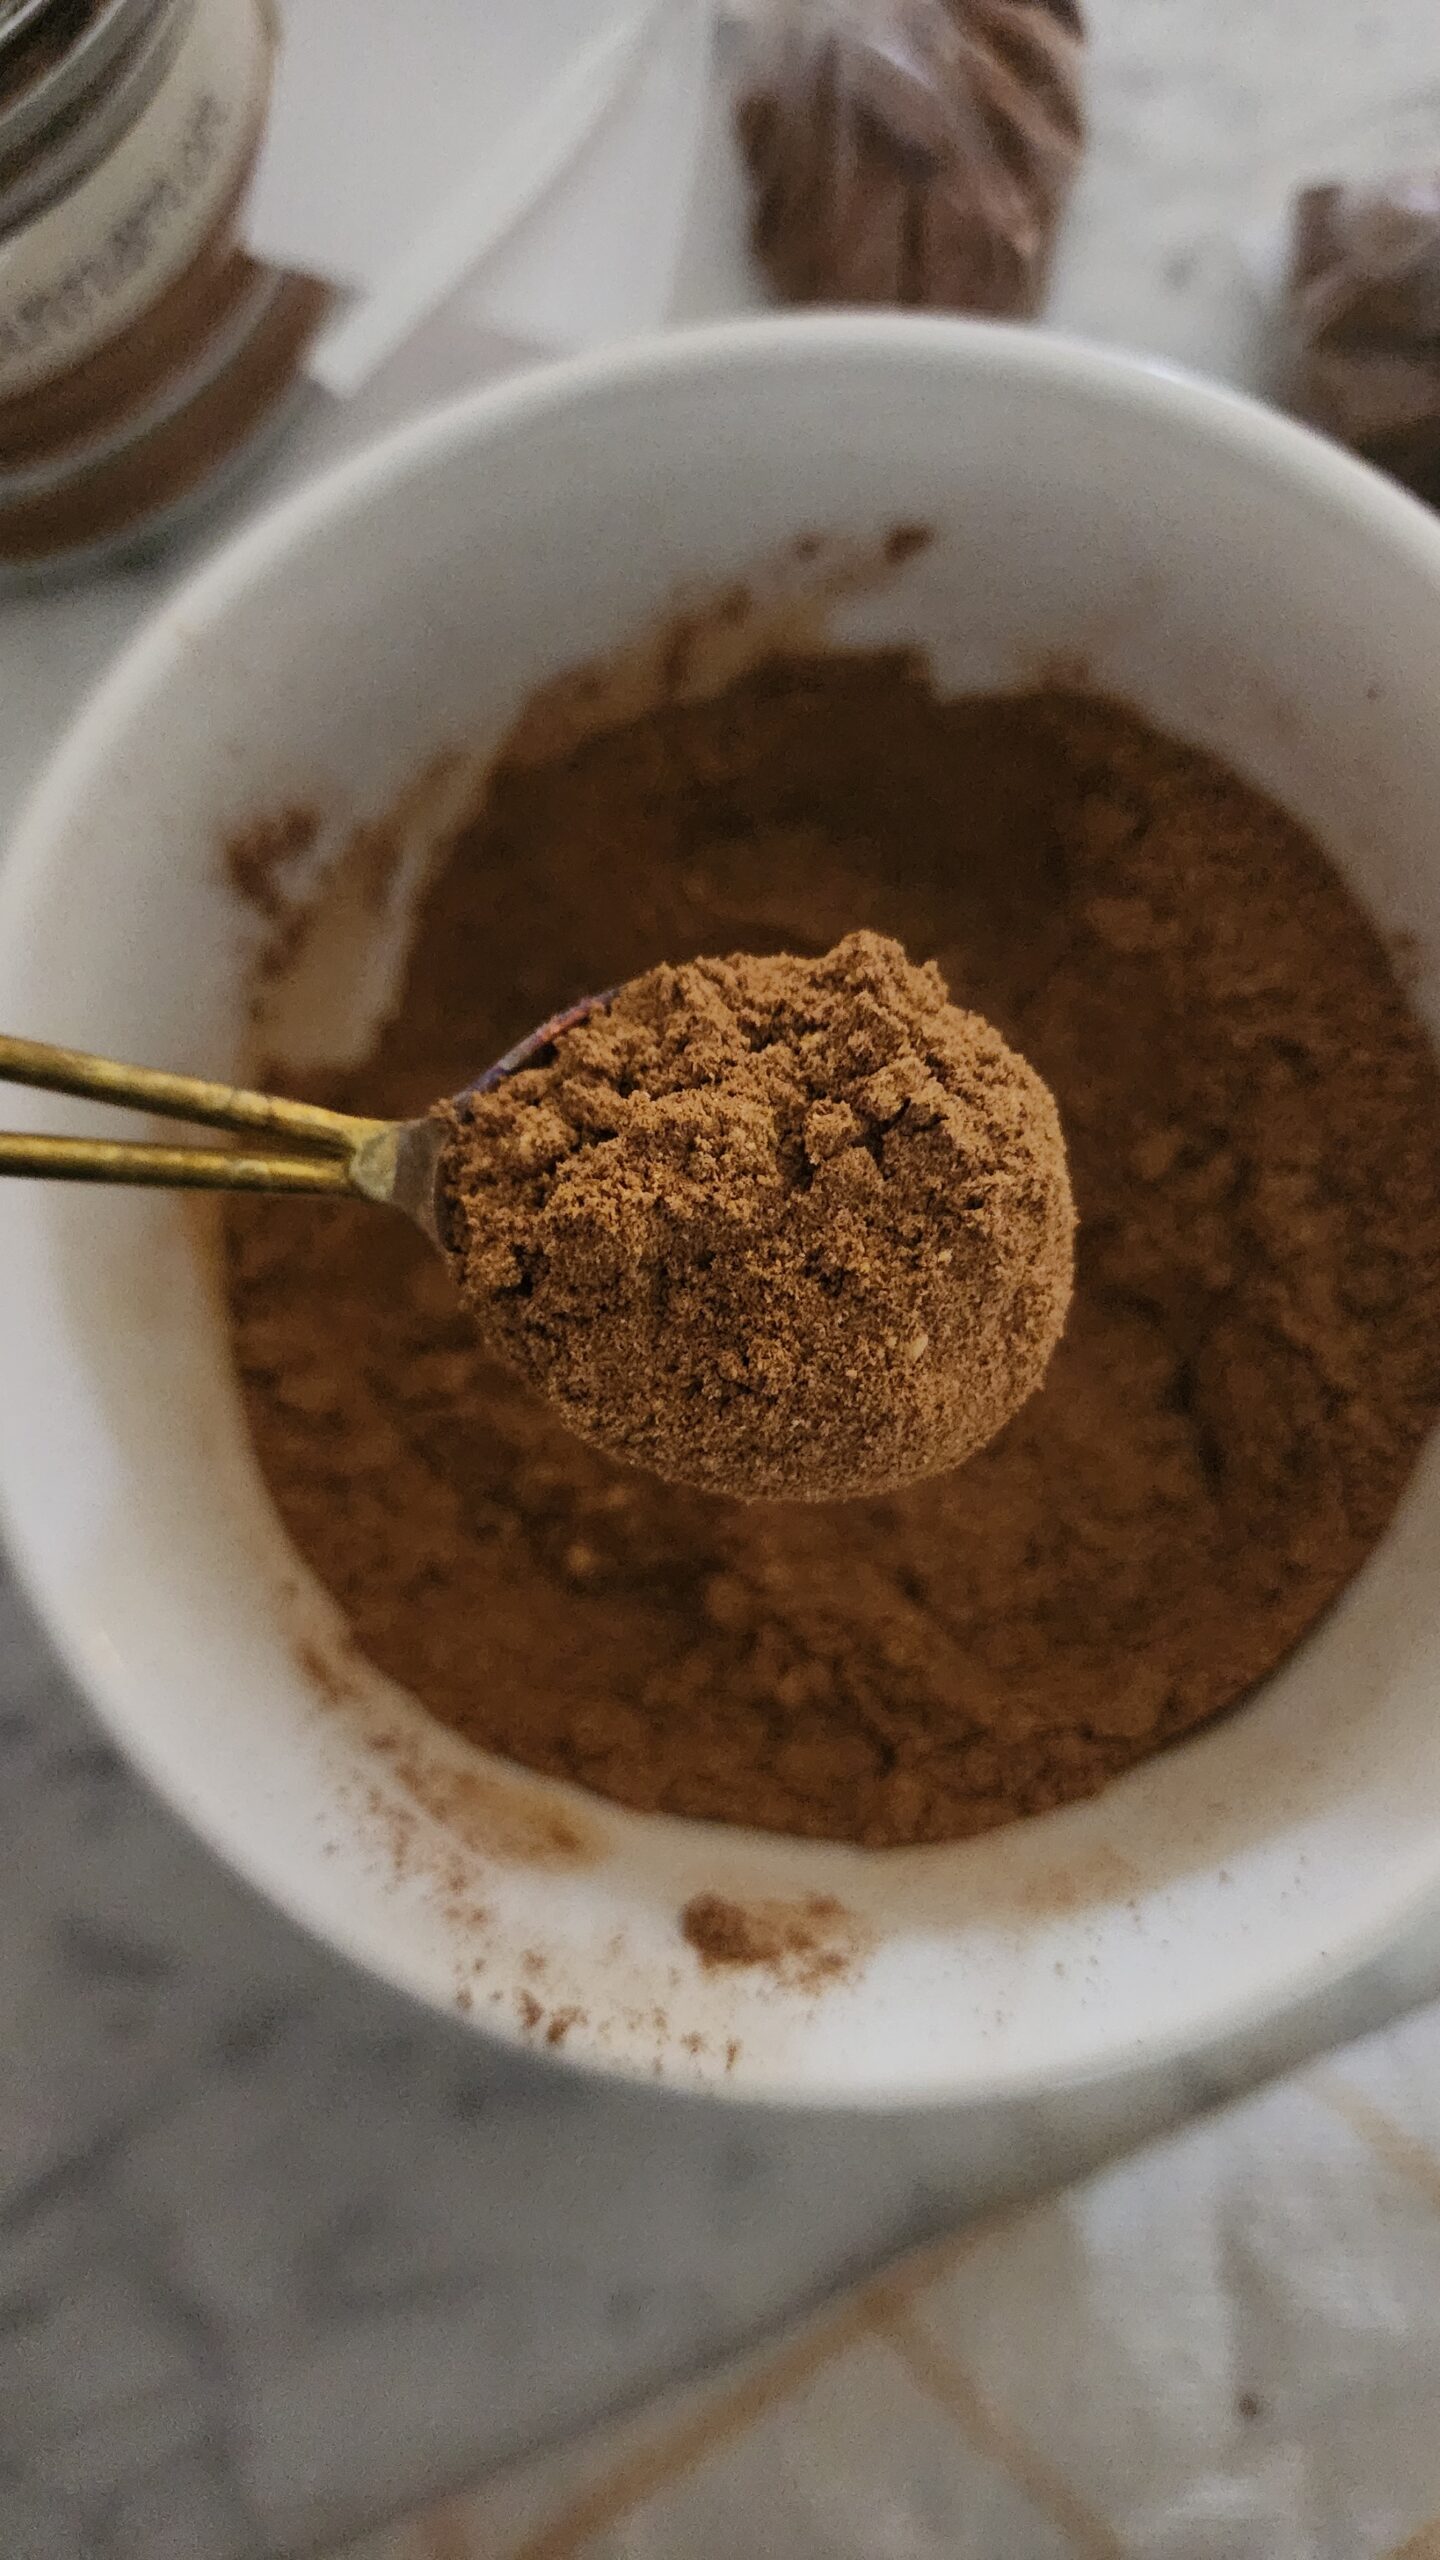
Ground Cloves
Ground cloves add warmth and a distinctly autumnal spice flavor. They’re potent, though, and too much can make the cider taste sharp or slightly bitter.
My original batch used one teaspoon of ground cloves. After tasting it, I would recommend starting with 1/2 teaspoon for the next batch and adjusting from there.
Granulated Sugar
The original recipe uses six tablespoons of granulated sugar. We found that amount a little less sweet than we preferred, but sweetness is a personal preference.
We each poured an 8-ounce glass and stirred in one teaspoon of brown sugar. It was delicious! You can increase the sugar in the pot or sweeten individual servings with brown sugar or maple syrup.
Water
Add enough water to cover the fruit as much as practical while staying below your Instant Pot’s maximum fill line. Since the apples float, the water level can be a little difficult to judge.
I removed approximately one cup of water from my original batch because I wanted a more concentrated, apple-forward cider. You can make a similar adjustment if you prefer a richer flavor.
How to Make Slow Cooker Apple Cider
Step 1: Prepare the Fruit
Wash the apples and orange thoroughly. Quarter the apples, removing the stems, core, and any damaged spots. There is no need to peel the apples.
Peel the orange and remove as much of the white pith as possible. The helps prevent the cider from becoming too bitter. Separate into segments.
Step 2: Add the Ingredients to the Instant Pot
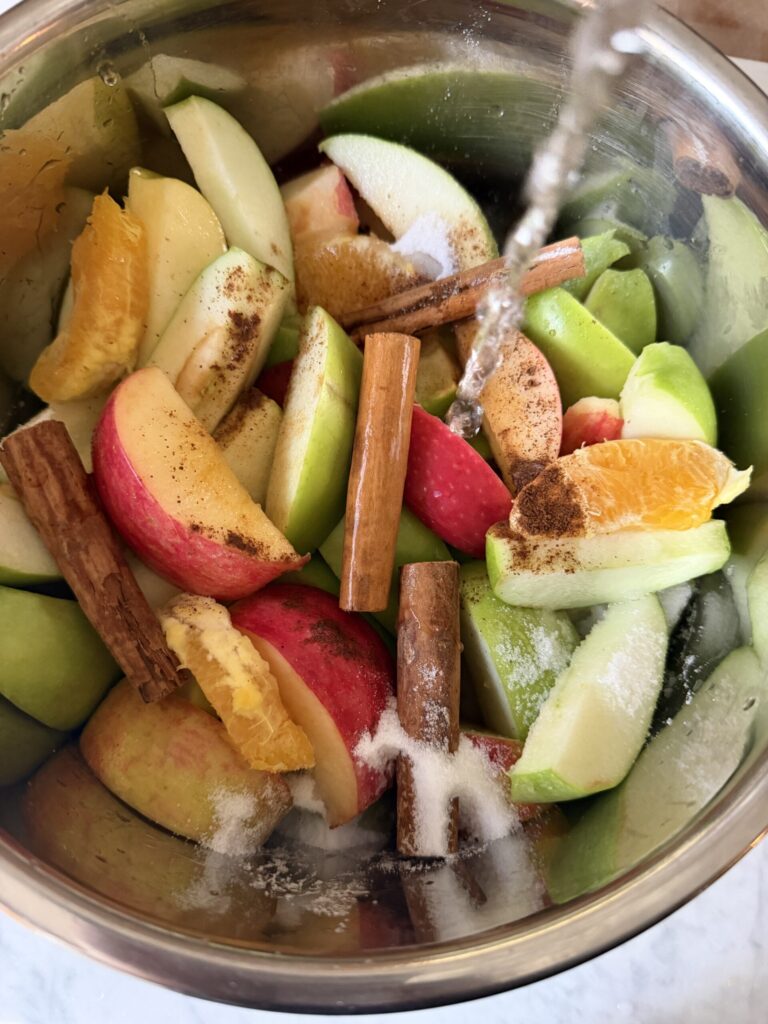
Place the apples, orange pieces, cinnamon sticks, ground cloves, and sugar into the Instant Pot’s inner pot.
Pour in enough water to cover the fruit as much as practical, making sure not to exceed the appliance’s fill limit. Follow your model’s instructions for the minimum liquid level and Slow Cook setting.
Step 3: Slow Cook Throughout the Day
Select the Slow Cook function and follow your Instant Pot manual for the appropriate setting and cooking time. Allow approximately 6–8 hours, checking periodically until the apples are very soft and the liquid has developed a rich apple and spice aroma.
The exact timing will depend on your appliance. Some Instant Pot models run cooler than traditional slow cookers, so check that the cider reaches a safe simmer and follow your model’s instructions.
You can gently stir the fruit occasionally as it cooks.
Step 4: Mash the Apples
Once the apples are very soft, gently mash them with a suitable heat-safe utensil to release more of their juices and flavor.
Be careful around the hot liquid, and avoid splashing.
Step 5: Strain the Cider
Carefully strain the mixture through a fine-mesh strainer into a heat-safe container. Press the softened fruit gently to extract the liquid, but avoid forcing too much pulp through the strainer if you prefer a smoother cider.
Discard the solids once you’ve extracted the liquid. (I like to feed them to my chickens!)
Step 6: Taste and Sweeten
Taste the strained cider before making any adjustments.
If it’s too tart, stir in a little more sugar or brown sugar. If the flavor is too weak, you can gently simmer the strained cider in an appropriate uncovered cooking vessel to reduce some of the water and concentrate the flavor.
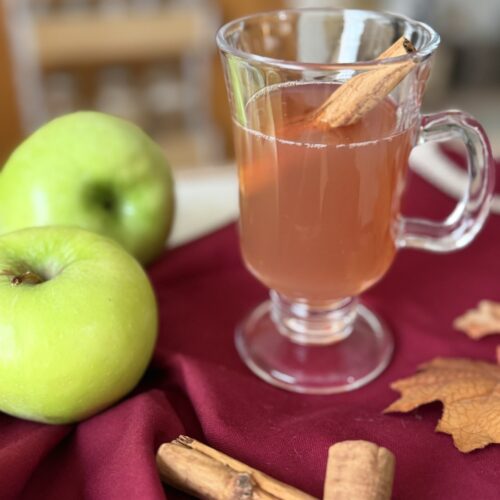
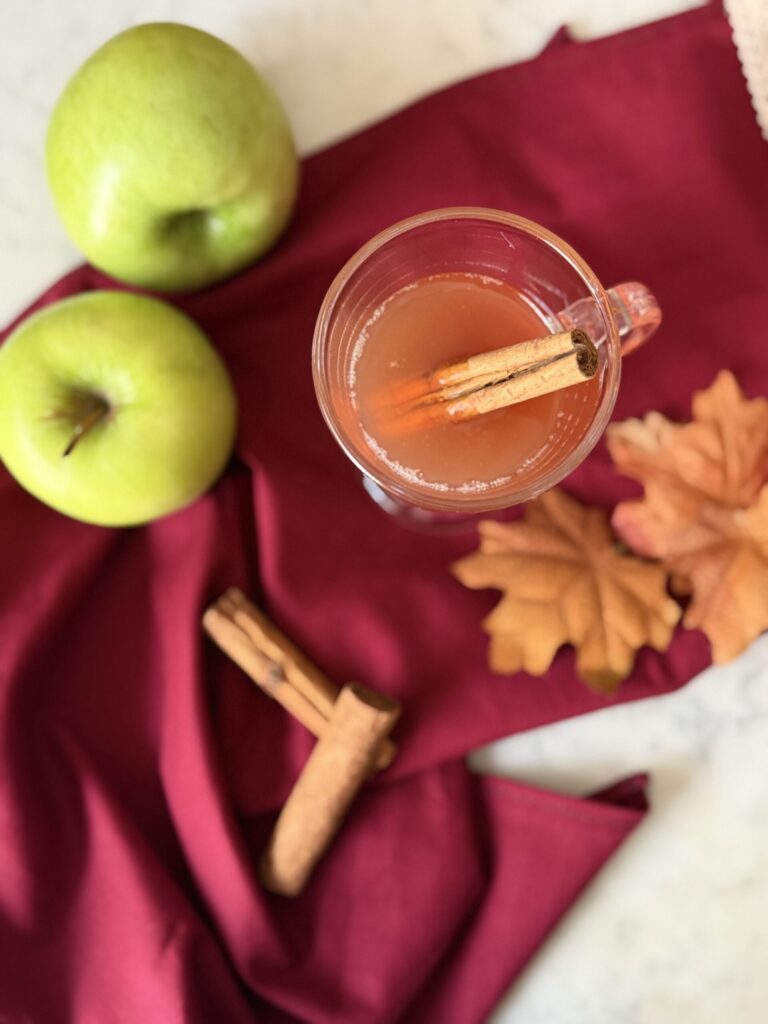
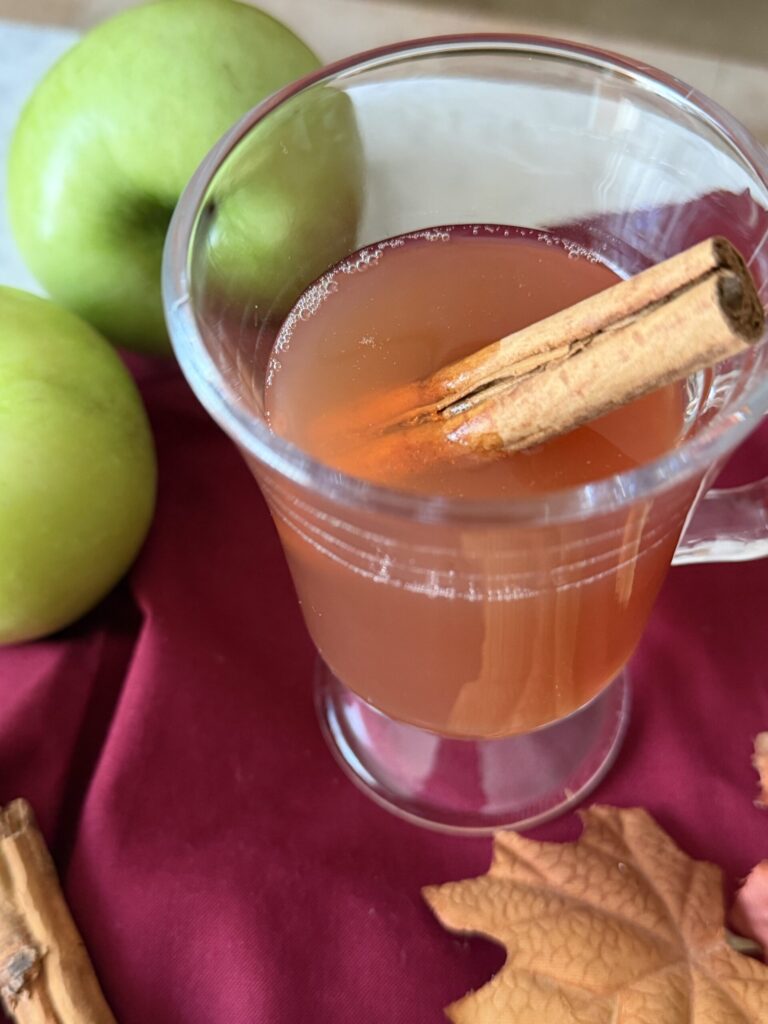
Pour into mugs and enjoy warm or chilled.
Slow Cooker Apple Cider from Fresh Apples
Ingredients
- 10 Medium apples I used 5 Granny Smith and 5 Honeycrisp
- 1 Orange
- 4 Cinnamon Sticks I used Ceylon Cinnamon Sticks
- 1 tsp ground cloves Start with 1/2 tsp if you want it less spicy)
- 6 TBSP granulated sugar
- Water
Instructions
- Wash the apples and orange. Quarter the apples, removing stems, core, and damaged spots. Peel the orange.
- Add the apples, orange, cinnamon sticks, ground cloves, and sugar to the Instant Pot inner pot.
- Add water, following your appliance's minimum liquid requirements and maximum fill line.
- Select Slow Cook and follow your model's instructions. Cook for approximately 6–8 hours, or until the apples are very soft and the cider is flavorful. Check periodically and ensure the liquid reaches a safe simmer.
- Gently mash the softened apples with a suitable heat-safe utensil.
- Carefully strain through a fine-mesh strainer, gently pressing the fruit to release its juices.
- Taste and add more sugar if desired. If the cider is too diluted, gently simmer it uncovered in an appropriate vessel to concentrate the flavor.
- Serve warm, adding a teaspoon of brown sugar to an 8-ounce serving if desired.
A Little Note About Slow Living
One of my favorite things about fall is the way ordinary moments at home can become something special. And for me, homemade apple cider is one of those little seasonal rituals.
I could make cider in a hurry, but there’s something about letting it slowly cook throughout the day that I love. I enjoy knowing that the apples and spices are gently warming in the kitchen while I go about my day. Every time I walk by, I can check on the pot, give it a stir, and enjoy the smell of fall filling the house.
There’s also the anticipation of knowing that, by the time evening arrives, I’ll have a warm mug of homemade cider waiting for me.
It’s a small thing, but I think that’s part of the beauty of slow living. We don’t always have to rush toward the finished product. Sometimes the process itself is worth enjoying.
This particular day, I was already making homemade vegetable broth for my Savory Soup Sunday recipe, with plans to freeze some for a pumpkin soup the following week. Once the broth was finished, I washed the pot and turned to the apples, orange, cinnamon, and cloves.
It felt like a lovely way to spend a fall day in the kitchen, preparing homemade staples and making something comforting to enjoy that evening.
And that first warm cup? It felt even better knowing that it had been slowly coming together all afternoon.
Tips for the Best Homemade Apple Cider
Use a mixture of apple varieties
A combination of sweet and tart apples gives the cider a more balanced flavor. My first batch used five Honeycrisp and five Granny Smith apples. If you prefer a sweeter cider with less tartness, try using more Honeycrisp apples and fewer Granny Smith apples.
Start with less ground cloves
Ground cloves are concentrated and can easily overpower the fruit. Since my first batch had a slightly sharp or spicy finish, I’d start with 1/4 or 1/2 teaspoon in the next batch rather than a full teaspoon.
You can always add a little more if you want a stronger spice flavor.
Adjust the sweetness after cooking
Six tablespoons of sugar provide a starting point, but you may prefer a sweeter cider. We found that adding one teaspoon of brown sugar to each 8-ounce glass made a noticeable difference.
You can sweeten the entire batch after straining or adjust each serving individually.
Don’t worry if the apples float
Apples naturally float in water, making it difficult to tell whether you’ve added enough. Aim to cover the fruit as much as practical while following your appliance’s liquid and fill-level requirements.
If the finished cider tastes diluted, you can reduce it gently after straining.
Strain thoroughly
A fine-mesh strainer helps remove the softened apple pulp, seeds, and spices, leaving you with a smoother drink.
Store leftovers safely
Allow the cider to cool promptly, then transfer it to covered containers and refrigerate. Enjoy within 3–4 days, or freeze it in freezer-safe containers with room for expansion. Thaw frozen cider in the refrigerator and reheat it before serving.
Frequently Asked Questions
Can I make apple cider with any kind of apple?
Yes! Different apple varieties will change the sweetness and tartness of the finished cider. Honeycrisp, Fuji, and Gala apples are good options for a sweeter flavor, while Granny Smith apples add more tartness. Using a mixture gives you room to customize the taste.
Do I need to peel the apples?
No. Wash them well and quarter them before cooking. The apples will soften during the long cooking time, and you’ll strain the solids out before serving.
Why does my homemade apple cider taste bitter?
A bitter or sharp flavor can come from several things, including too much ground clove, the white pith of the orange, or a particularly tart apple blend. If your cider tastes too sharp, try reducing the cloves, using fewer Granny Smith apples, and removing some of the orange pith in your next batch.
You can also add a little brown sugar to balance the tartness.
How can I make my apple cider sweeter?
Start by tasting the strained cider. Add granulated sugar, brown sugar, or maple syrup a little at a time until it tastes right to you. You can also sweeten individual mugs instead of adjusting the entire batch.
Can I make this recipe in a regular slow cooker?
Yes, provided your slow cooker has enough capacity for the fruit and water. Follow its manufacturer’s instructions for the appropriate heat setting and cooking time. The cooking time may vary by appliance.
Can I pressure cook this apple cider instead?
Pressure cooking is another possible way to extract flavor from apples, but I haven’t tested that method with this particular recipe. The instructions here are for the Instant Pot Slow Cook setting, so I recommend following the tested method until I can try a pressure-cooked version.
Can I drink the cider cold?
Absolutely! Although I especially enjoy it warm on a chilly fall evening, you can refrigerate the finished cider and serve it cold over ice.
Final Thoughts
Making homemade apple cider from fresh apples is a lovely way to welcome the fall season. With a few simple ingredients and a little patience, you can turn fresh fruit and warm spices into a comforting drink to enjoy at home.
Adjust the apples, spices, and sweetness to suit your own preferences, and don’t be afraid to experiment as you find your favorite combination.
I hope this recipe gives you a reason to slow down, enjoy the smell of apples and cinnamon filling your home, and savor a warm cup of cider at the end of the day.
Happy Fall friend!
XO, Bri
More Cozy Fall Recipes You Will Love
If you’re soaking up all the cozy flavors of fall, be sure to check out the recipes below for comforting homemade favorites, seasonal treats, and from-scratch recipes to enjoy all autumn long!


Let’s Stay Connected!
For more from-scratch recipes, DIY inspiration, and glimpses of life behind the scenes at the Manor, I would love to have you follow along on these other platforms!