Getting Started with Sourdough: How to Feed and Activate Your Starter

There is something magical about baking your own bread. Especially in the new year, when everything feels fresh and full of possibility, starting a sourdough routine can bring a sense of calm and accomplishment to your kitchen. If you have a new sourdough starter or are thinking about starting one, this guide on how to feed a sourdough starter will walk you through everything you need to know to feed and activate your starter so it is ready to bake.
Whether you are completely new to sourdough or have tried it once or twice, this post will give you a simple, step-by-step guide. By the end, you will feel confident caring for your starter and enjoying the process of making your own homemade bread.
Reader Summary
What You’ll Learn in This Guide
- How to feed a sourdough starter properly for consistent growth and activity
- How often to feed your starter based on whether it’s stored on the counter or in the refrigerator
- How to tell when your sourdough starter is active and ready to bake with
- Common troubleshooting tips if your starter is sluggish or not rising
- The best flour and water choices for maintaining a healthy starter
- Simple care routines to keep your sourdough starter strong and reliable
*This post may contain affiliate links. This means I may earn a small commission at no extra cost to you if you choose to make a purchase through one of my links. I only recommend products I personally use or truly love.
If you are building a sourdough routine, there are so many simple ways to use both active starter and sourdough discard in everyday baking. You may also enjoy sourdough pancakes and waffles made with discard for an easy breakfast option, sourdough sandwich bread for a classic homemade loaf, or quick sourdough tortillas and homemade naan for an easy addition to lunches and dinners. These recipes are a great way to make the most of your starter at every stage, so nothing goes to waste.
What is a Sourdough Starter
A sourdough starter is a living culture made from flour and water. It contains wild yeast and beneficial bacteria that make bread rise naturally. Your starter is the heart of every loaf, giving it flavor, texture, and a gentle tang that store-bought yeast cannot replicate.
When you first buy or receive a starter, it may be dormant, especially if it was kept in the refrigerator. Feeding and activating it properly is the key to getting it bubbly and ready for baking. A healthy starter should smell pleasant and slightly tangy, and show lots of bubbles when it is active.
How to Feed a Sourdough Starter
Feeding your starter is simple and does not need to be intimidating. Here is a beginner-friendly step-by-step guide to get your starter active.
Step 1: Prepare Your Starter
If your starter has been in the fridge, take it out and let it sit at room temperature for about 30 minutes. Gently stir it to combine any liquid that may have formed on top. This liquid is called hooch and it is normal. It is a sign that your starter is hungry.
Step 2: Discard Part of the Starter
Before feeding, remove about half of the starter and discard it. I know it can feel wasteful, but this helps keep your starter healthy and prevents it from growing too large. You can even use the discarded starter for pancakes or waffles if you want to avoid waste (see my recipes below!).
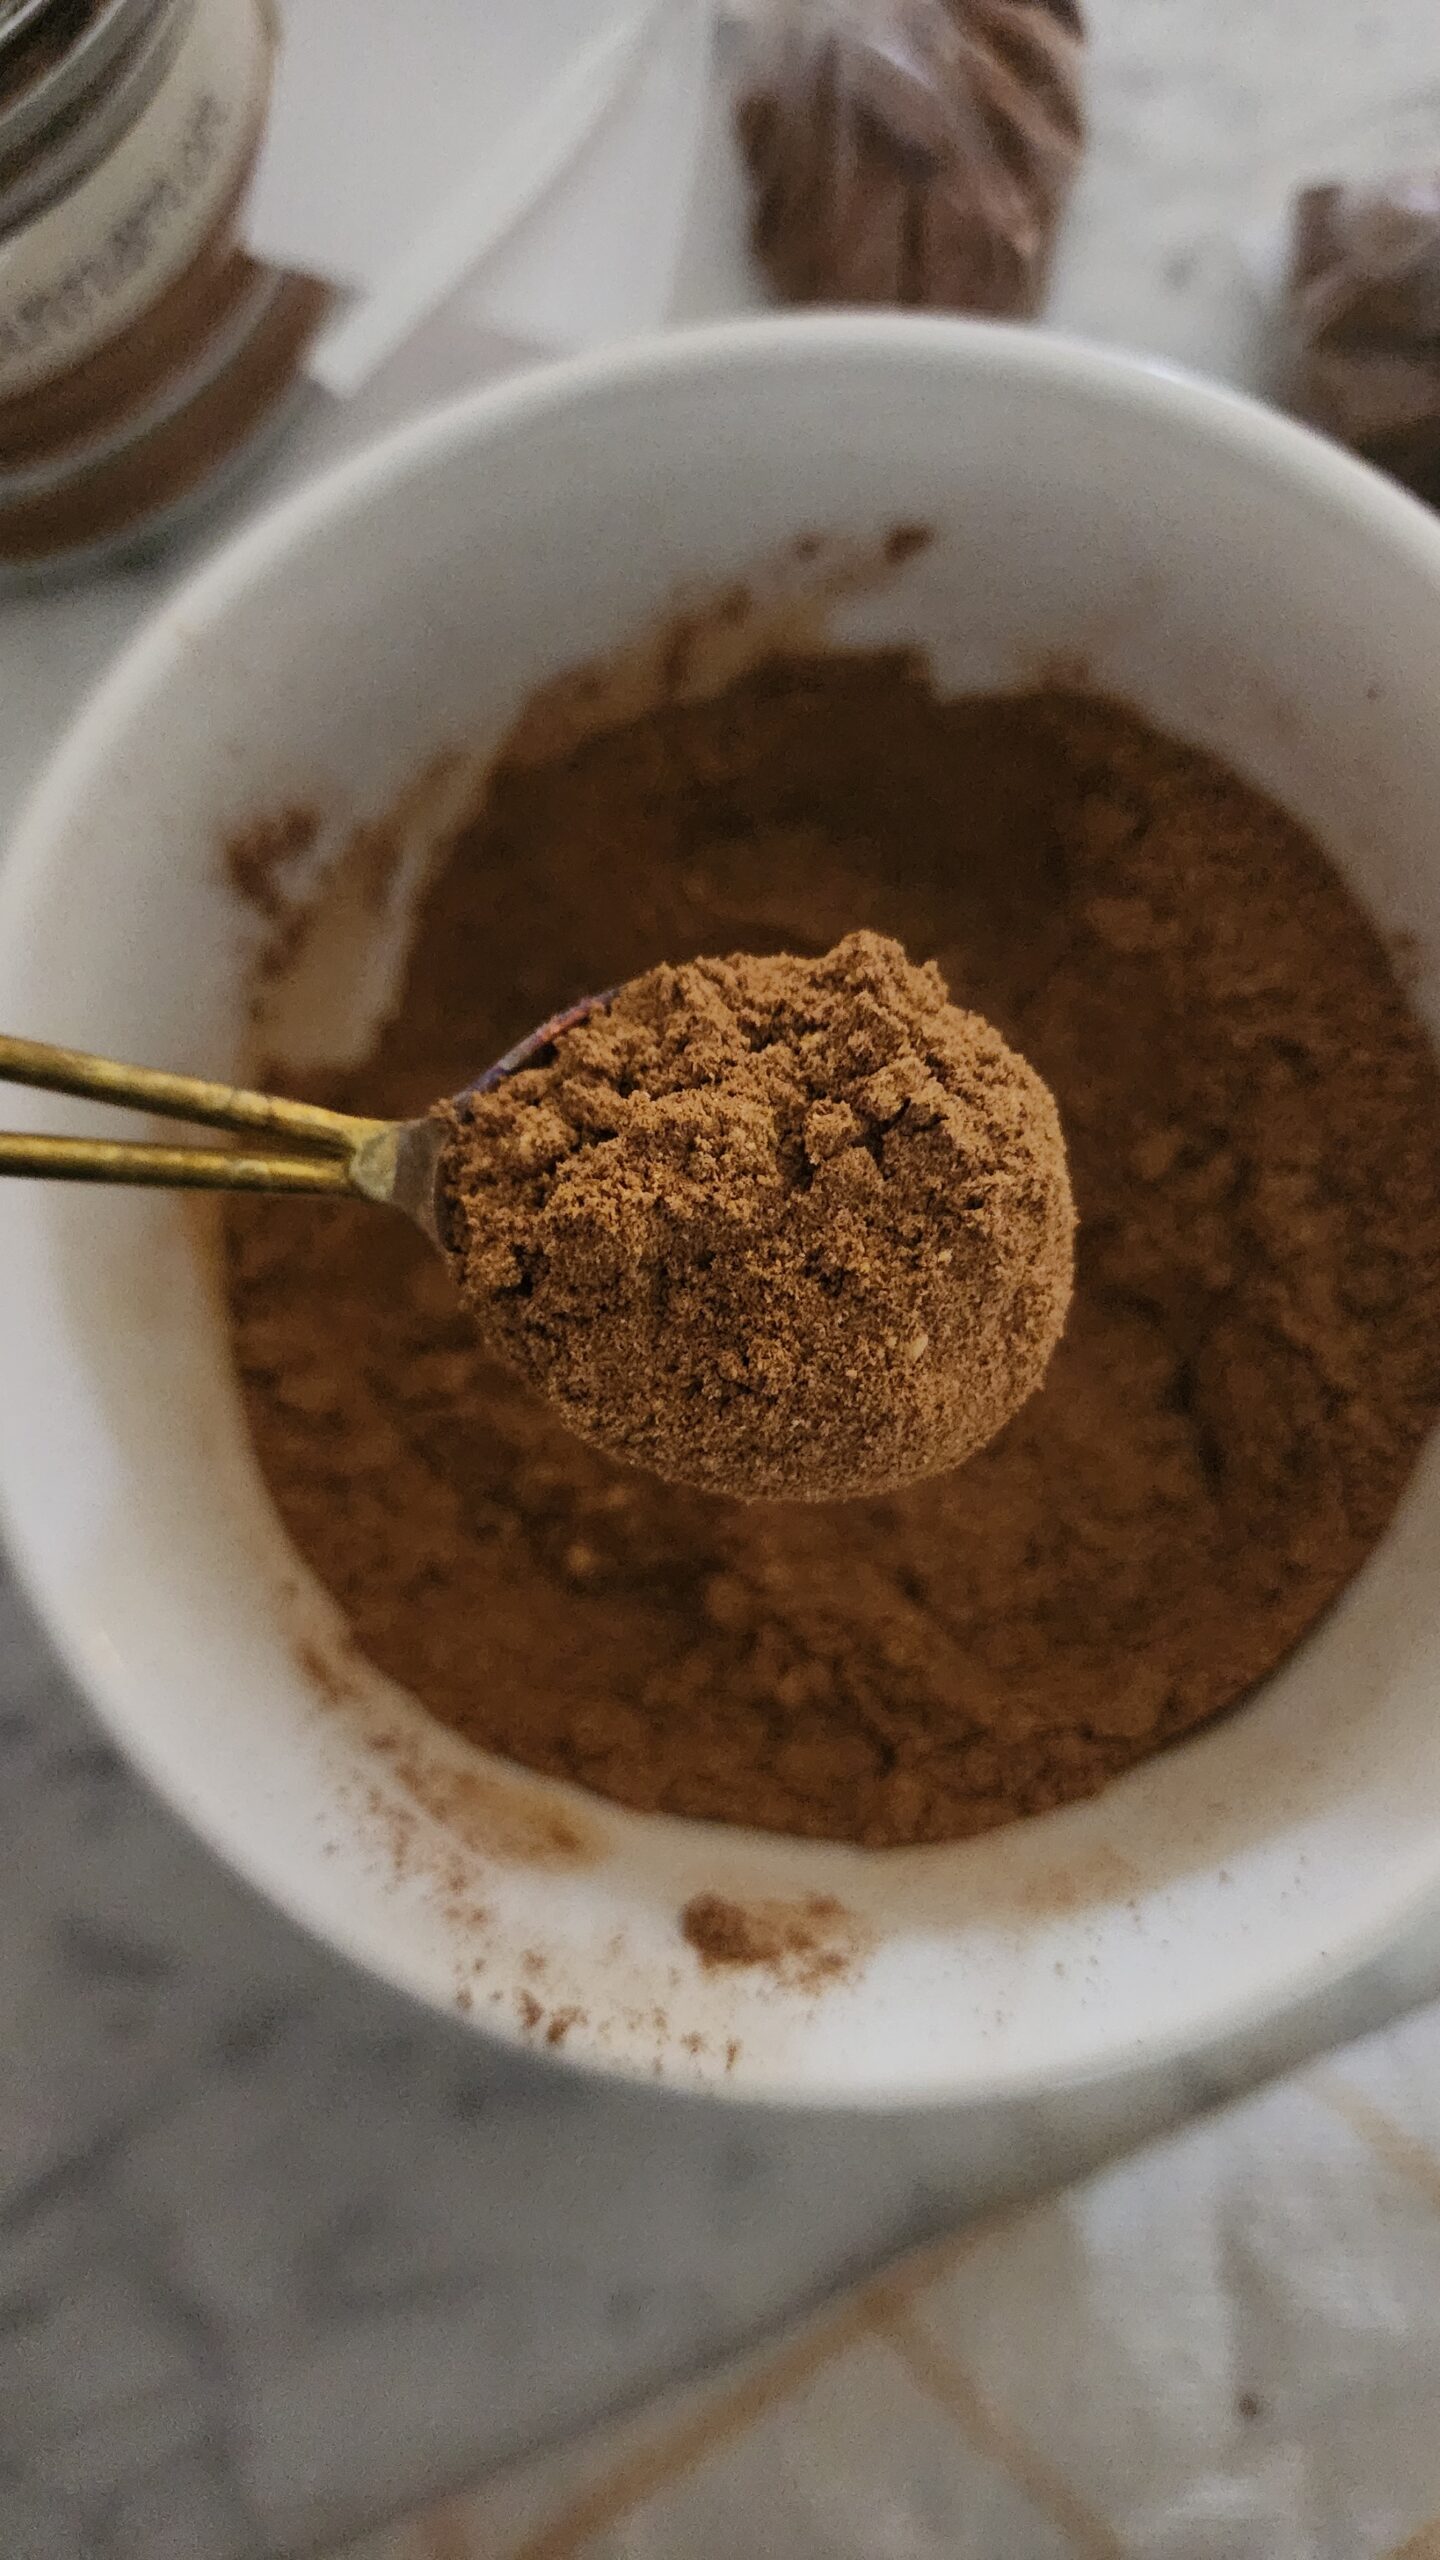
Step 3: Add Fresh Flour and Water
Add flour and water in a 2:1 ratio to your starter. For beginners, I recommend using a mix of bread flour and whole wheat flour for a strong, active starter. Stir until everything is well combined. The texture should be like thick pancake batter.
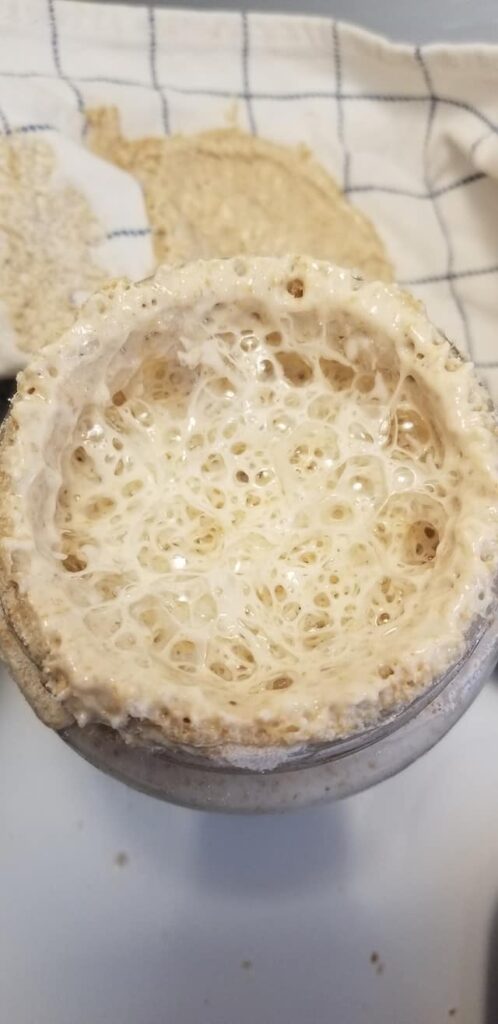
Step 4: Let It Rise
Cover your starter loosely with a cloth or plastic wrap and leave it at room temperature. Depending on the temperature in your kitchen, it can take anywhere from 4 to 12 hours for your starter to become bubbly and double in size. You will know it is ready when it is full of bubbles and smells pleasantly tangy.


How Often Should You Feed Your Starter
If you are keeping your starter at room temperature, feed it once or twice a day. If you keep it in the fridge, feeding once a week is usually enough. The key is to pay attention to how it looks and smells. A happy starter is bubbly, rises well, and has a gentle tang.

Troubleshooting Your Starter
Even experienced bakers run into challenges with their starter. Here are a few common questions for beginners:
No bubbles yet:
Be patient and continue feeding at room temperature. Sometimes it takes a few days to become fully active.
Strong smell:
If your starter smells very sour or like alcohol, it may need more frequent feedings.
Dry layer forming on top:
Stir it back in or remove it. This is normal and can happen if your kitchen is dry.
Remember, sourdough is forgiving. A little attention and patience go a long way.

Frequently Asked Questions
Why is my sourdough starter not bubbling after feeding?
If your starter isn’t bubbling, it may just need more time or consistent feedings. Temperature also plays a big role. A cooler kitchen will slow fermentation, so try placing it in a warmer spot and continue feeding it regularly.
How often should I feed my sourdough starter?
If your starter is at room temperature, it typically needs to be fed once every 12–24 hours. If stored in the refrigerator, you can feed it once a week.
How do I know if my sourdough starter is ready to bake with?
Your starter is ready when it has doubled in size within 4–6 hours of feeding, looks bubbly throughout, and passes the “float test” (a small spoonful floats in water).
Can I use tap water to feed my starter?
Yes, but filtered or dechlorinated water is preferred. Chlorine in tap water can sometimes slow down fermentation, especially in new starters.
What flour is best for feeding a sourdough starter?
Unbleached all-purpose flour works well, but whole wheat or rye flour can help boost activity because they contain more natural nutrients and wild yeast.
What should I do if my starter smells bad?
A sour smell is normal, but strong rotten or off smells may indicate contamination. If this happens, it’s usually best to discard and start fresh or troubleshoot feeding ratios and cleanliness.
Can I switch flours when feeding my starter?
Yes. You can transition between flours gradually. Many bakers even use a mix of all-purpose and whole grain flours to maintain strength and activity. I use all-purpose on occasion when in a hurry but mostly I use freshly milled flour.
Final Thoughts
Starting sourdough can feel intimidating at first, but it is one of the most rewarding kitchen projects you can do. The process of feeding and caring for your starter is simple once you get the hang of it, and baking with your own sourdough is comforting in a way that few other foods are.
Take your time, enjoy the process, and let yourself savor the small victories, like that first bubbly starter or the first golden loaf straight from your oven. Sourdough is not just about bread. It is about slowing down, enjoying your kitchen, and bringing a little more calm and beauty into your everyday life.
Happy baking, friend.
XO, Bri
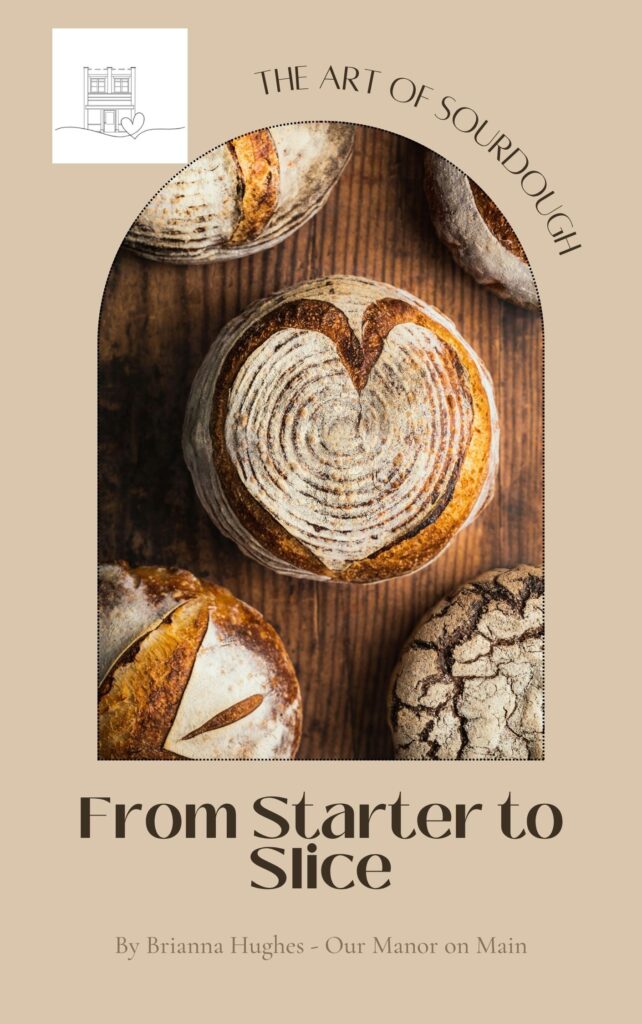
Resources for Beginners
If you want to go deeper, I have a free resource for you. My The Art of Sourdough e-book is 23 pages of tips, recipes, and tools to help you start your sourdough journey with confidence. You can download it for free from my resource library.
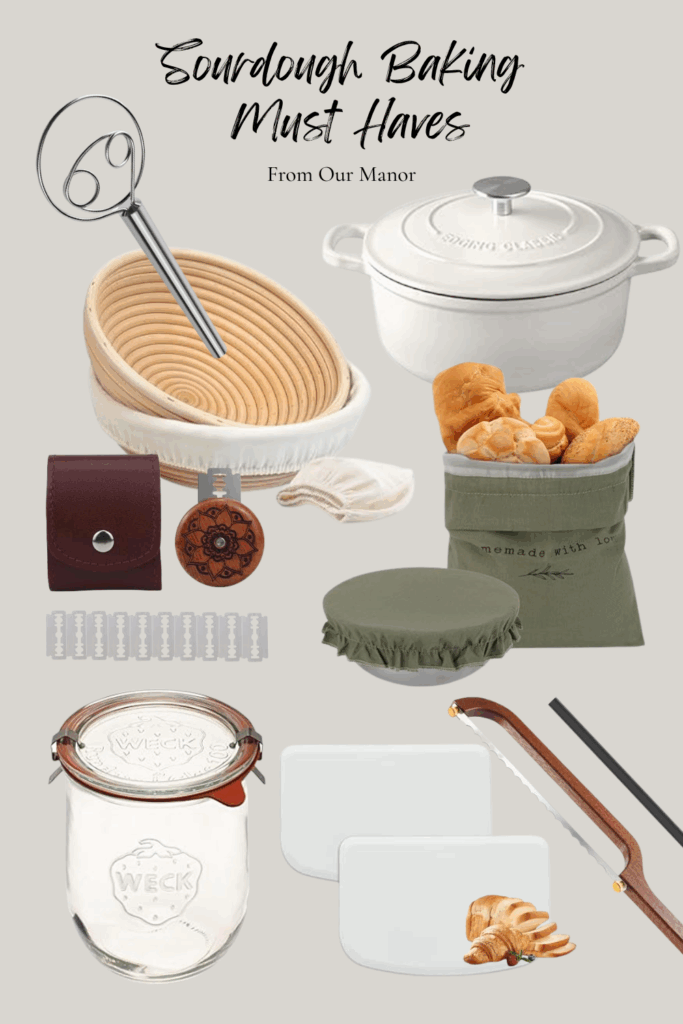
You might also enjoy my Sourdough Tools post, where I share all of my favorite baking tools and a few affiliate links for convenience. Using the right tools can make baking more enjoyable and help you get better results.
Recipes to Try with Your Starter
Once your starter is active, the fun begins. Here are a few of my favorite beginner-friendly sourdough recipes. These recipes are beginner-friendly and a great way to enjoy the fruits of your starter without feeling overwhelmed.

Let’s Stay Connected!
If you love cozy home tips, easy sourdough recipes, and simple living inspiration, come follow me on my other platforms for more ideas, videos, and behind-the-scenes fun.