Easy Instant Pot Yogurt Recipe (Homemade + Creamy Every Time)

This rich and beautifully tangy homemade yogurt in the Instant Pot is easy to make and so delicious. In less than 24 hours, you can turn simple milk into a decadent breakfast. Serve it with fresh fruit, from-scratch granola, or a drizzle of honey. This has become a weekly staple in my kitchen, and I hope it will in yours too.
Reader Summary
In this post, you’ll learn:
- How to turn simple pantry staple ingredients into easy, from-scratch recipes.
- The most common pantry items that can be used in everyday cooking.
- Simple ways to build flavor using basic kitchen staples you already have on hand.
- Time-saving recipe ideas that don’t require a special grocery run.
- How to stretch pantry ingredients into comforting, budget-friendly meals.
- Inspiration for using what you already have instead of starting from scratch at the store.
*This post contains affiliate links, which means I may earn a small commission at no extra cost to you. Thank you for supporting Our Manor On Main.
Why I Love This Easy Instant Pot Yogurt
A Breakfast You Can Rely On
This easy Instant Pot yogurt recipe is my ultimate grab-and-go breakfast. It’s healthy, customizable, and ready when mornings feel too busy for much else. Paired with my cold brew coffee, it saves me from those fast-food runs I used to rely on.
It Saves Money
Making homemade yogurt in an Instant Pot is shockingly budget-friendly. We used to buy several tubs of yogurt a week at $7 each. Now, for less than $4, I get eight pints of yogurt from a half gallon of milk. Fewer ingredients, less plastic, and way more yogurt for your money.
It Only Takes a Day
The process is simple: boil the milk, cool it, stir in your cultures, and set your Instant Pot for ten hours. Chill it overnight and you have creamy, tangy yogurt ready for the whole week.
Health Benefits of Yogurt
Aside from being easy to make, it is also rich in health benefits:
- Yogurt’s probiotics can help with digestion by reducing inflammation, soothing irritable bowel syndrome (IBS), and improving nutrient absorption. It can also help break down proteins and fats, which can reduce indigestion and heartburn. It also can help manage lactose intolerance.
- contains calcium, which is important for bone health and density throughout life.
- can help reduce the risk of heart disease and aid in weight management.
- can help enhance immune function and helps improve oral health.
- contains lactic acid, which can help exfoliate the skin, lighten dark spots, and help with acne, fine lines, and wrinkles
- contains tryptophan, an amino acid that can help people feel drowsy and fall asleep.
Instructions
What You’ll Need
- Instant Pot with a yogurt setting
- Food thermometer- This one is great!
- Yogurt starter (store-bought yogurt with live cultures works)
- 8 cups of whole milk

Boil
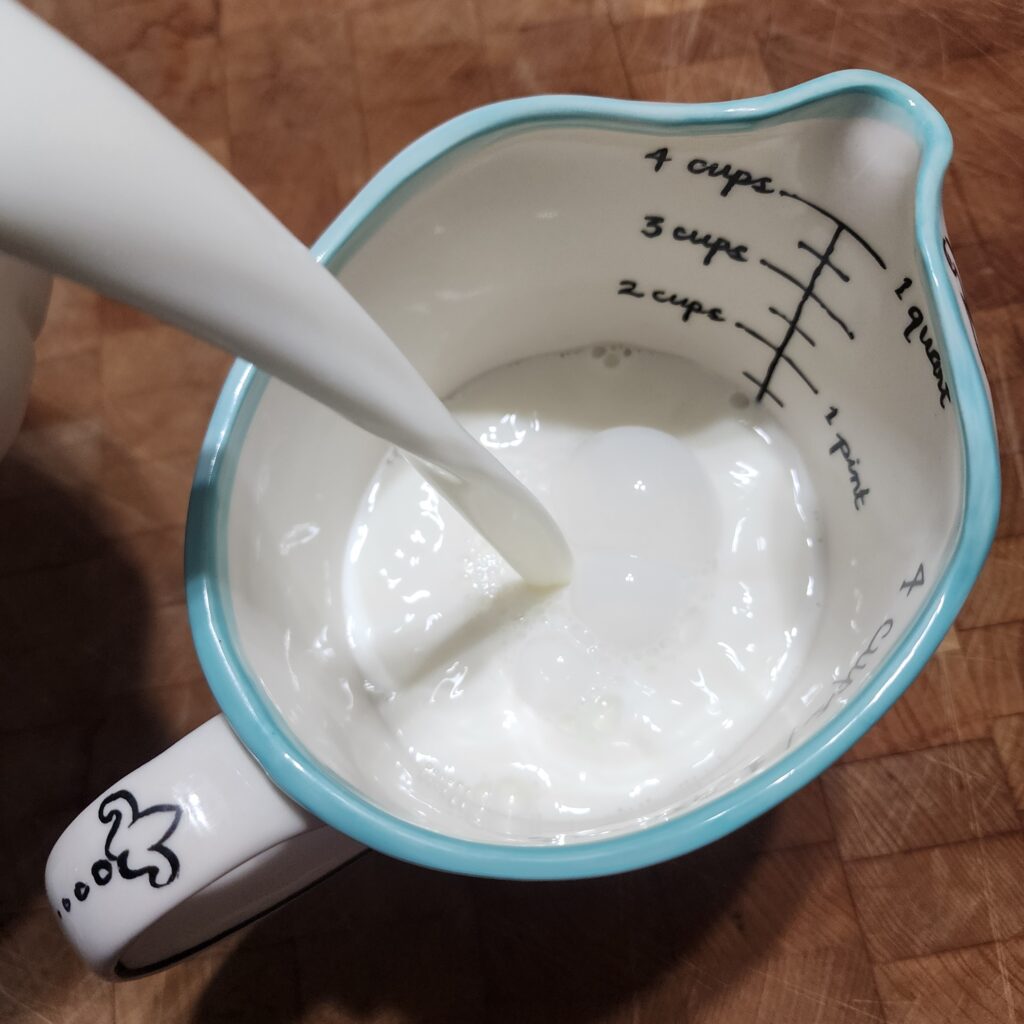
Clean your Instant Pot thoroughly. Add the milk, place the lid with the vent open, and press “Yogurt” until it says BOIL. When it beeps, check the temperature. It should be 185°F. If not, use SAUTÉ to reach that temperature.
Cool
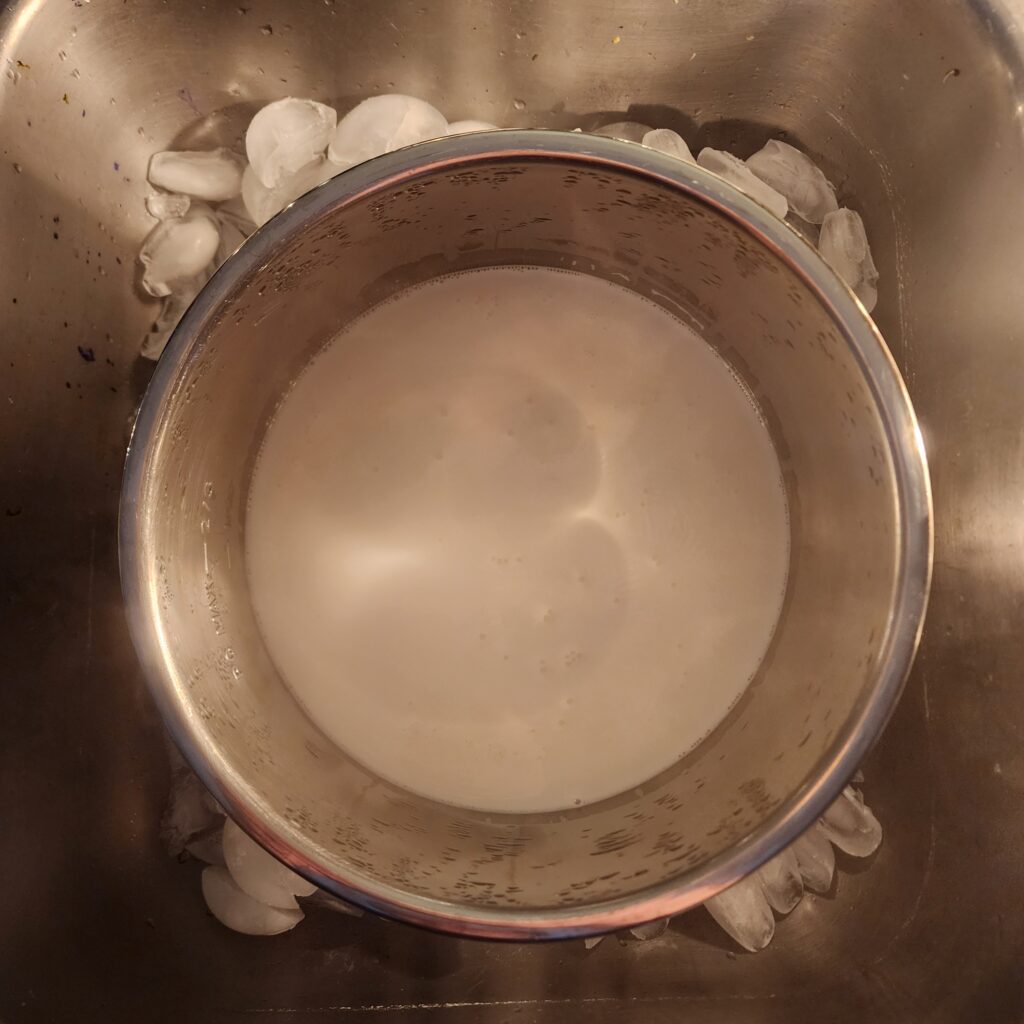
Allow the milk to cool to 110°F. To speed this up, set the insert over a sink of ice water.
Add the Starter Culture
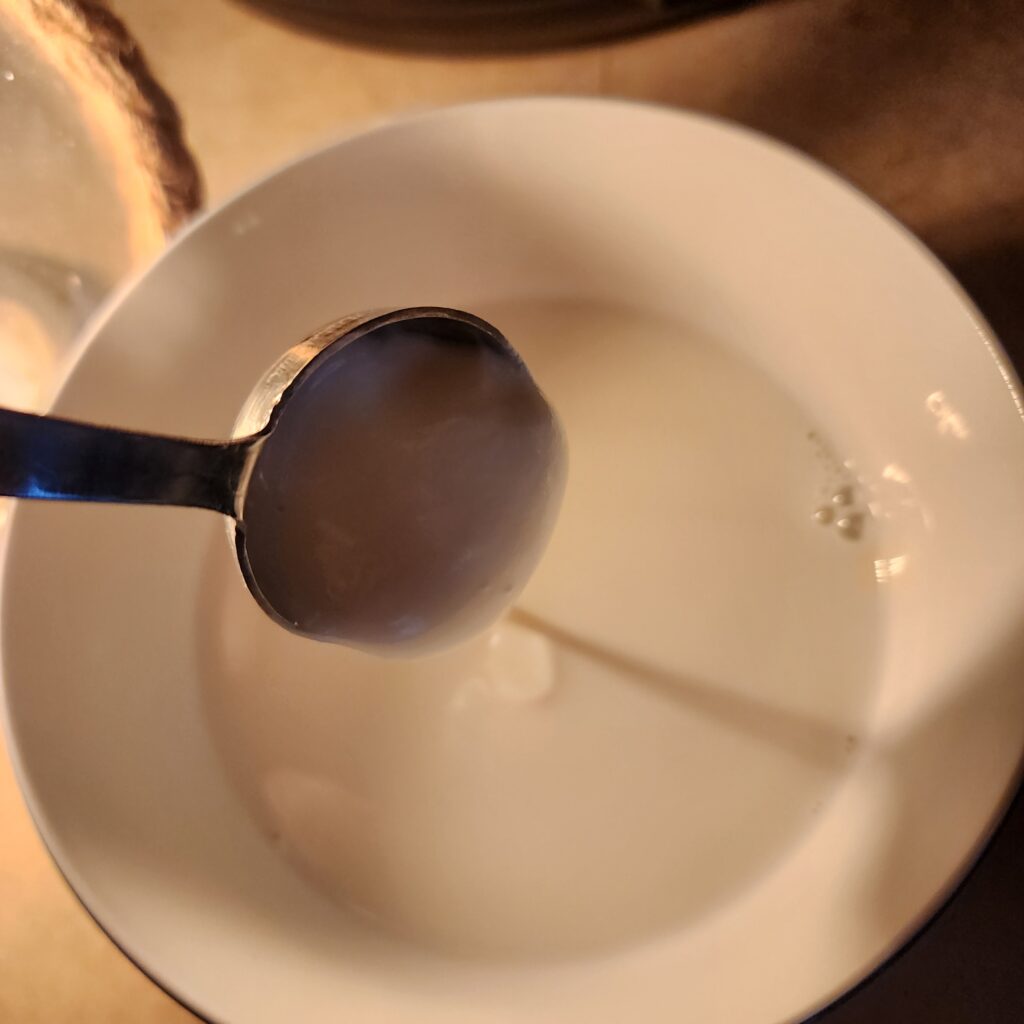
Remove 1 cup of warm milk, mix in 2 tablespoons of live-culture yogurt, and whisk it back into the pot.
Cook For 10 Hours
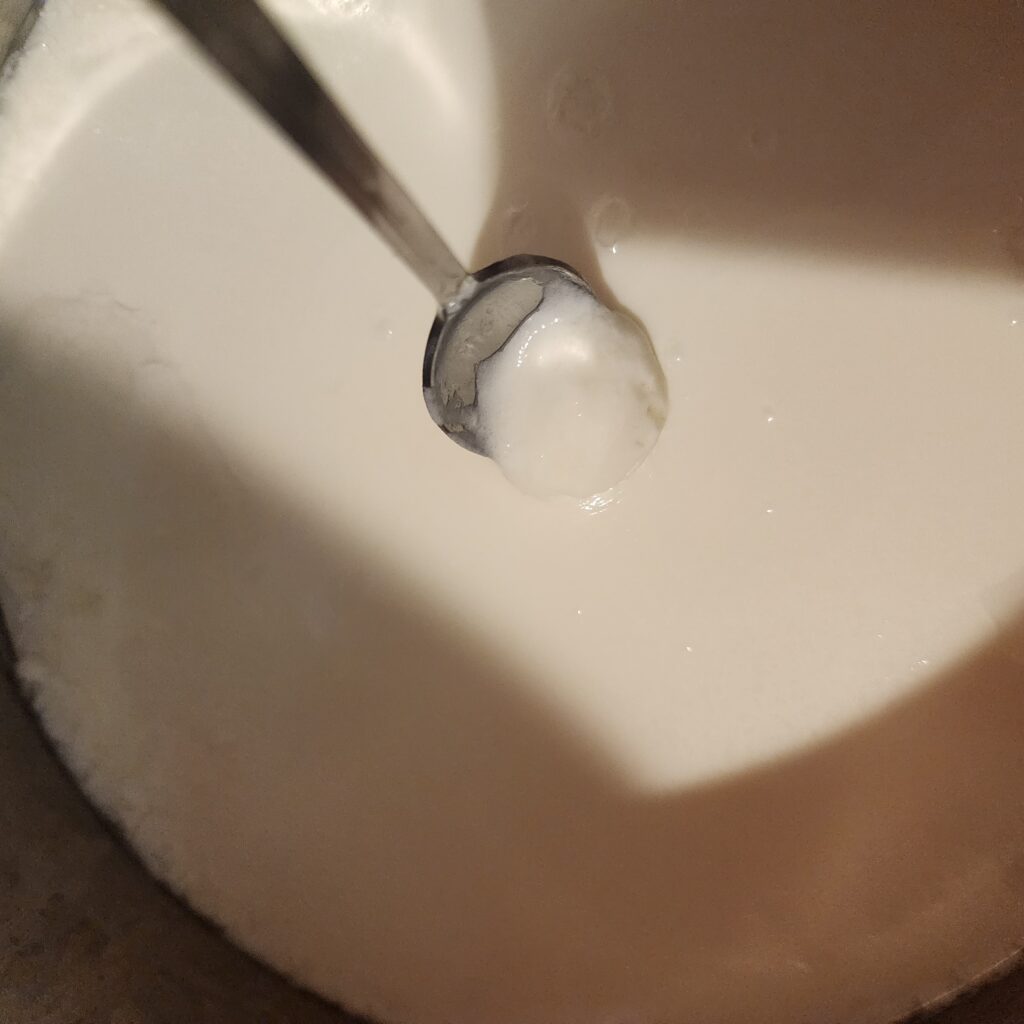
Place the lid on with the vent open and set the yogurt function for 10 hours. Check the texture around 8 hours if you like a milder tang.
Chill Overnight
Cover and refrigerate overnight. In the morning, stir and transfer to pint jars or containers. Label the date and set aside 2 tablespoons for your next batch. Your Instant Pot yogurt will last about two weeks.
Make Your Own Yogurt In The Instant Pot
Equipment
- 1 Instant Pot (Make sure it has a Yogurt function)
- 1 Food Thermometer
- 4 Pint Ball Jars with lids
Ingredients
- 8 Cups Whole Milk
- 2 TBSP Yogurt Starter Grocery store yogurt (make sure it says "contains live cultures") or use one from previous batch
Instructions
- In a clean Instant Pot insert, add 8 cups of whole milk and set the yogurt function to BOIL.
- Once the timer is finished, test the temperature. You want it to read 185 degrees. If it is not warm enough, set it SAUTE function and simmer until it reaches the correct temperature.
- Allow to cool to 110 degrees. You can either let it sit out or fill your sink base with ice and place the insert. This will cool the milk faster, about 10 minutes or so, so stand by! You will want it to be 110 and not lower. This helps the cultures to properly multiply and will help your yogurt to set up properly.
- Once cooled, remove 1 cup of warm milk and stir in 2 tablespoons of yogurt culture. You can get this from grocery store yogurt (make sure it says contains live cultures) or from a previous batch. Pour back into the insert and gently whisk in until just combined.
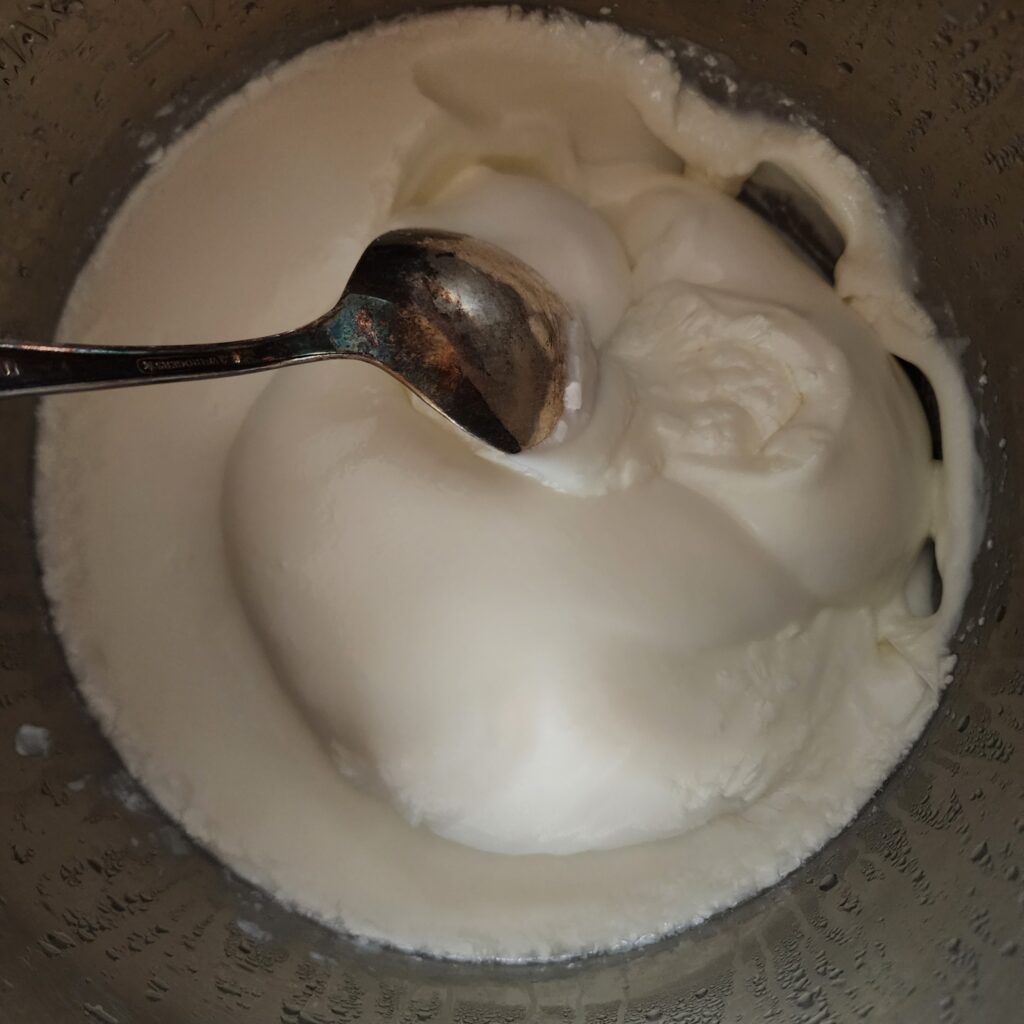
- Place the lid back on, make sure the vent is at the open position, and set the yogurt function to 10 hours. After 8 hours, you may gently insert a spoon to check the flavor and consistency. If it is thick enough for your preference, you are finished. If not or you want a little more of a tangy flavor, let cook the remaining 2 hours.
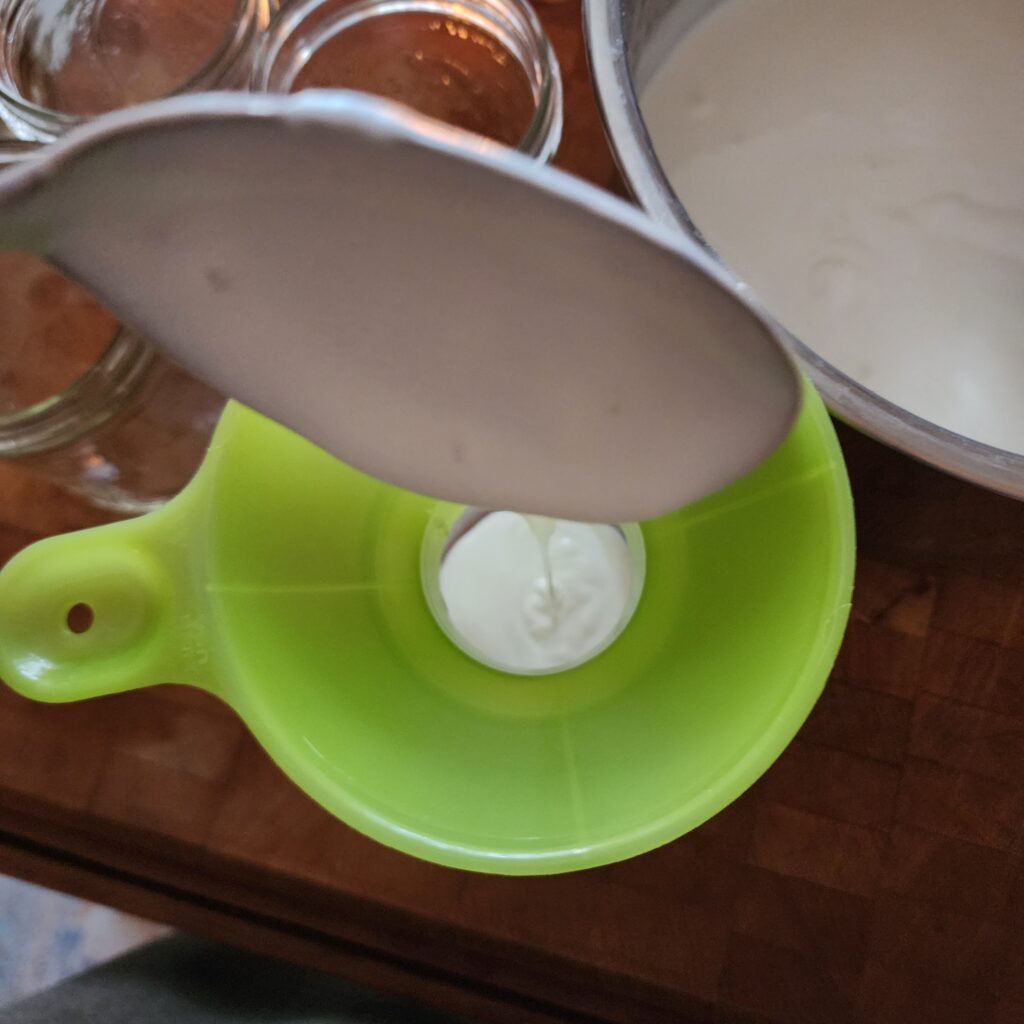
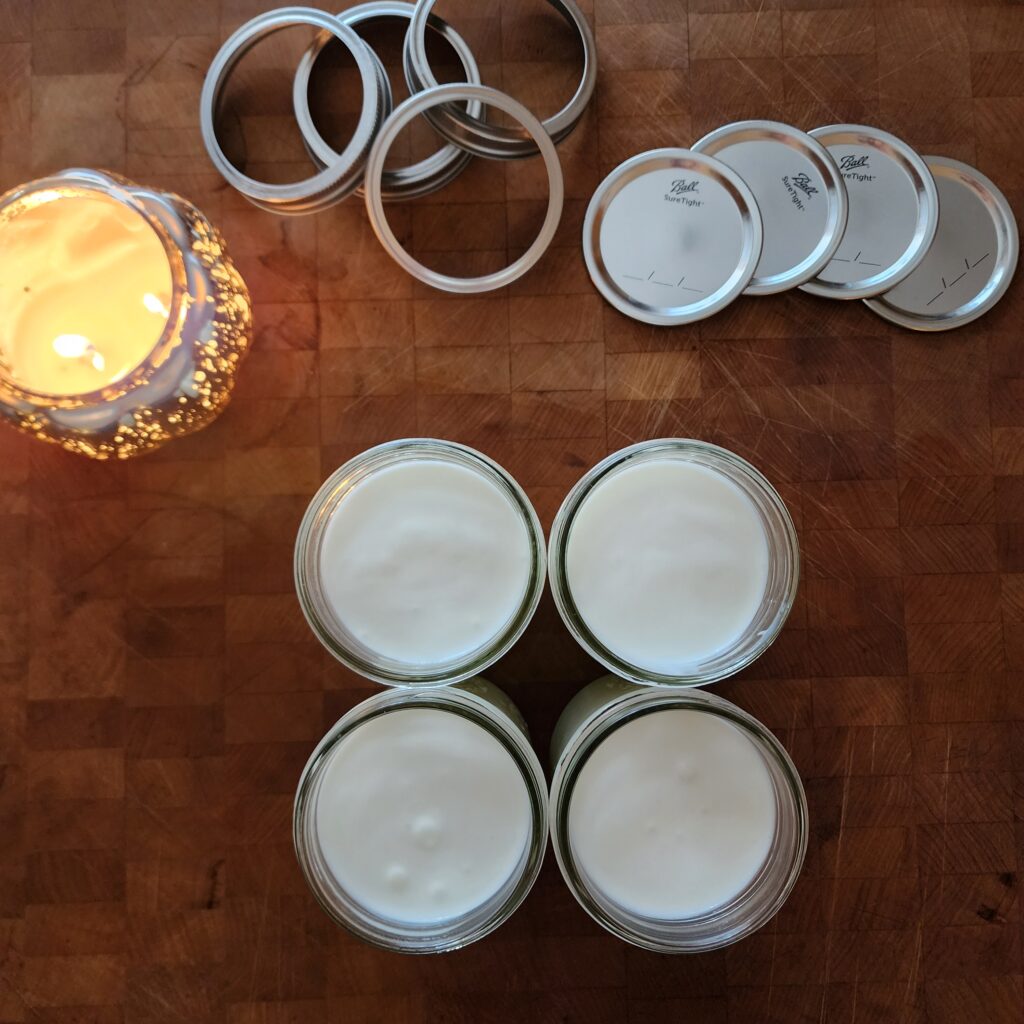
- Once complete, remove the insert, cover with plastic wrap and place in the fridge overnight. In the morning, your Instant Pot yogurt is done. Separate into 4 pint sized Ball jars and then enjoy within 2 weeks.
Notes
Serving Ideas
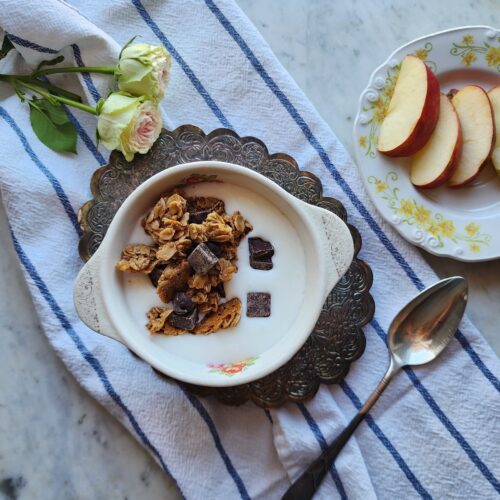
Spoon your creamy Instant Pot yogurt into bowls with:
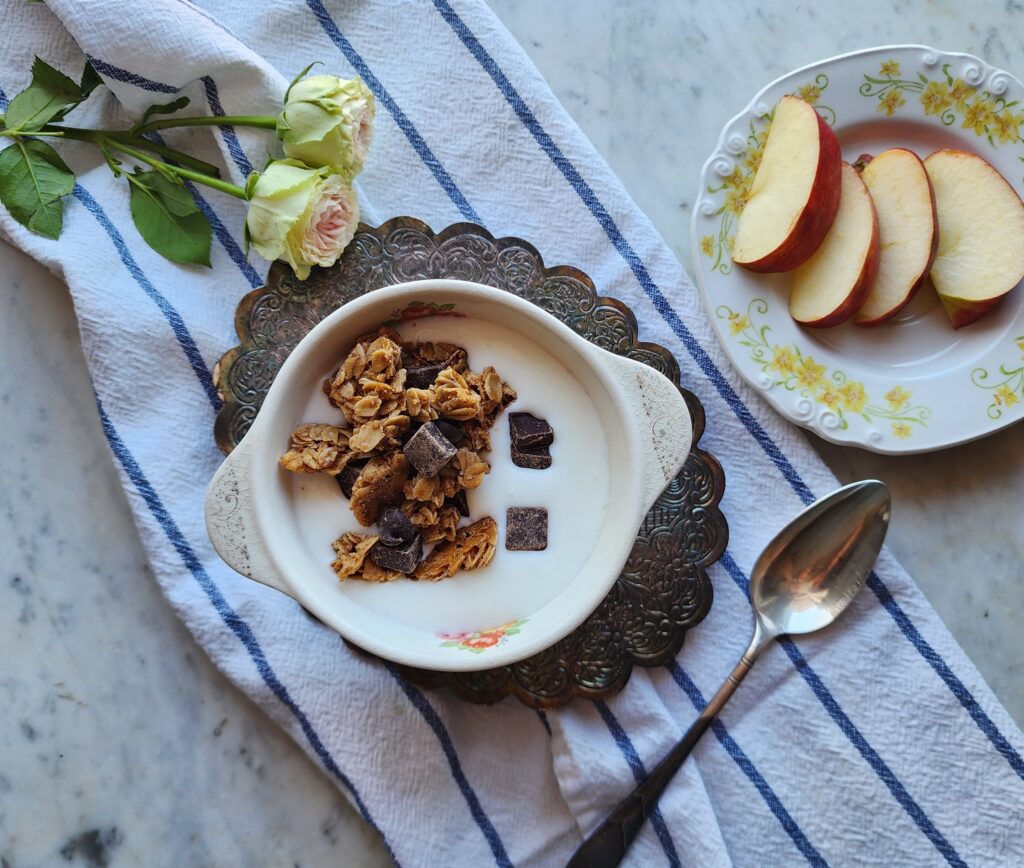
- Homemade granola and honey
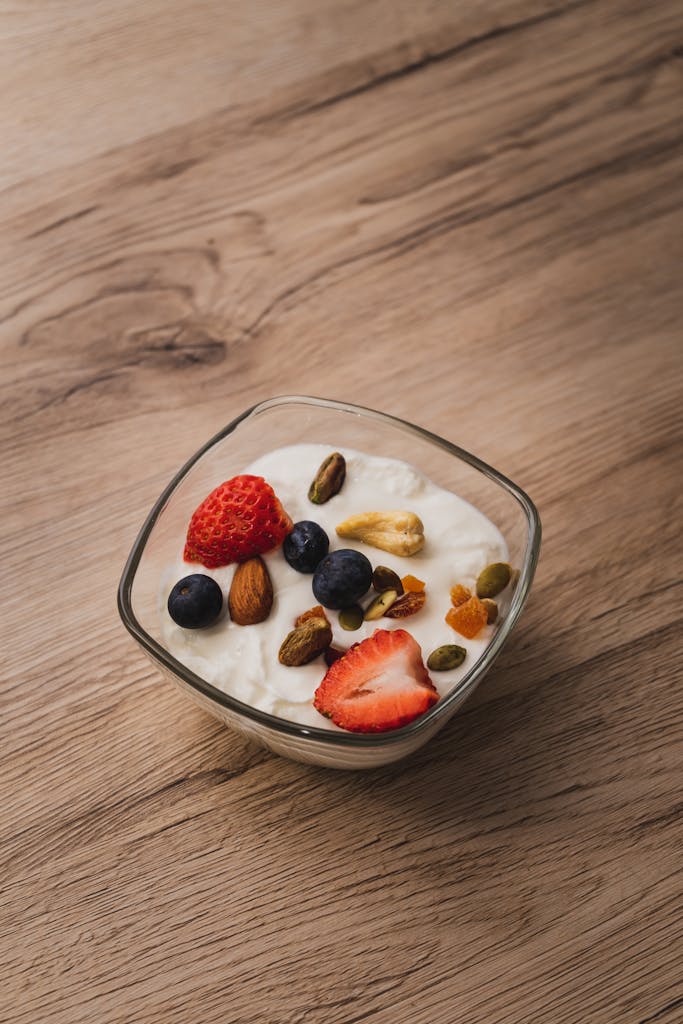
- Fresh berries, sliced almonds, or bananas
- Peanut butter swirls or dark chocolate chunks
- I even use it for a probiotic rich sour cream alternative to baked potatoes and even delicious Mexican dishes like Easy Chicken Enchiladas and The Best Taco Stuffed Peppers.
- Use it in place of sour cream in delicious soup recipes or as a healthy treat for your backyard chickens!
Frequently Asked Questions
Can I make yogurt in the Instant Pot without a yogurt button?
Yes. If your Instant Pot doesn’t have a yogurt setting, you can still make yogurt using the sauté function to heat the milk and then using the “keep warm” or a low, stable temperature setting for incubation. Some models may require a manual incubation method or an external warm spot.
What kind of milk works best for Instant Pot yogurt?
Whole milk produces the thickest, creamiest yogurt, but 2% milk also works well. You can use raw milk or ultra-pasteurized milk, but results may vary slightly in thickness and texture.
Why is my Instant Pot yogurt runny?
Runny yogurt is usually caused by not heating the milk high enough, not incubating long enough, or using weak starter culture. Straining the yogurt through cheesecloth can help thicken it if needed.
How long does homemade Instant Pot yogurt last?
Homemade yogurt will typically last about 7 to 10 days in the refrigerator when stored in an airtight container. Always check for smell or separation before eating.
Can I use store-bought yogurt as a starter?
Yes. You can use plain store-bought yogurt with live active cultures as your starter. Just make sure it is unflavored and contains “live and active cultures” on the label.
How long does Instant Pot yogurt need to incubate?
Most yogurt needs to incubate for 8 to 12 hours depending on how tangy and thick you want it. Longer incubation results in a tangier flavor and thicker texture.
Do I need to boil the milk first?
Yes, heating the milk to around 180°F helps improve texture by changing the protein structure. This step is key for creamy, thick yogurt.
Can I flavor Instant Pot yogurt?
Absolutely. It’s best to add sweeteners, fruit, vanilla, or mix-ins after the yogurt has fully set and chilled. This keeps the fermentation process stable and the texture smooth.
In Closing
Homemade Instant Pot yogurt is one of those simple kitchen wins that feels a little magical once you’ve done it yourself. With just a few ingredients and a bit of patience, you can create a thick, creamy yogurt that’s perfect for breakfast, snacks, or meal prep throughout the week. I hope this post helps you feel confident making your own batch at home. Once you get the hang of it, it truly becomes second nature.
XO, Bri
You Might Also Like
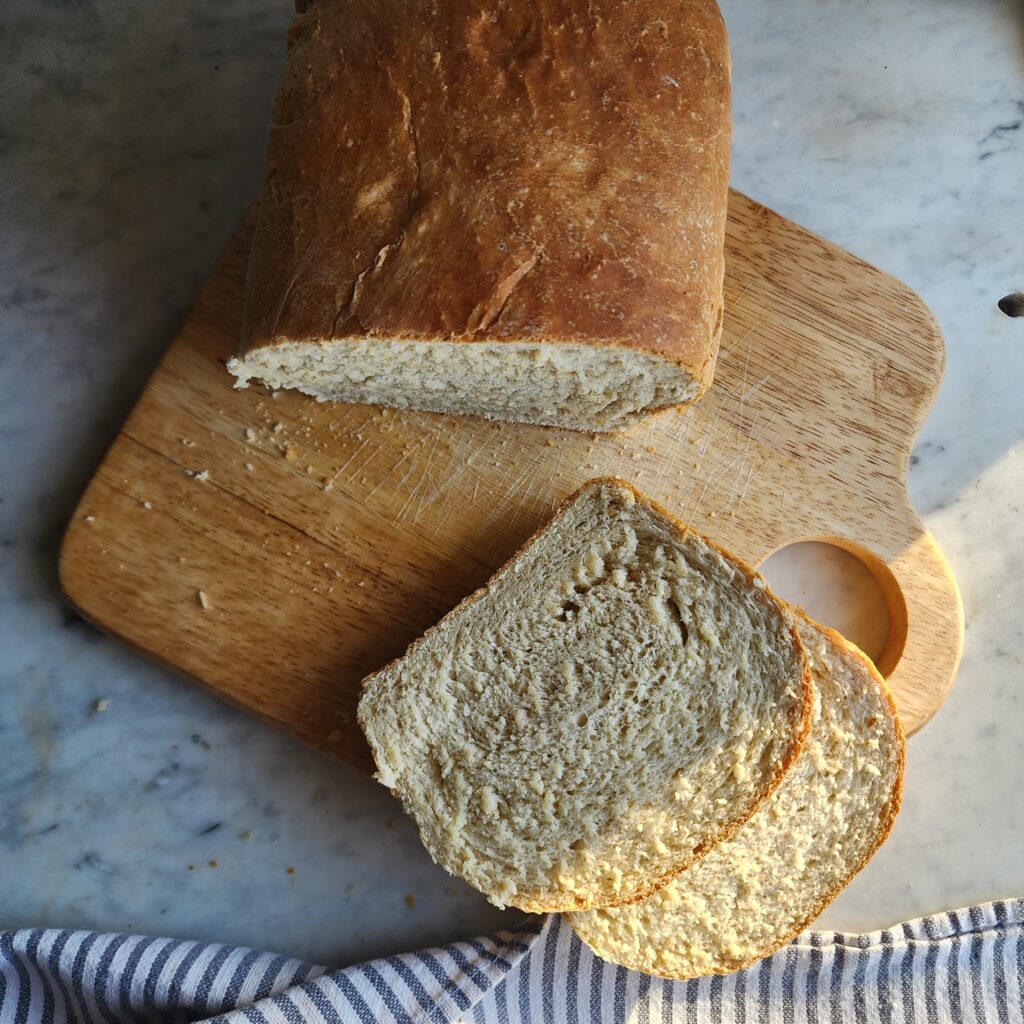
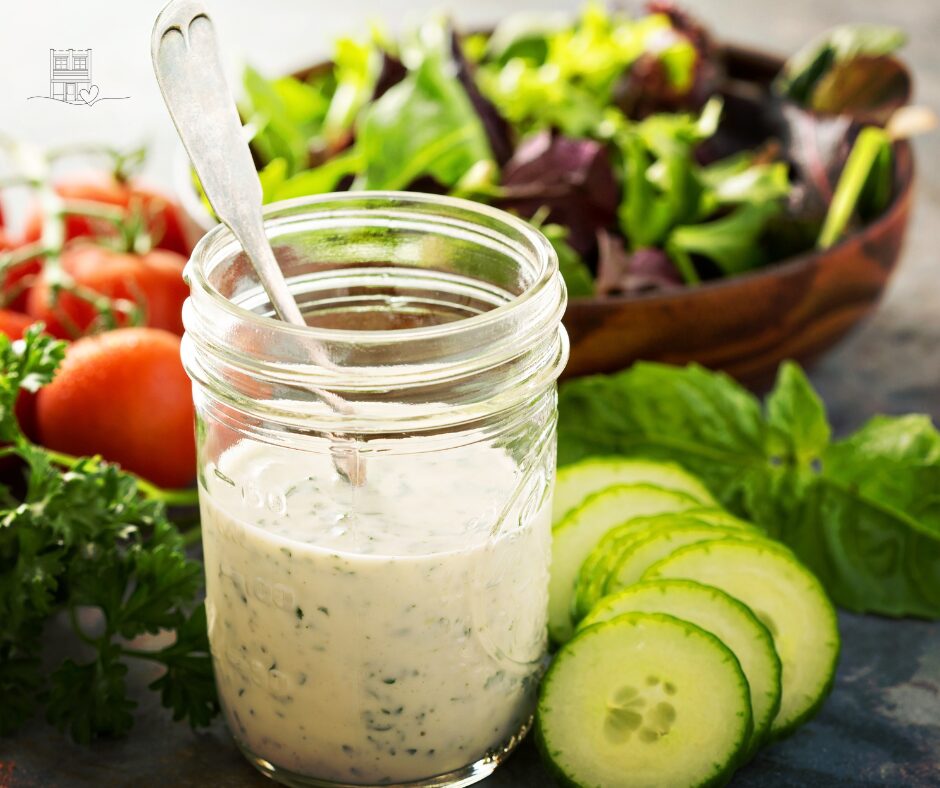
If you love cooking from scratch, these pantry staple recipes are a great place to start using simple ingredients you already keep in your kitchen.

Get Your Free Fall Pantry Checklist
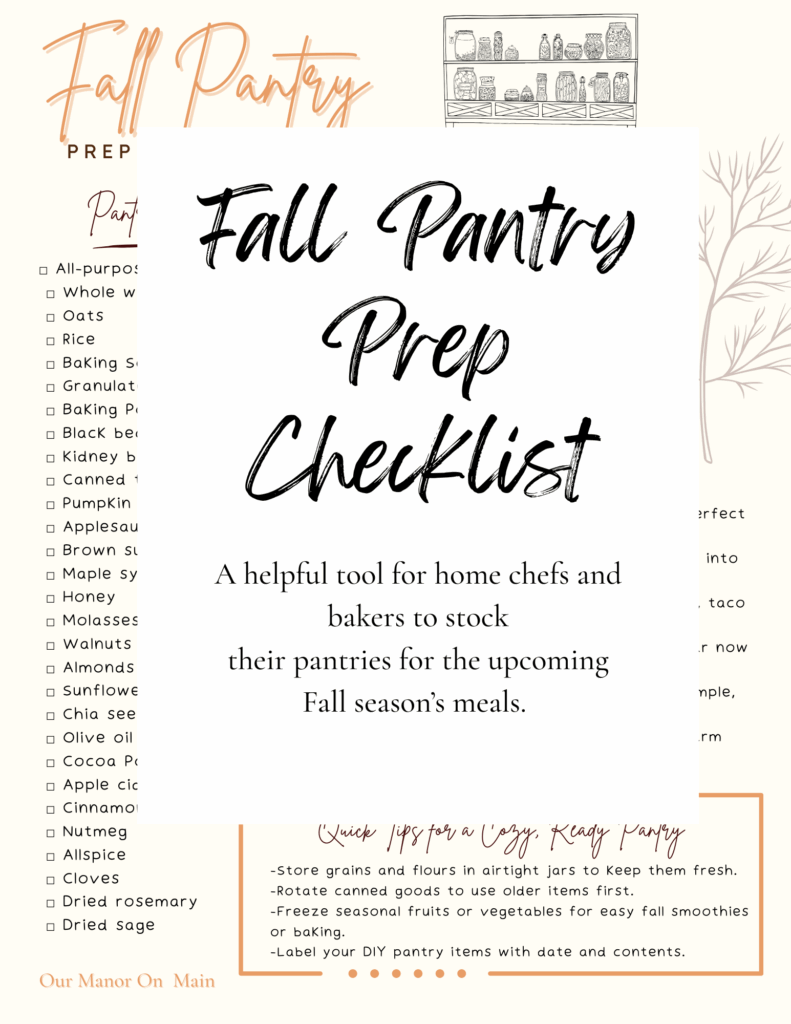
Make your autumn cooking and baking a breeze. Download my free fall pantry checklist to stock up on the essentials you’ll need for warm soups, spiced breads, and cozy nights in.
Let’s Stay Connected!
Stay connected with me outside the blog. Follow along on social media to share recipes, gather homestead tips, find everyday encouragement, and catch videos of my cooking and our cheerful backyard chickens!